How To Create IoT Edge Gateway Certificate
Prerequisites
- An Azure IoT Hub Instance
- A Linux Machine running IoT Edge.
Overview
All IoT Edge gateways need a device CA certificate installed on them. The IoT Edge security daemon uses the IoT Edge device CA certificate to sign a workload CA certificate, which in turn signs a server certificate for IoT Edge hub. The gateway presents its server certificate to the downstream device during the initiation of the connection. The downstream device checks to make sure that the server certificate is part of a certificate chain that rolls up to the root CA certificate. This process allows the downstream device to confirm that the gateway comes from a trusted source. In this page we will walk though the steps required to Set up the device CA Certificate
Creating Certificate Authorities
IoT edge requires a device certificate that is signed by a root CA and a Intermediate CA. We will start by creating these two CAs in EZCA.

Creating a Root CA in Azure
- Go to https://portal.ezca.io/
- Login with an account that is registered as a PKI Admin in EZCA.
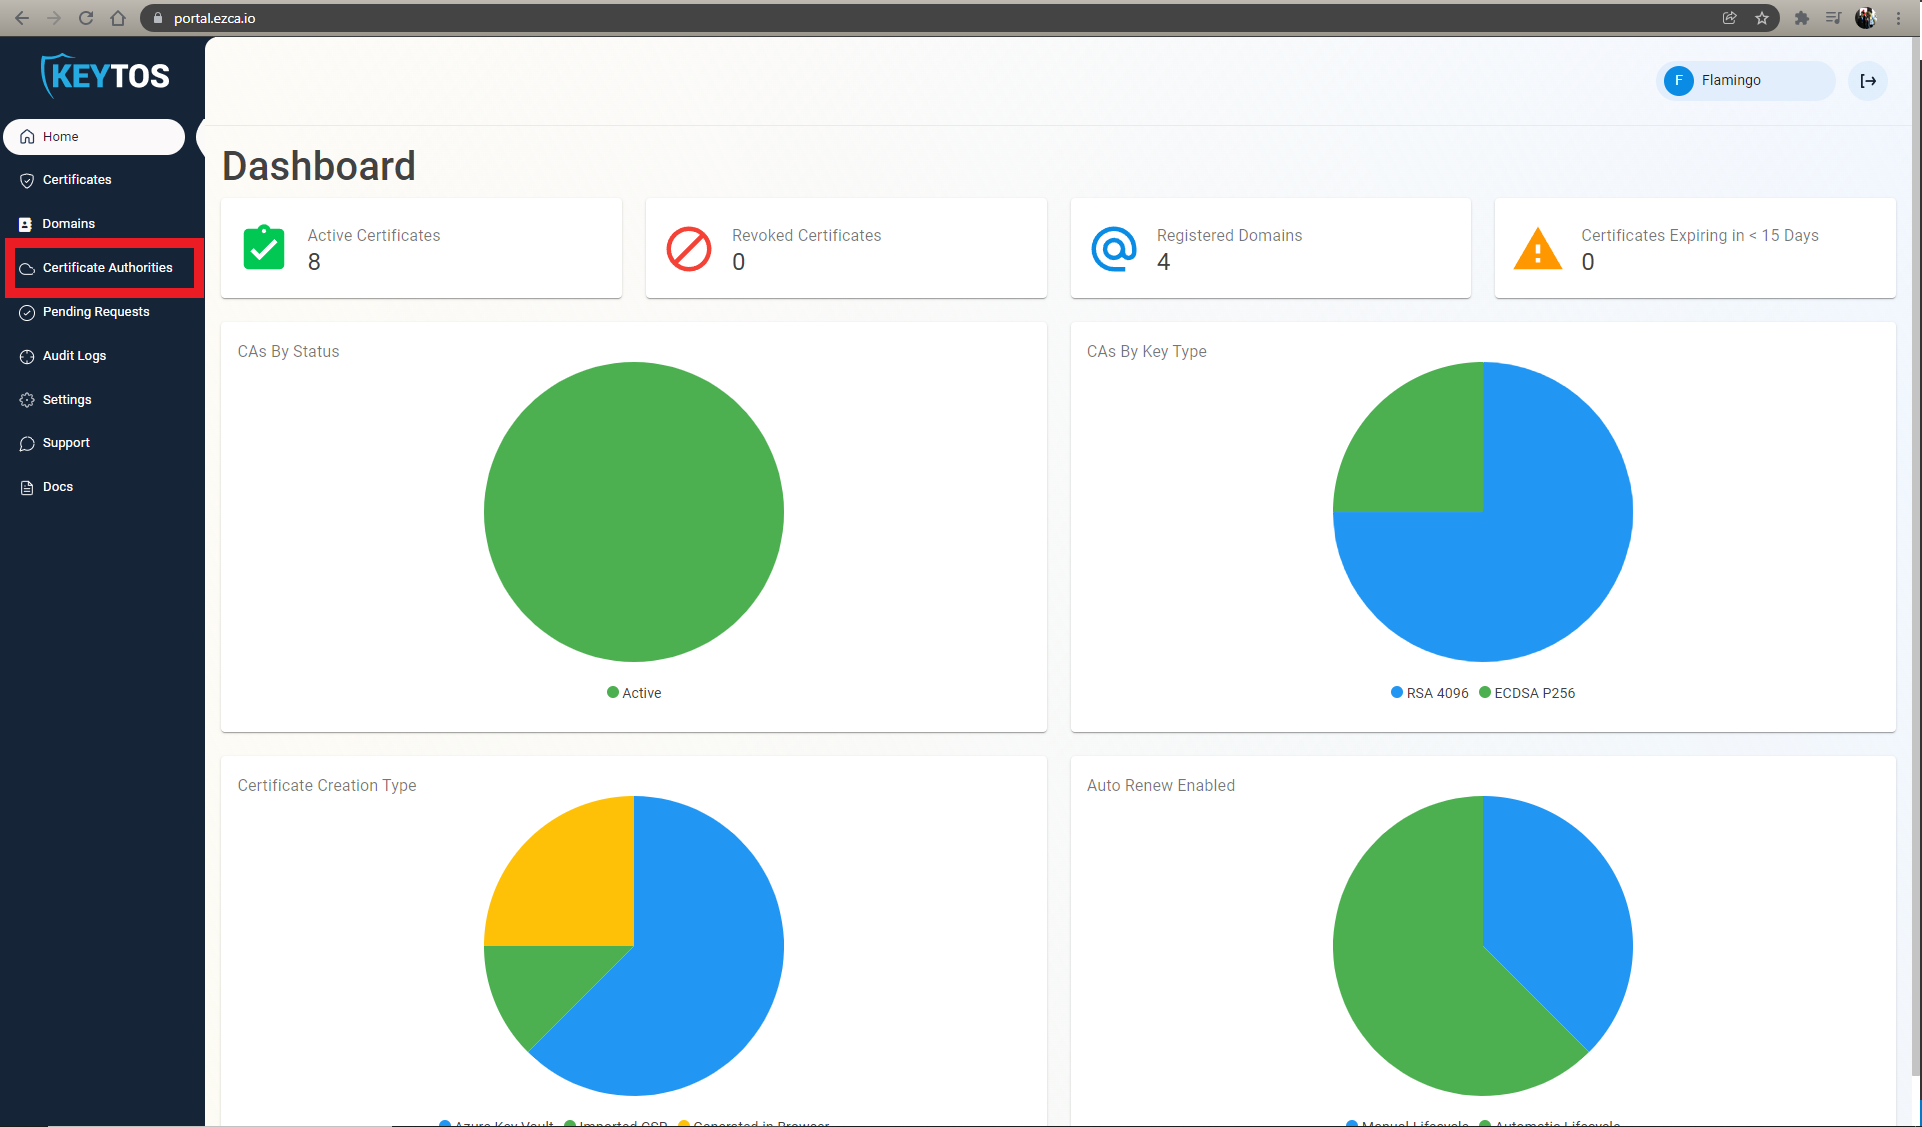
- Navigate to Certificate Authorities.
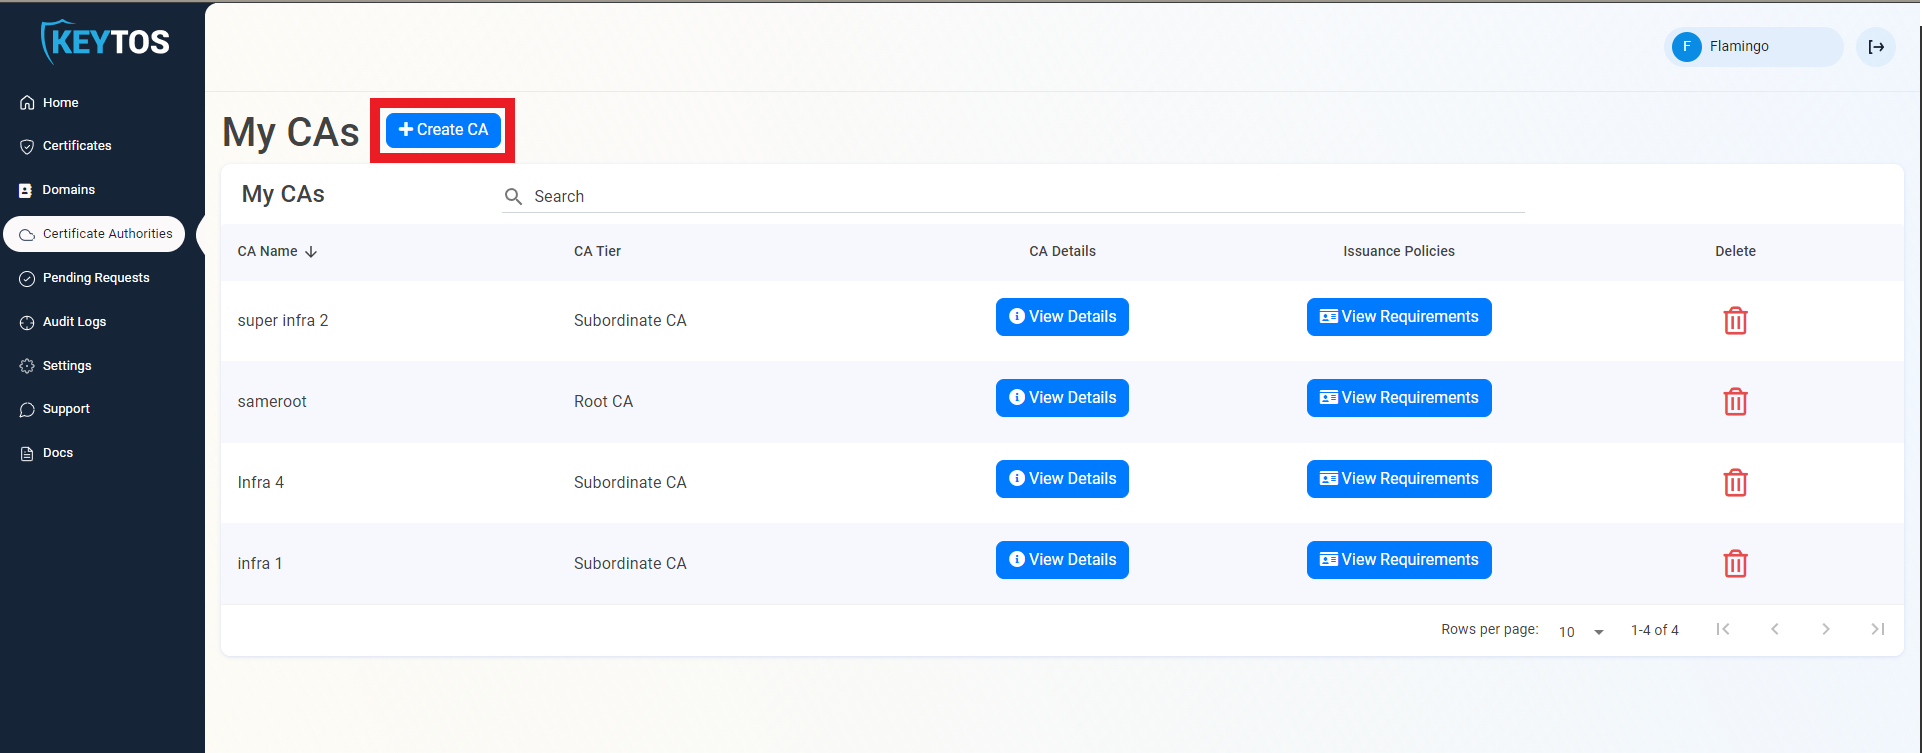
- Click on the “Create CA”
- Select Root CA.
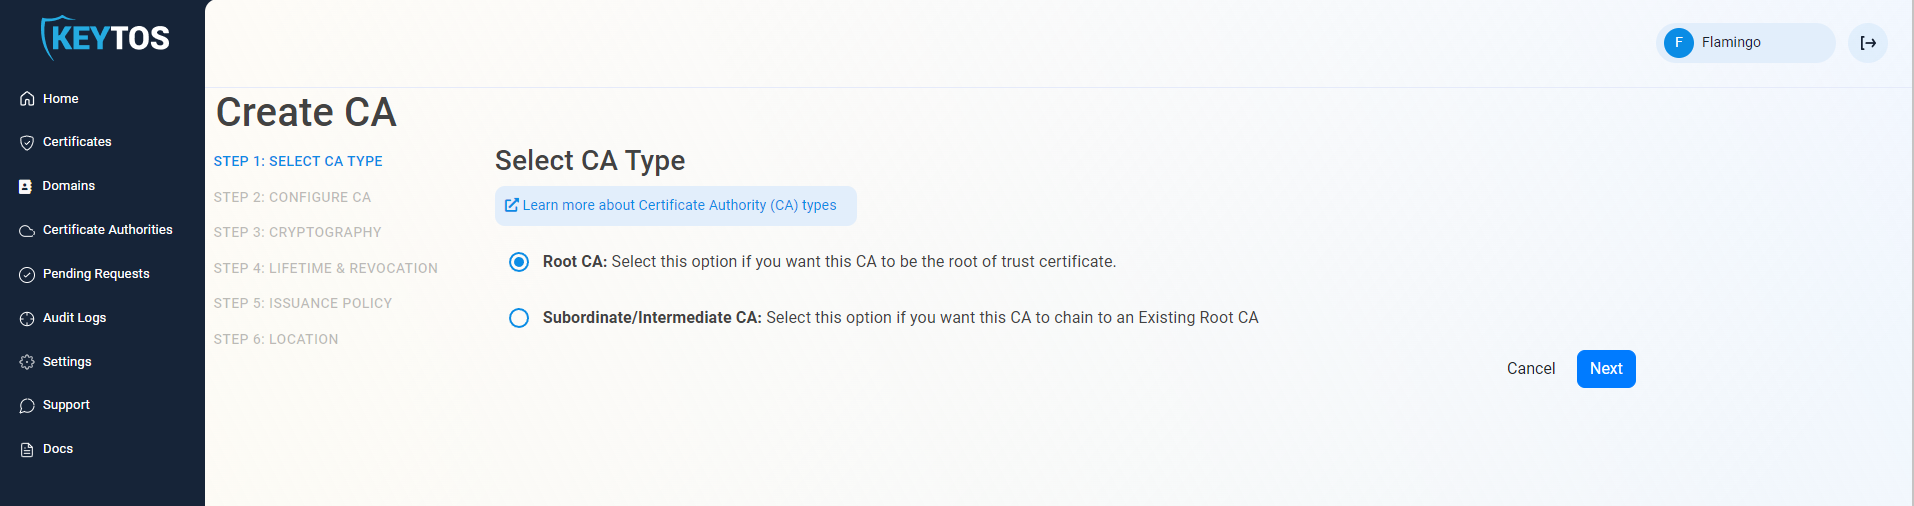
- Click Next
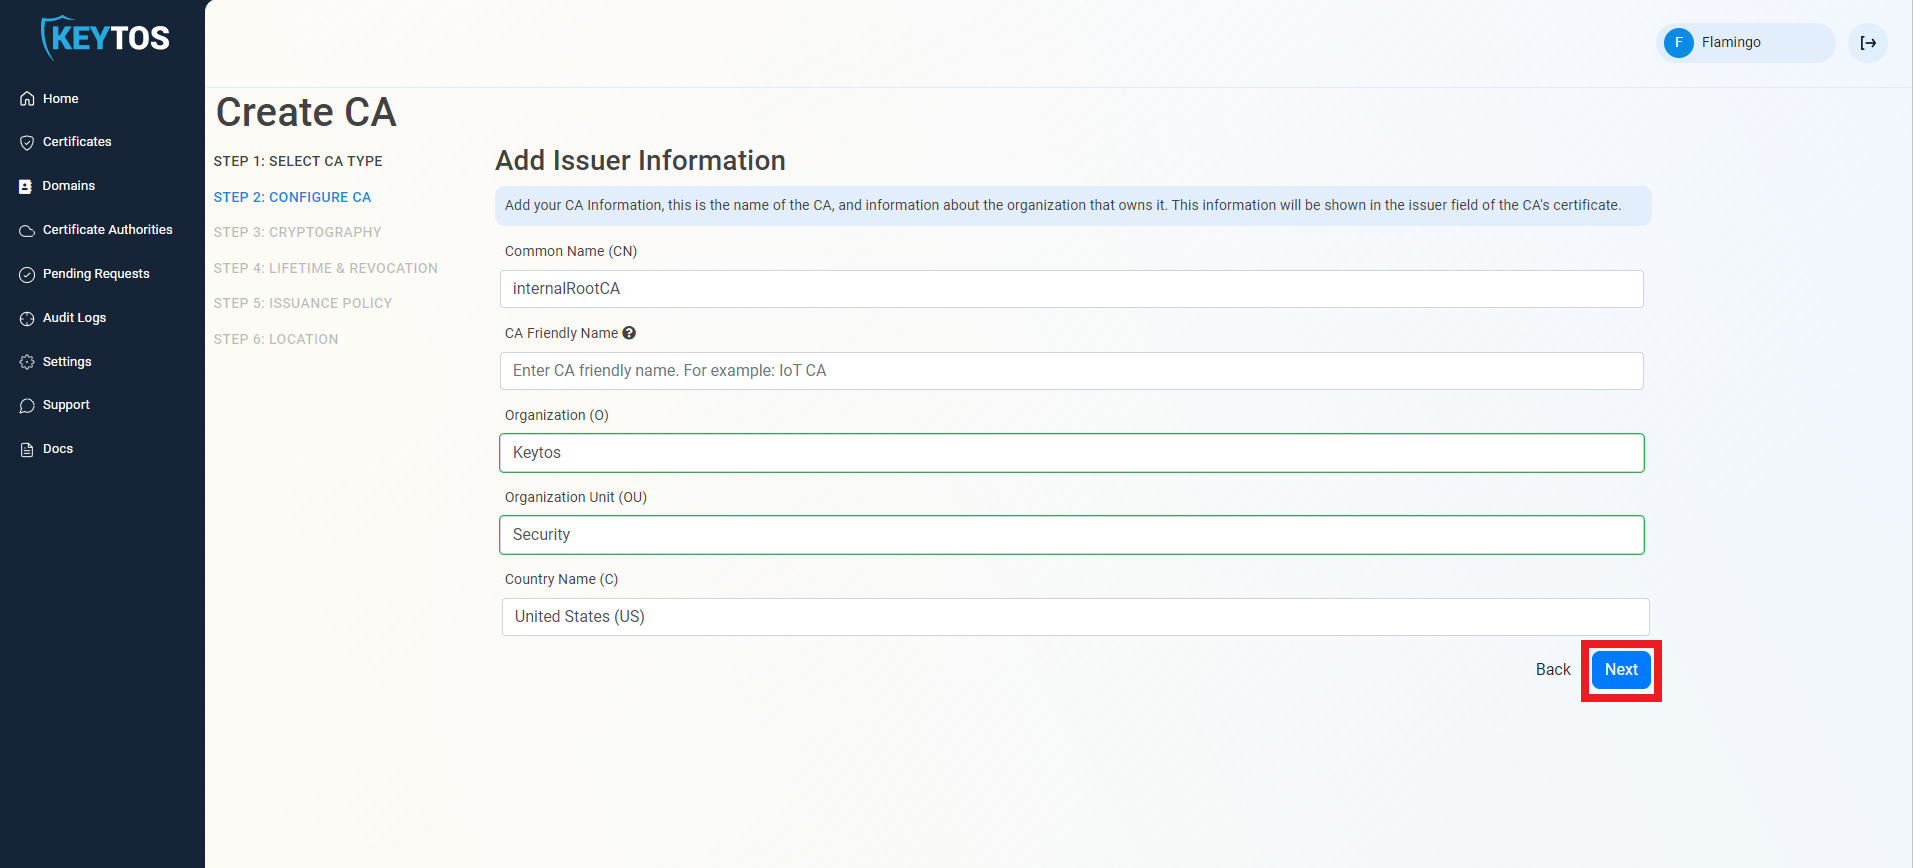
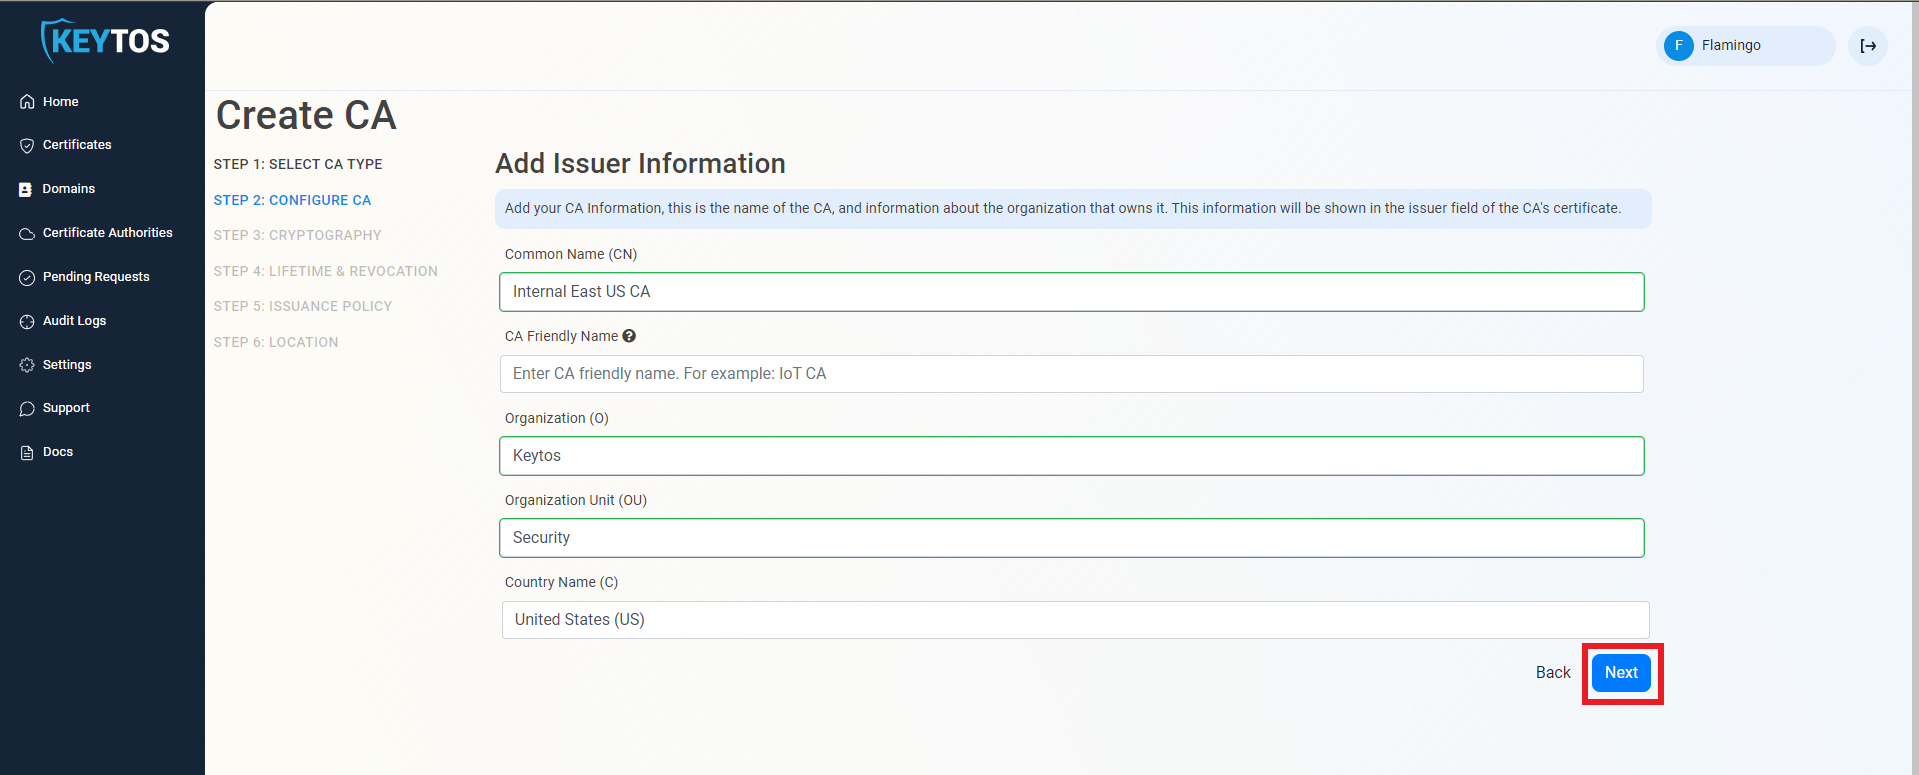
Entering CA Information
- Enter Common Name: This is the name of the CA how it will appear in the certificate.
- (Optional) Enter CA Friendly Name This is the name that will appear in the EZCA portal, by default we will use the Common Name
- (Optional) Enter the Organization The Organization field is an optional certificate field that usually has the company name.
- (Optional) Enter the Organization Unit The Organization Unit field is an optional certificate field that usually contains the unit that runs this CA (For example: IT or HR).
- (Optional) Enter the Country Code The Country Code field is an optional certificate field that identifies the country where this CA is located.
- Click Next.
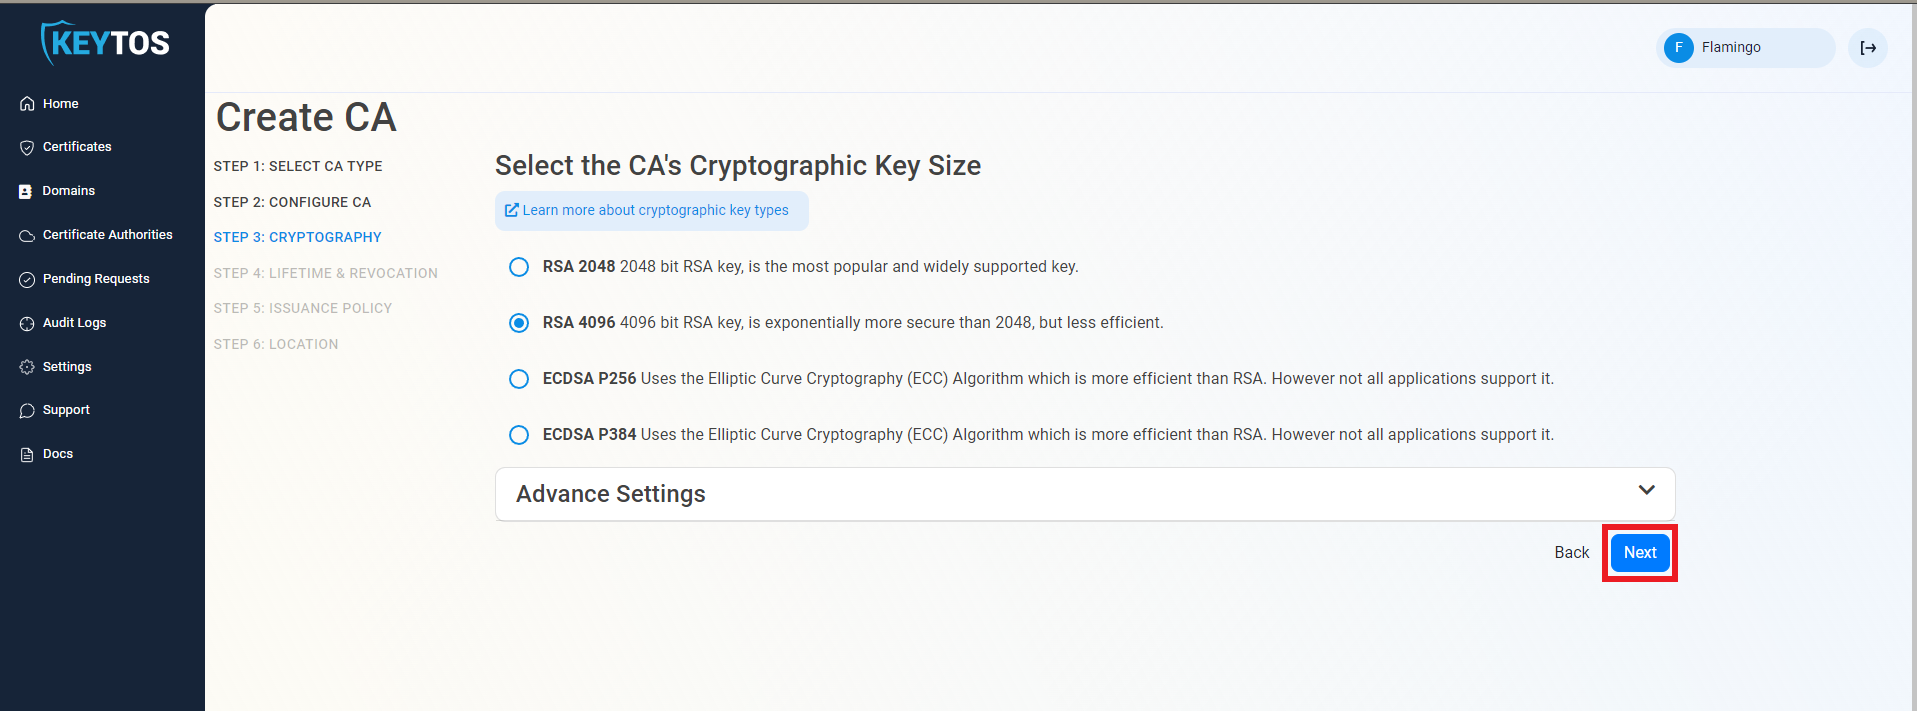
Cryptographic Requirements
- Unless you have specific compliance or security requirements, leave the default cryptographic values for best security and compatibility.
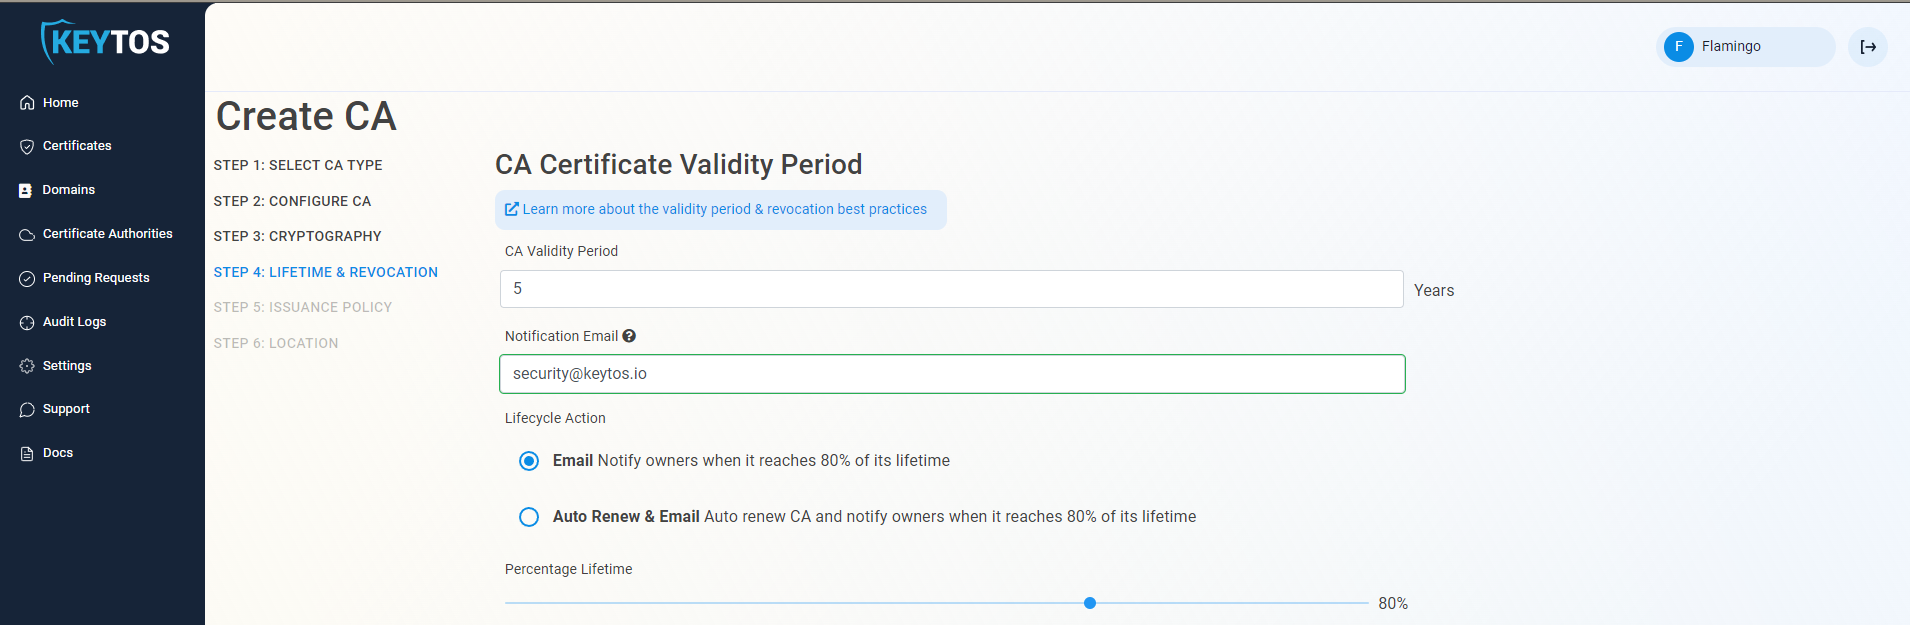
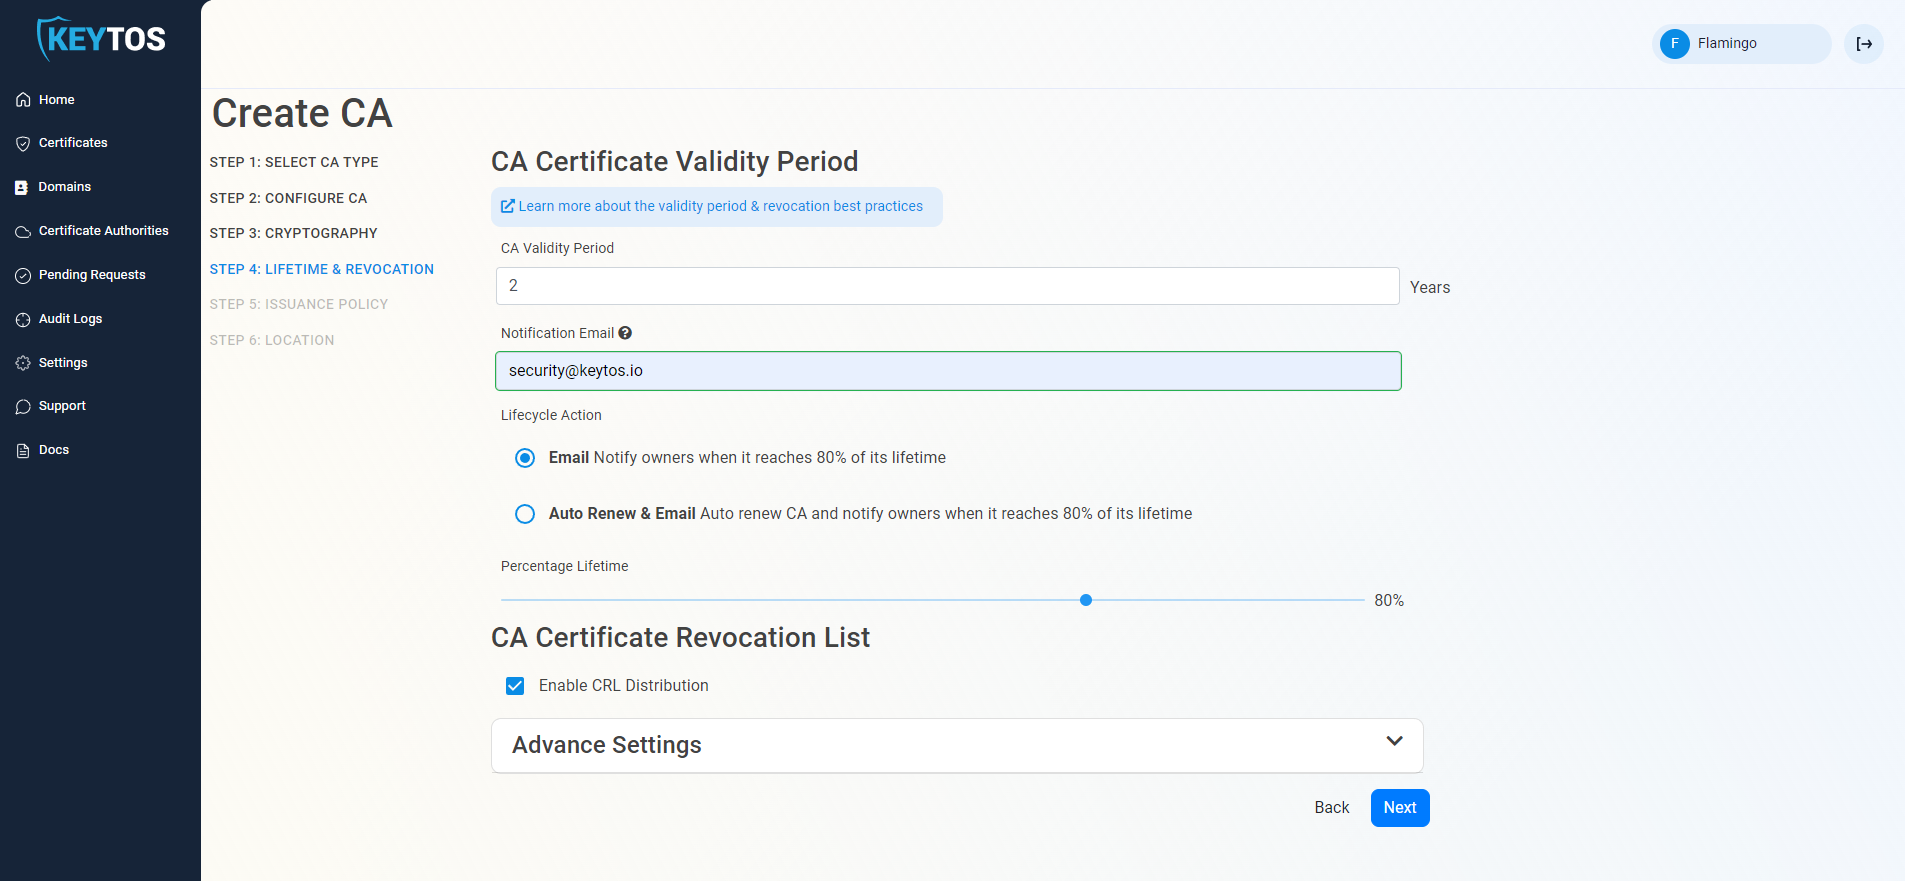
Validity Period
- Select your Validity Period Learn more about Validity Period best practices, keep in mind how you will update this certificate in your IoT devices and the lifetime of your IoT devices.
- Enter a Notification Email this email address (as well as the PKI Administrators) will get all the notifications for the lifecycle of the CA.
- Select the lifecycle action you want EZCA to take when expiry of the CA is approaching
For Root CAs we recommend to have a manual Lifecycle since the new Root will have to be added to the trusted root stores of your clients which requires manual steps from the IT team.
- Select the percentage of lifetime of the certificate when you want EZCA to start taking Lifecycle actions.
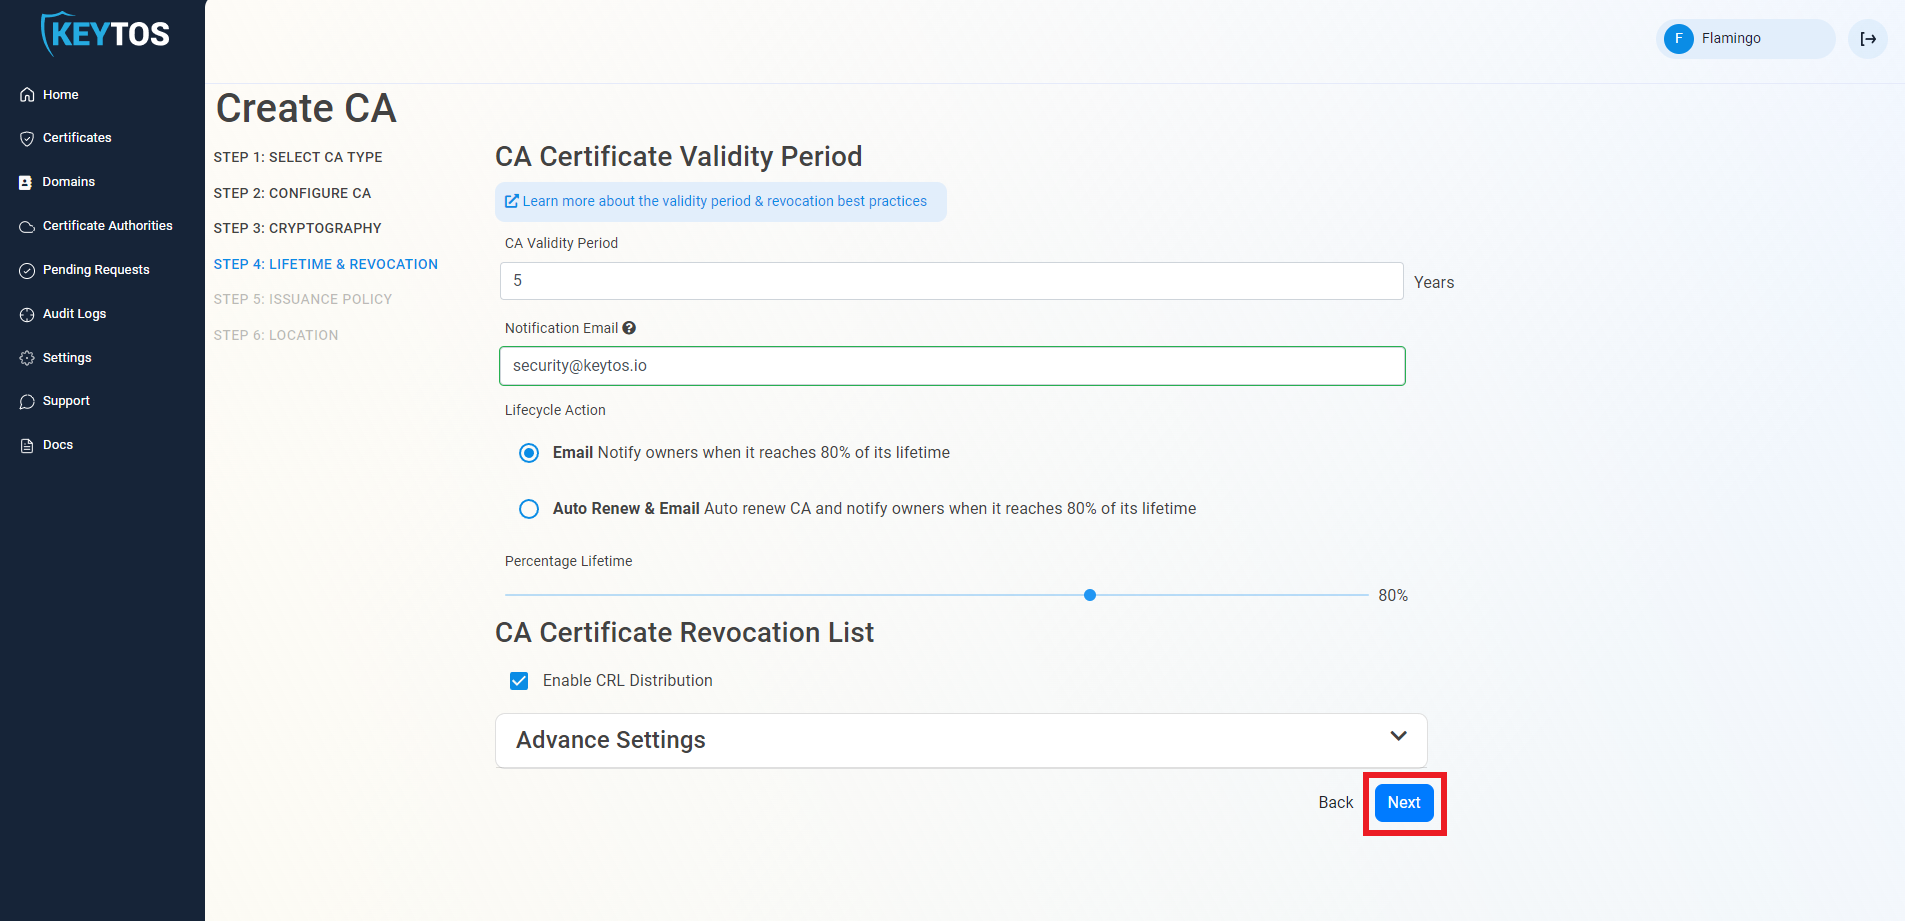
CA Certificate Revocation List
- Select if you want this CA should issue a CRL (Highly recommended)
- Click Next.
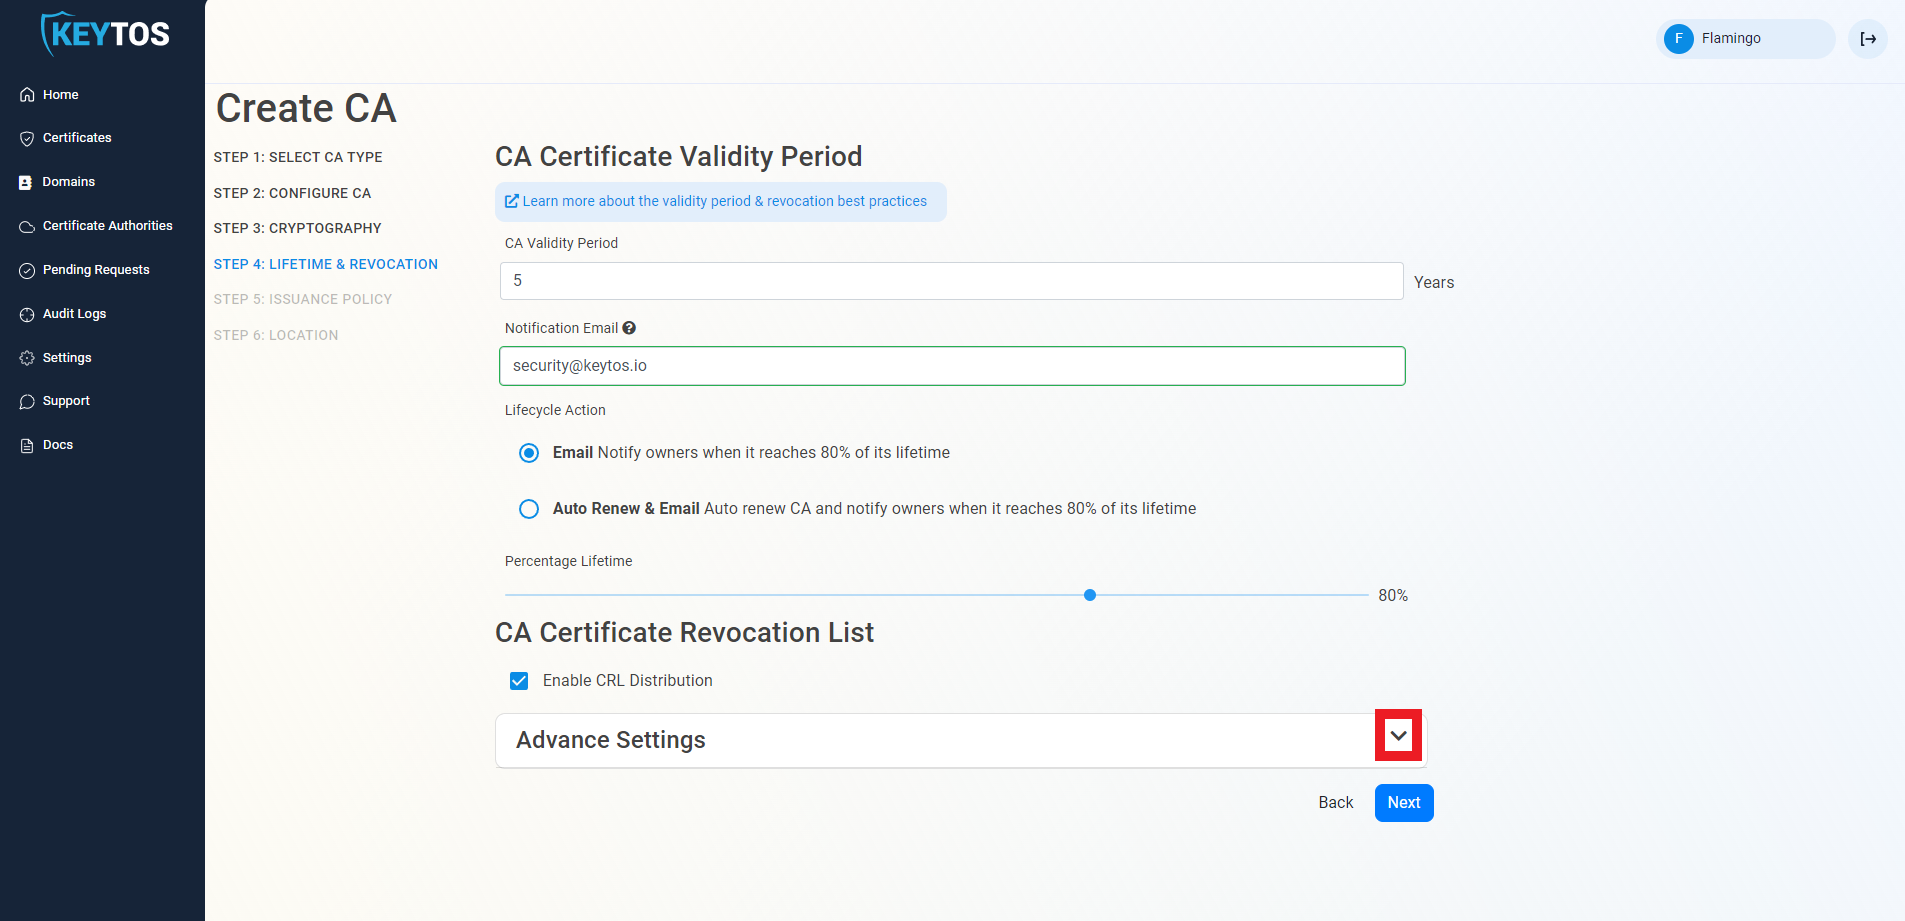
CA Certificate Revocation List Advance Settings
Changes to this section are only recommended for PKI experts with specific requirements.
- Click the expand button
- Enter the desired CRL Validity Period in days
- Enter the desired CRL Overlap Period in hours
- (Optional) Enter the CRL endpoint where you will publish your CRLs
Custom CRL endpoints are supported by EZCA by adding the CRL endpoint as the CRL endpoint in the certificate. However, your PKI admins are responsible from getting the CRL from EZCA and posting it in that specific endpoint.
- Click Next.
Issuance Policy
- Select the Certificate Template you want this CA to Issue. Leave as “Subordinate CA Template” unless creating a 1 tier PKI (Not Recommended)
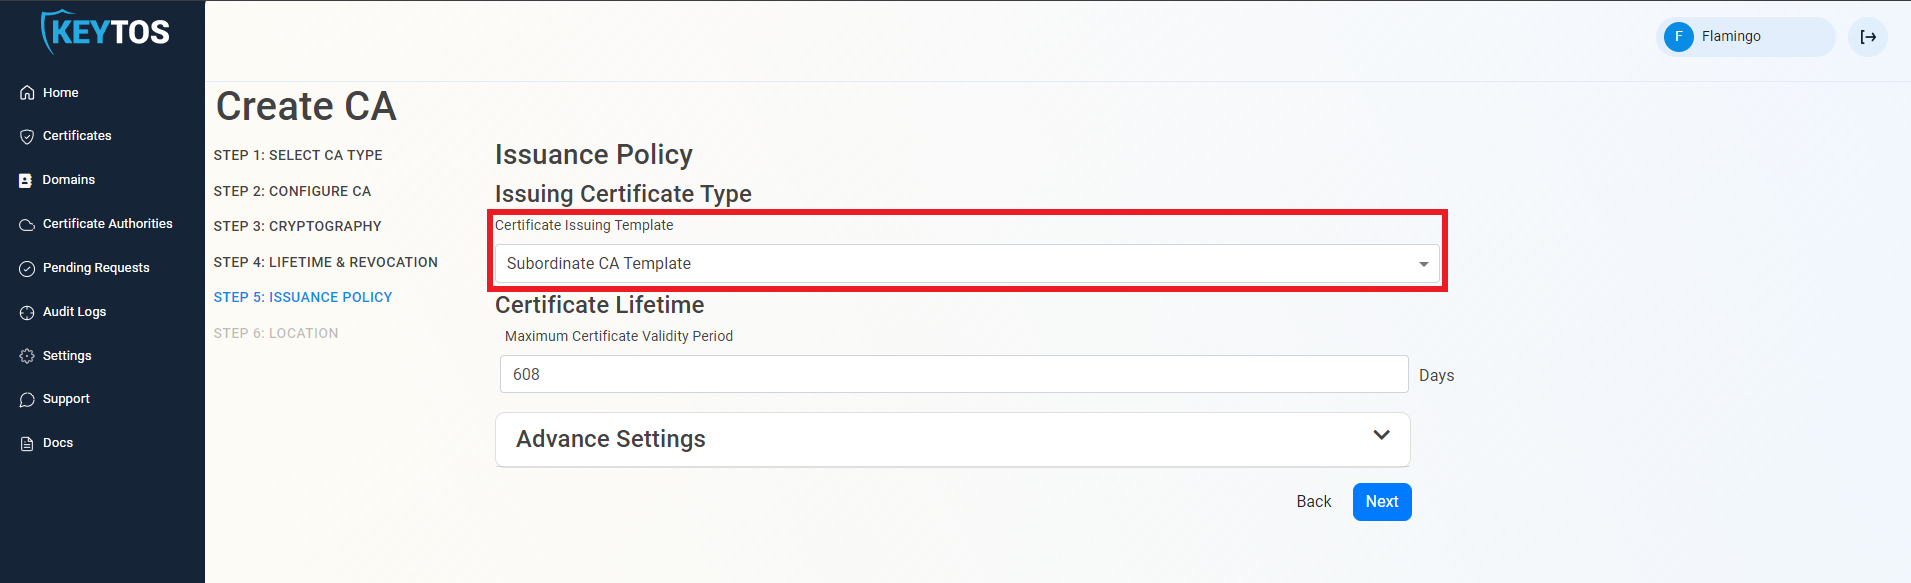
- Enter the largest certificate lifetime that this CA can issue. EZCA automatically calculates the recommended maximum based on CA lifecycle best practices.

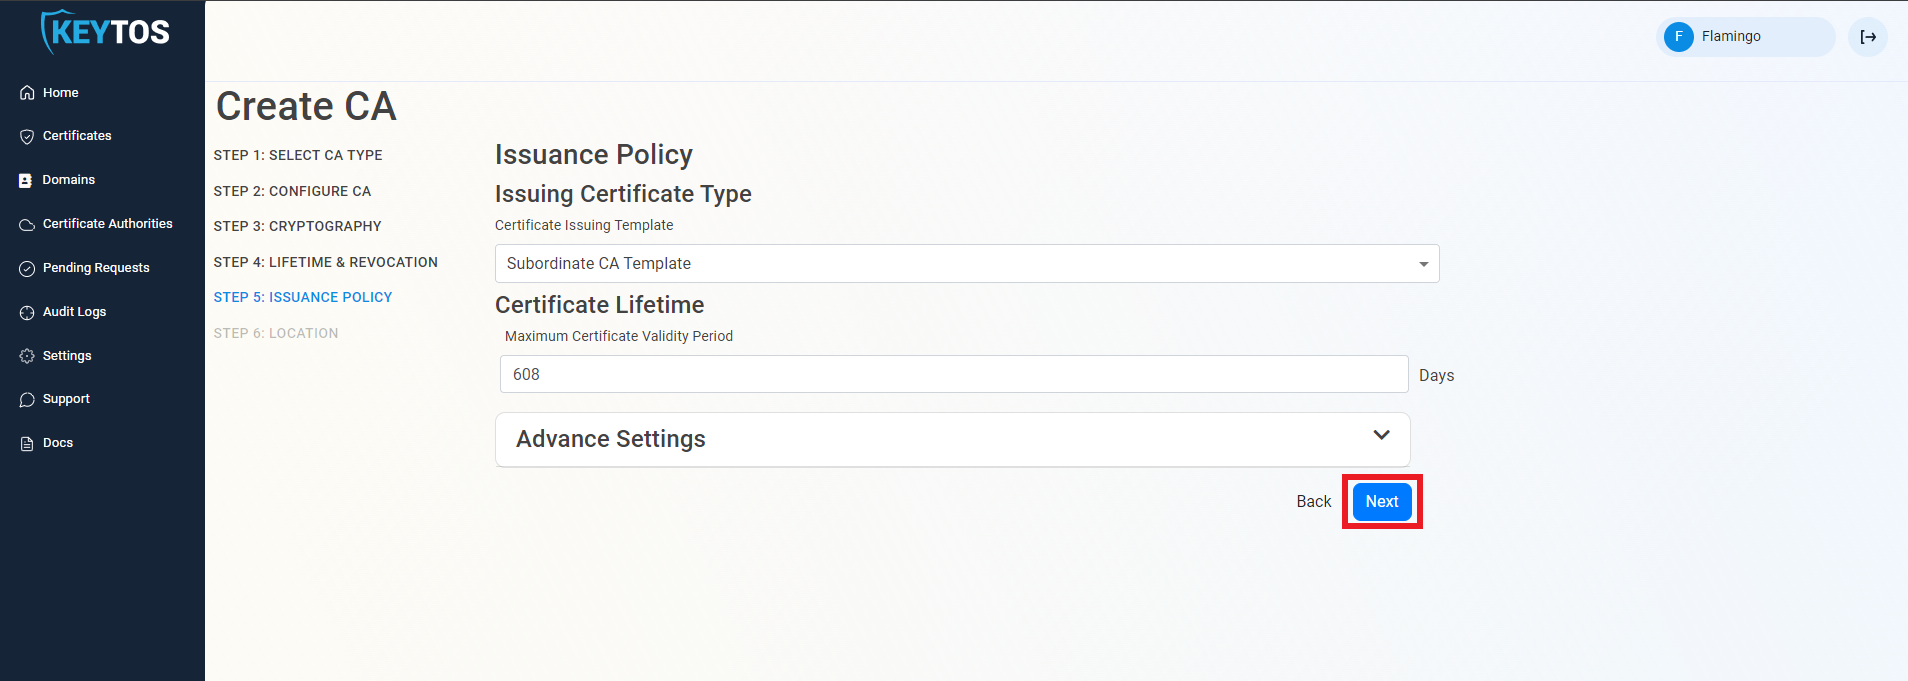
- Click Next.
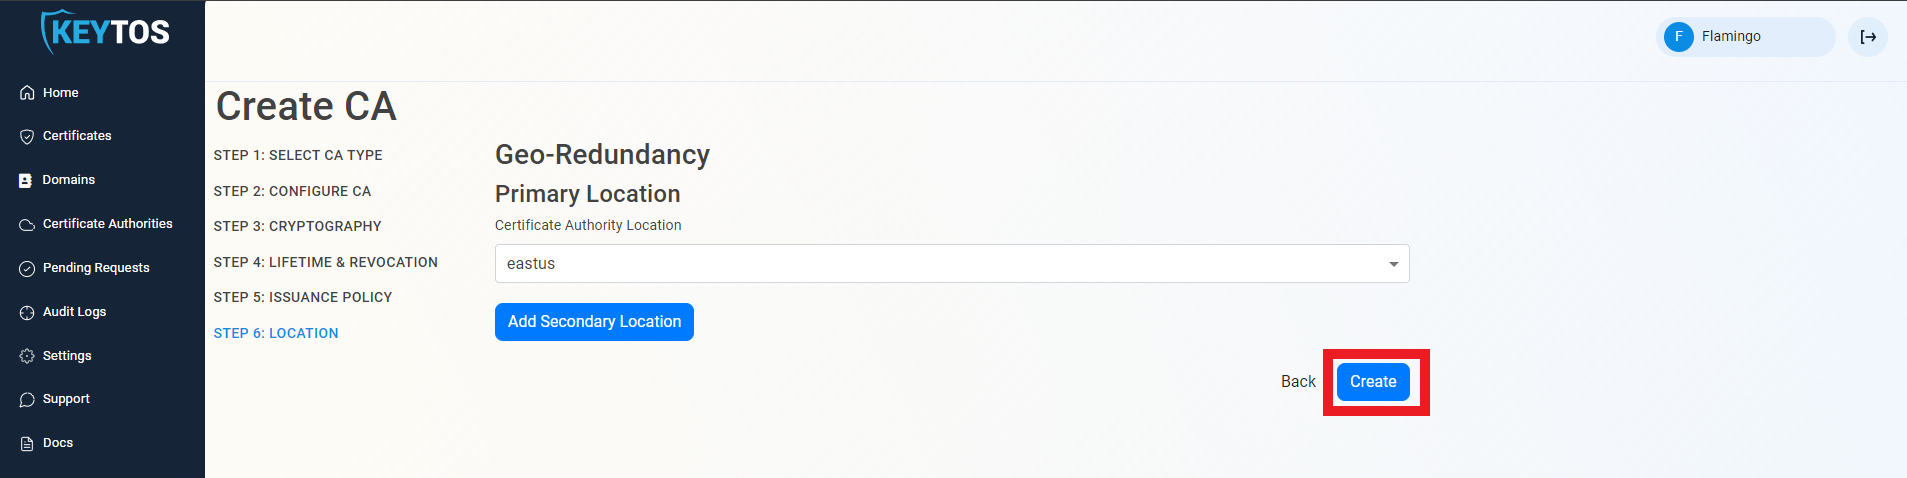
Select Location
- Select the location where you want your CA to be created.
- Click Create
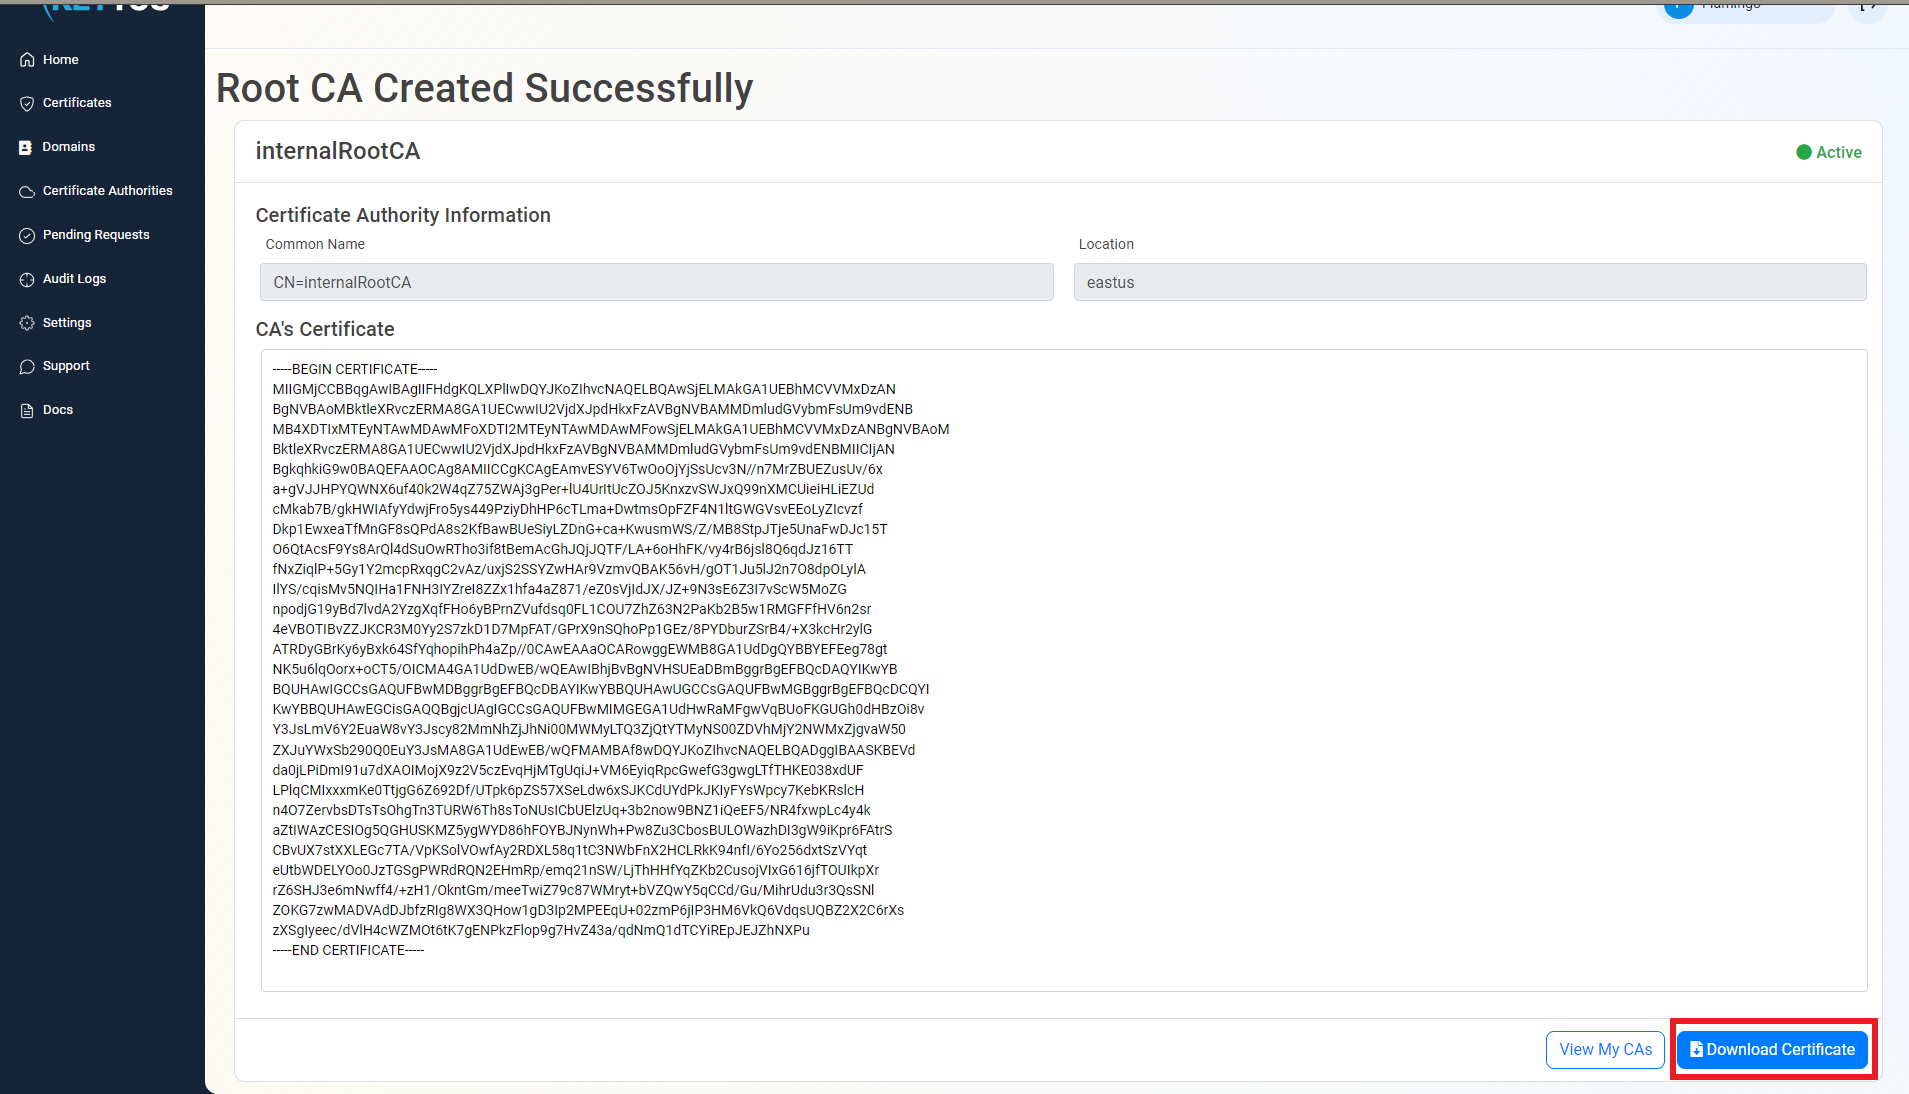
Download Certificate
- Once the CA is created download to certificate and push it to all your devices and Azure IoT Hub as a trusted root.
Creating the Intermediate CA for Azure IoT Edge
Getting Started
- Go to https://portal.ezca.io/
- Login with an account that is registered as a PKI Admin in EZCA.
- Navigate to Certificate Authorities.
- Click on the “Create CA”
- Select Subordinate/Intermediate CA.
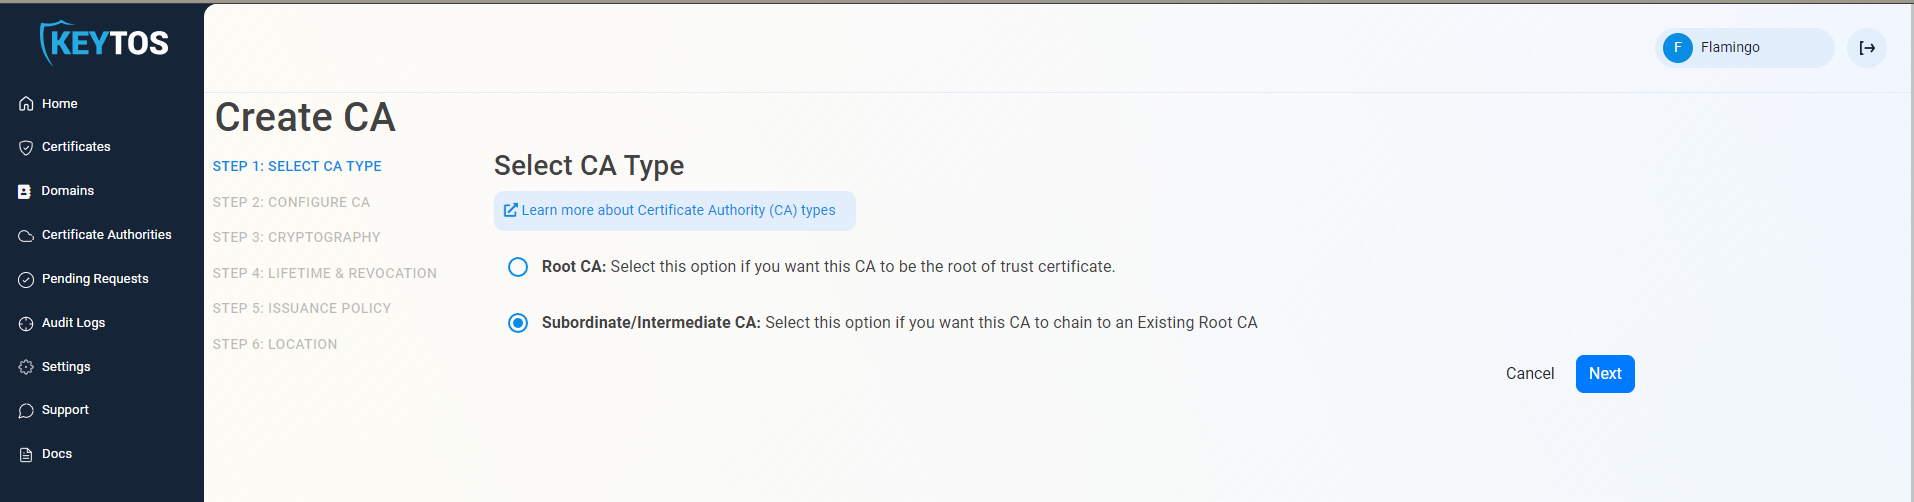
- Click Next
Entering CA Information
- Enter Common Name: This is the name of the CA how it will appear in the certificate.
- (Optional) Enter CA Friendly Name This is the name that will appear in the EZCA portal, by default we will use the Common Name
- (Optional) Enter the Organization The Organization field is an optional certificate field that usually has the company name.
- (Optional) Enter the Organization Unit The Organization Unit field is an optional certificate field that usually contains the unit that runs this CA (For example: IT or HR).
- (Optional) Enter the Country Code The Country Code field is an optional certificate field that identifies the country where this CA is located.
- Click Next.
Cryptographic Requirements
- Unless you have specific compliance or security requirements, leave the default cryptographic values for best security and compatibility.
Validity Period
- Select your Validity Period Learn more about Validity Period best practices
- Enter a Notification Email this email address (as well as the PKI Administrators) will get all the notifications for the lifecycle of the CA.
- Select the lifecycle action you want EZCA to take when expiry of the CA is approaching
- Select the percentage of lifetime of the certificate when you want EZCA to start taking Lifecycle actions.
CA Certificate Revocation List
- Select if you want this CA should issue a CRL (Highly recommended)
- Click Next.
CA Certificate Revocation List Advance Settings
Changes to this section are only recommended for PKI experts with specific requirements.
- Click the expand button
- Enter the desired CRL Validity Period in days
- Enter the desired CRL Overlap Period in hours
- (Optional) Enter the CRL endpoint where you will publish your CRLs
Custom CRL endpoints are supported by EZCA by adding the CRL endpoint as the CRL endpoint in the certificate. However, your PKI admins are responsible from getting the CRL from EZCA and posting it in that specific endpoint.
- Click Next.
Issuance Policy
- Change the certificate Issuing Template to “IoT Edge CA Template”
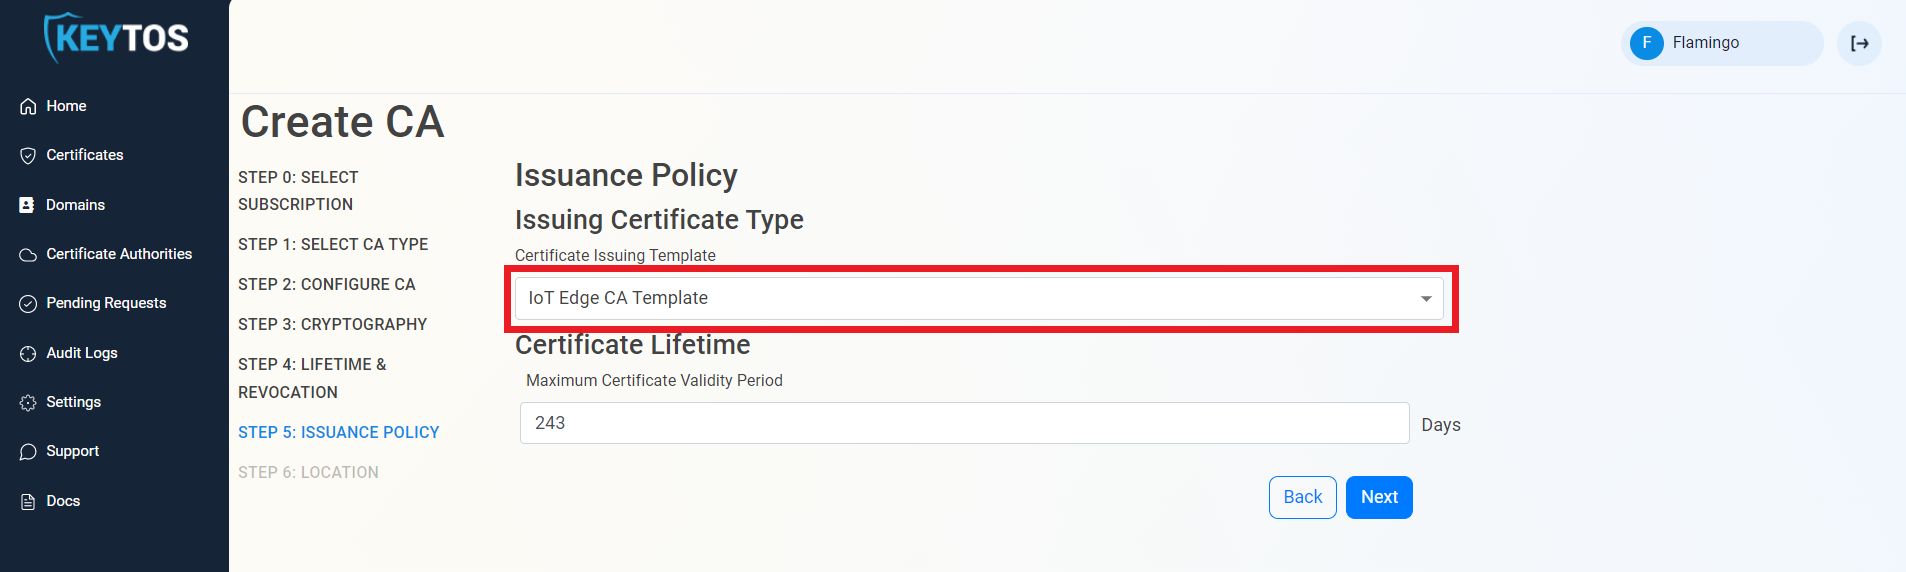
- Enter the largest certificate lifetime that this CA can issue. EZCA automatically calculates the recommended maximum based on CA lifecycle best practices.
- Click Next.
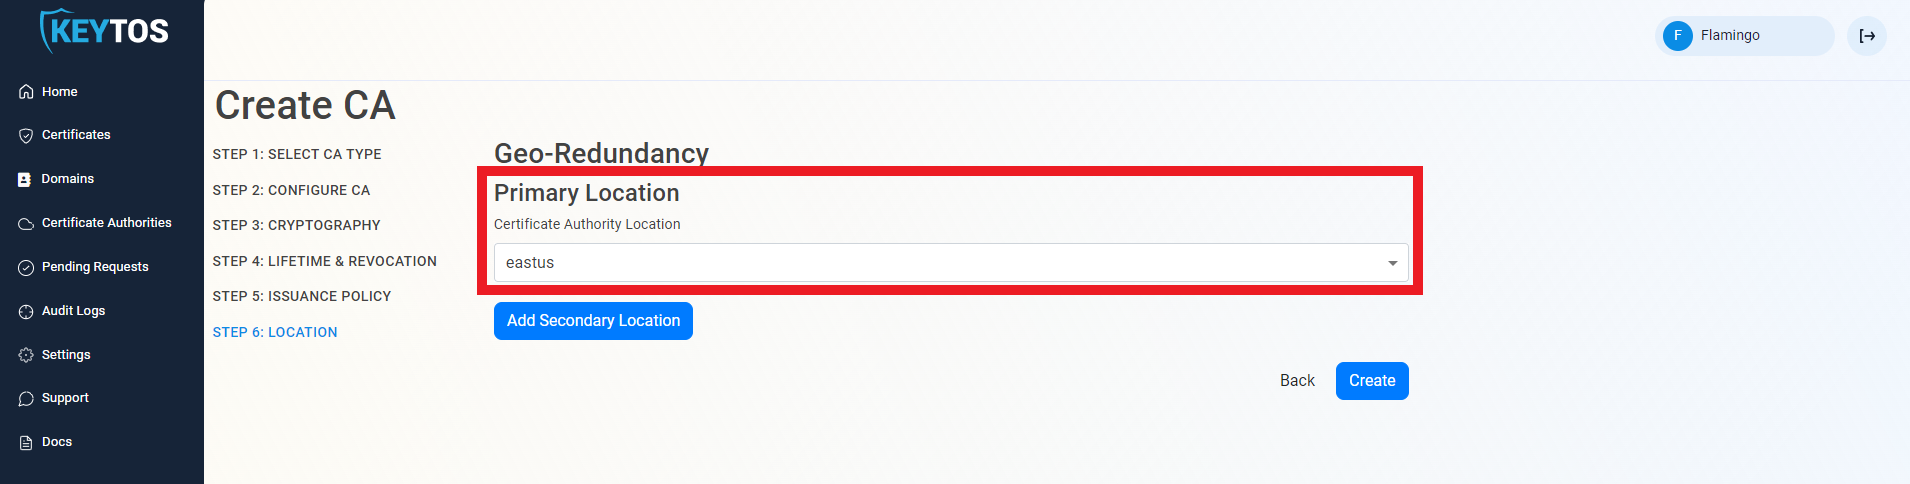
Select Location
- Select the location where you want your CA to be created.
Add Geo-Redundancy
EZCA Allows you to create multiple CAs across many regions to create Geo-Redundancy.
Each location will be charged as an extra Certificate Authority.
- Click the “Add Secondary Location” Button.

- Enter the Location information.
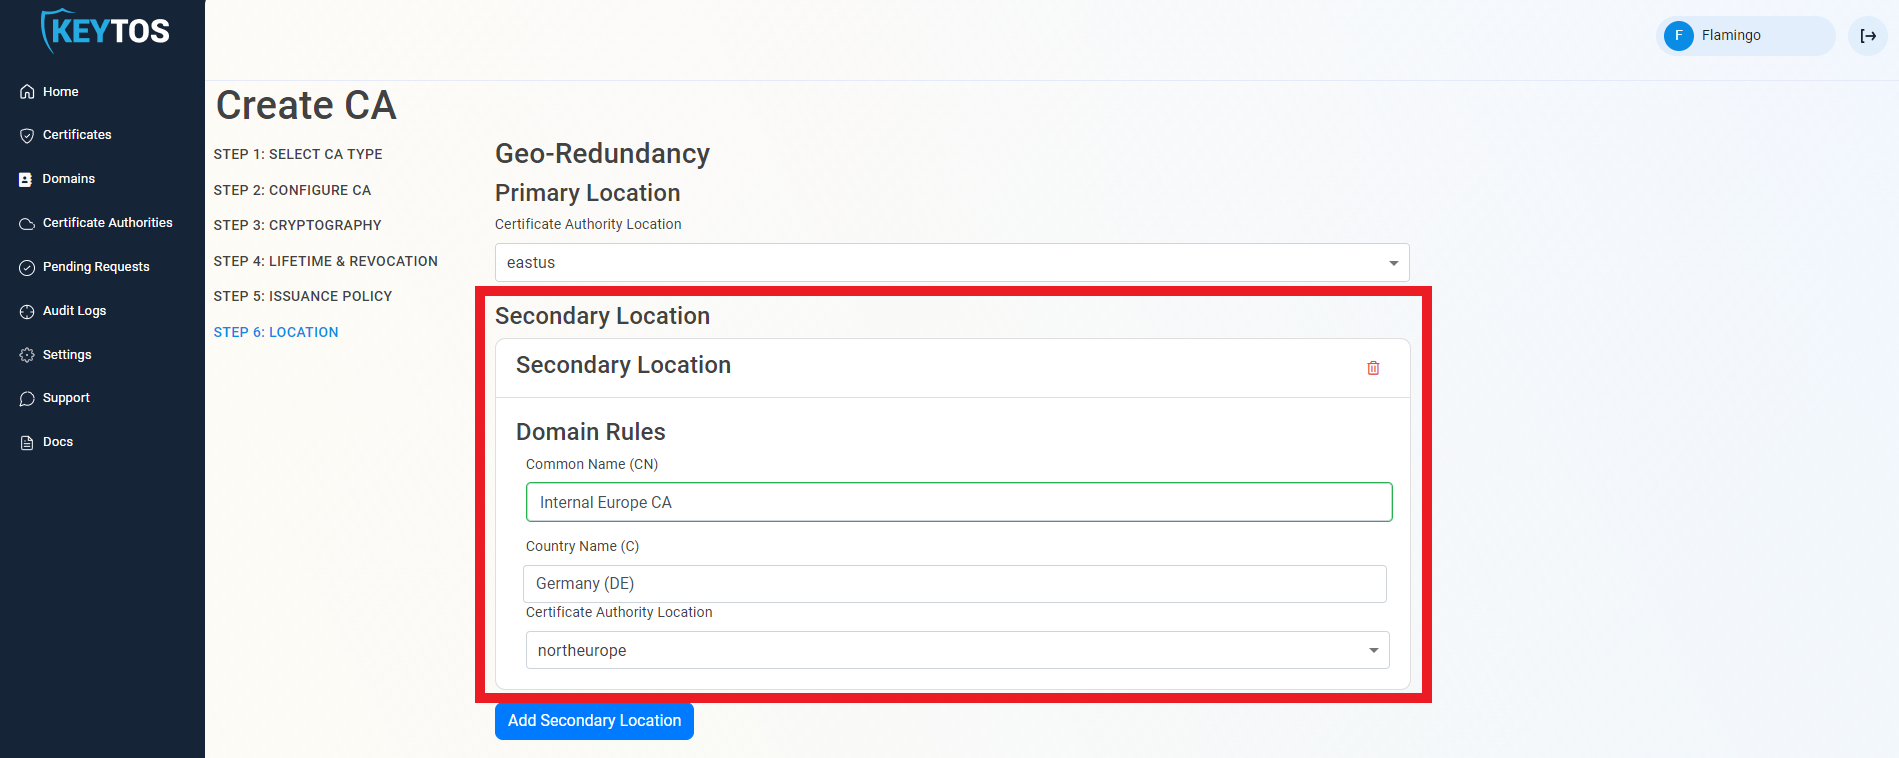
- Add as many locations as needed.
Create CA
- Click Create.
Chaining to EZCA Root CA
- Once the CA is requested, a Certificate Signing Request (CSR) will be created for each location.
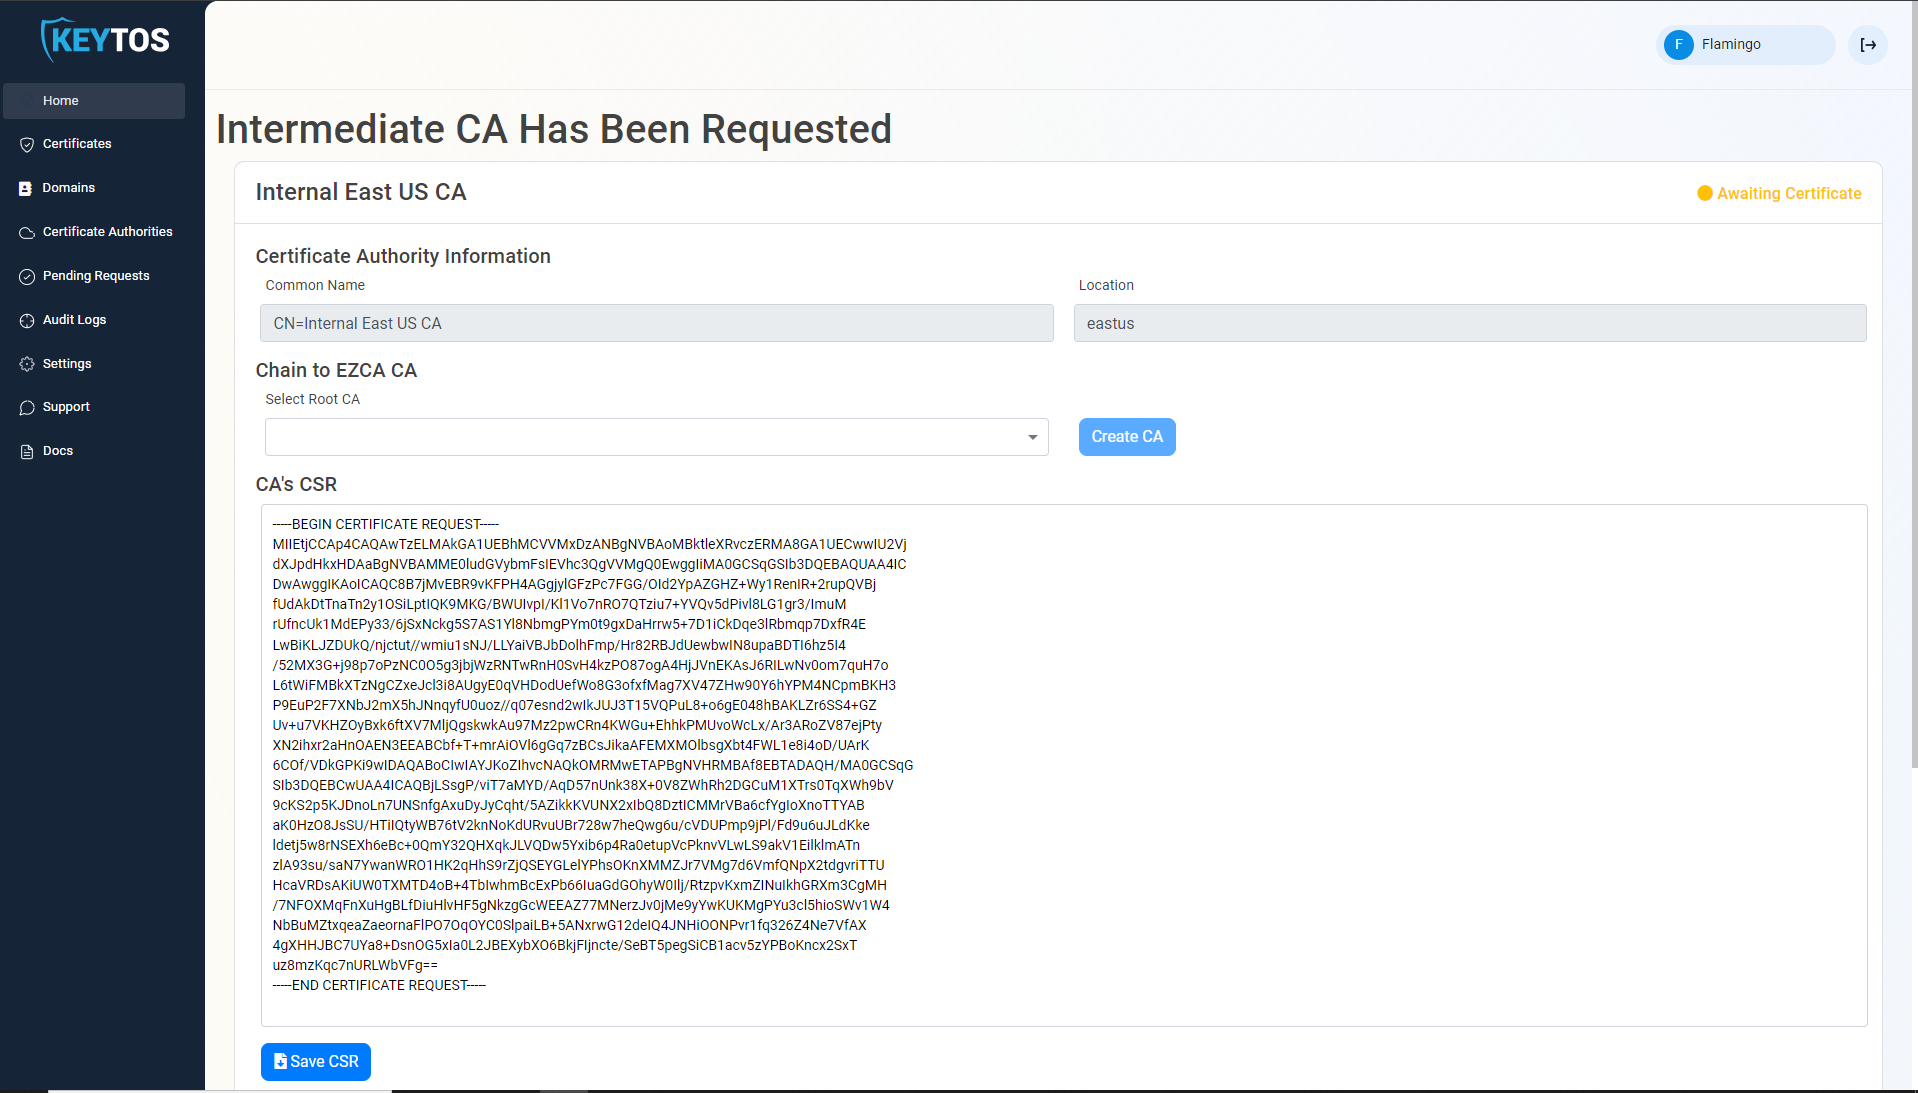
- If your desired Root CA is an EZCA CA, Select it from the dropdown and click create CA.
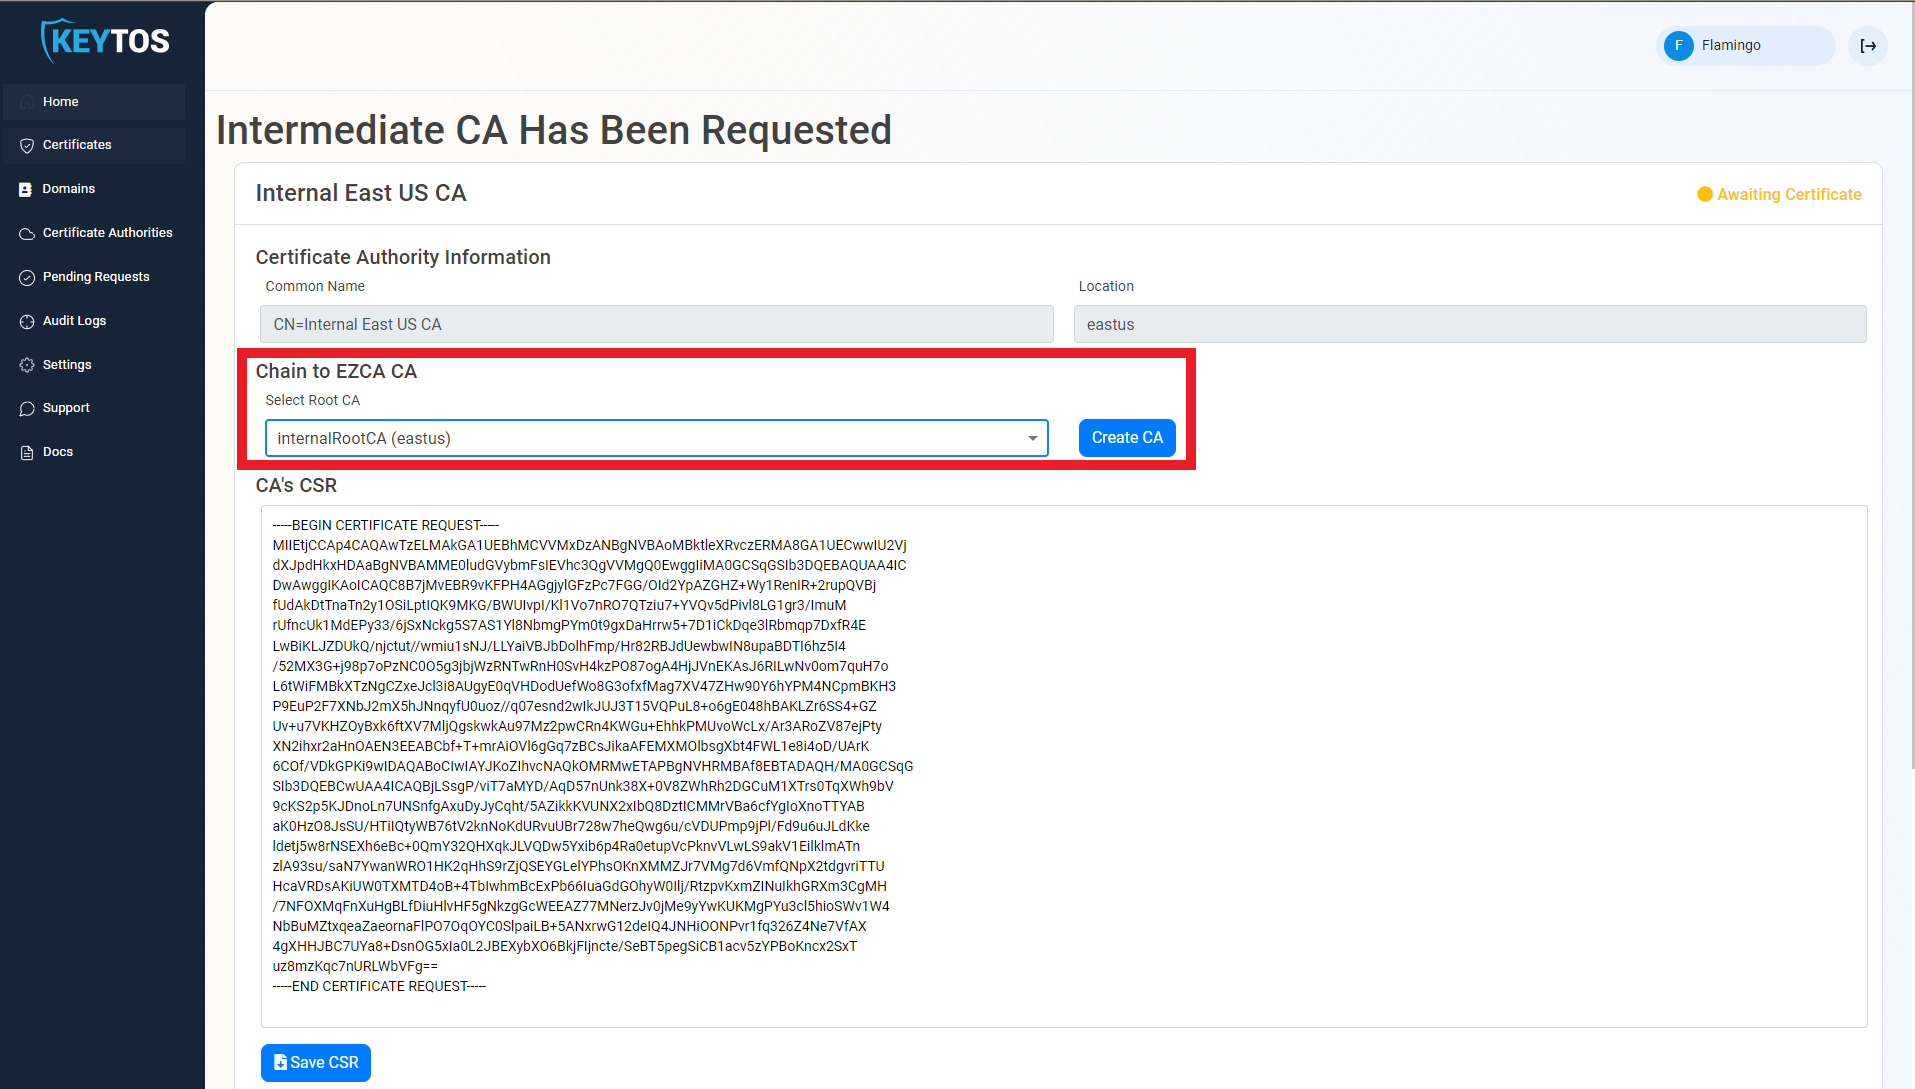
- Repeat these steps for each location.
- Your CA is ready to be used!
Creating Device Certificate for Azure IoT Edge Devices
Once the CAs are created, we have to create a gateway device certificate for each device.
Creating Certificate Request in Azure IoT Edge Device
- SSH into your IoT Edge Device.
These actions must be done on the IoT Edge Device since private keys should never leave the computer they were created on.
- Run the following command where
- PRIVATEKEY.key is the path to where you want to save the private key
- MYCSR.csr is the path to where you want to save the certificate signing request
- DEVICEID is the device ID for this IoT Edge device.
openssl req -newkey rsa:2048 -keyout PRIVATEKEY.key -out MYCSR.csr -subj /CN=DEVICEID - Once the CSR is created, we have to output it since we will use it to request the certificate in EZCA.
cat MYCSR.csr
Requesting the certificate in EZCA
- Navigate to https://portal.ezca.io/
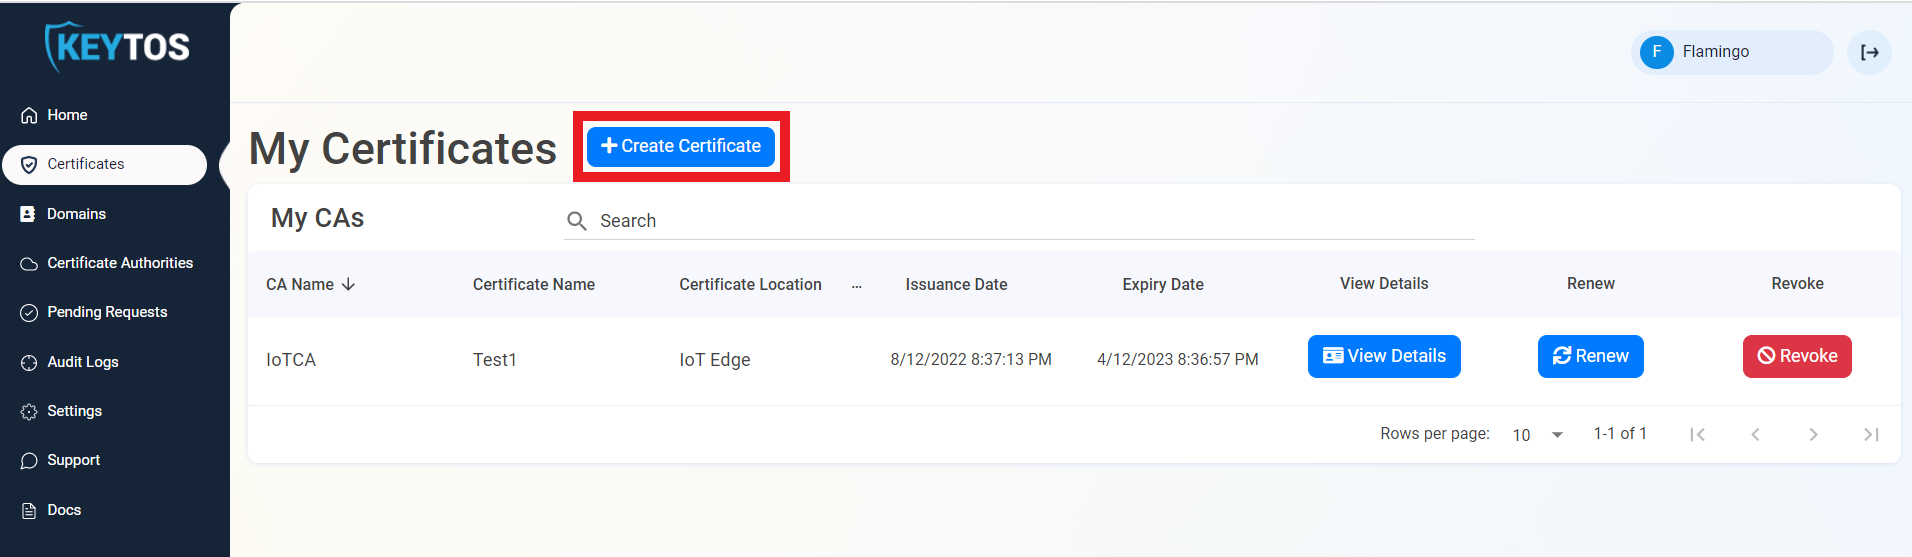
- Navigate to Certificates.
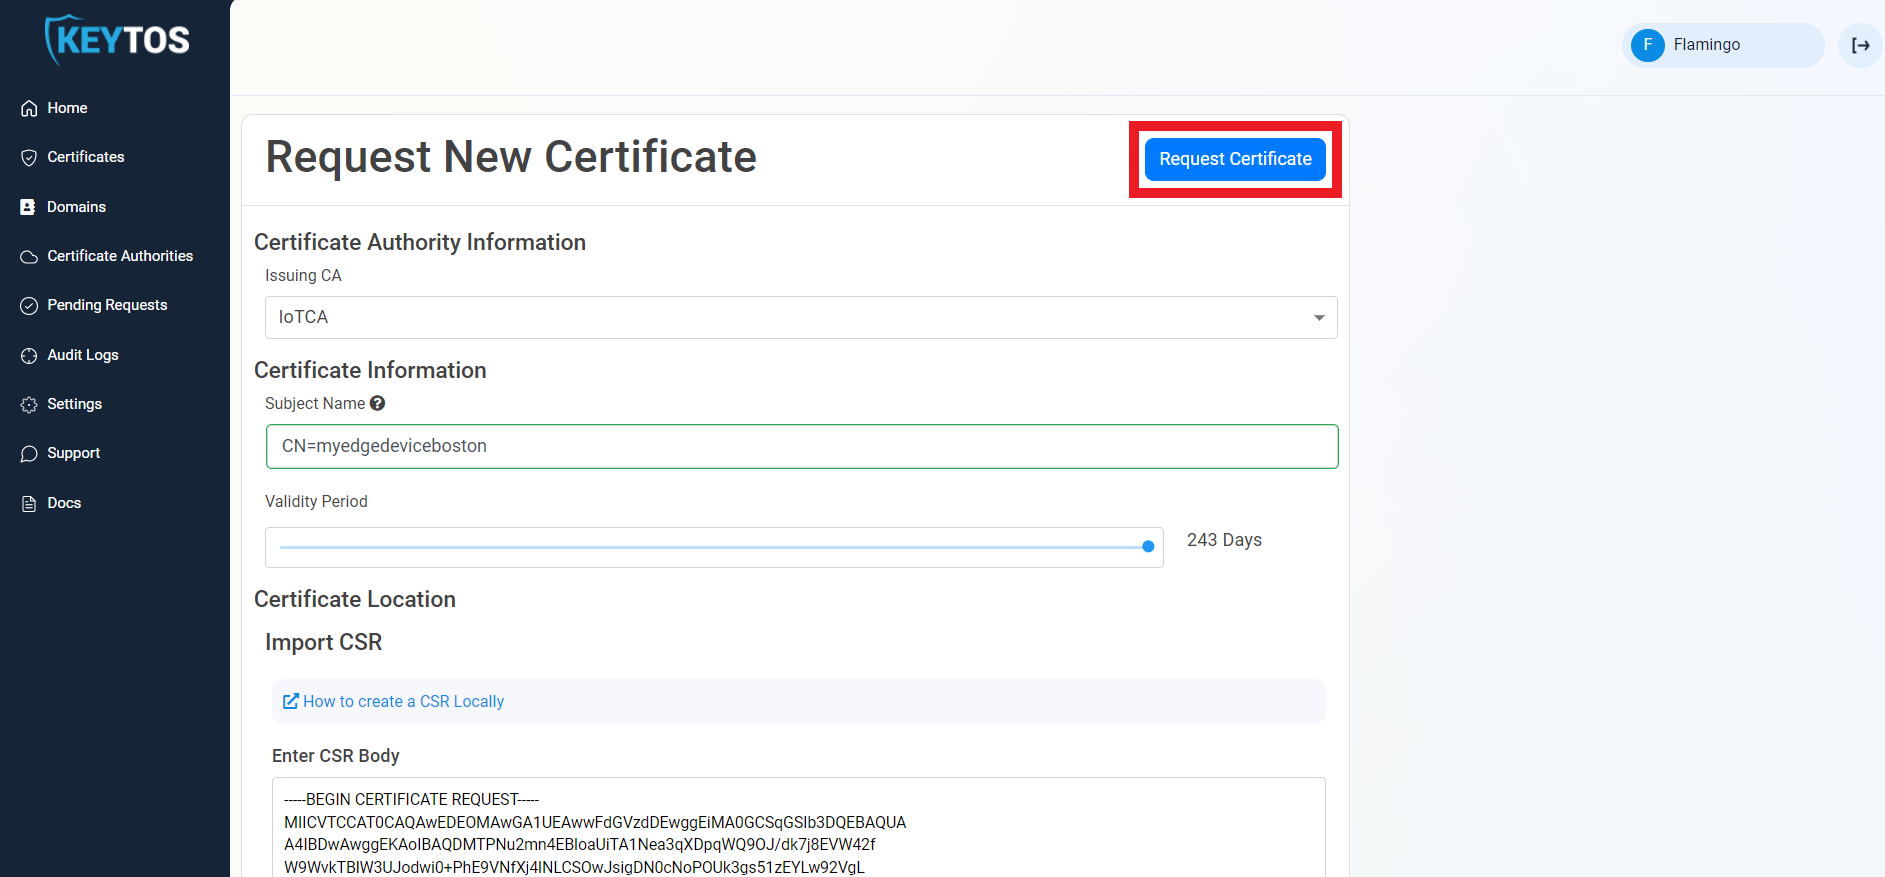
- Click Create Certificate.
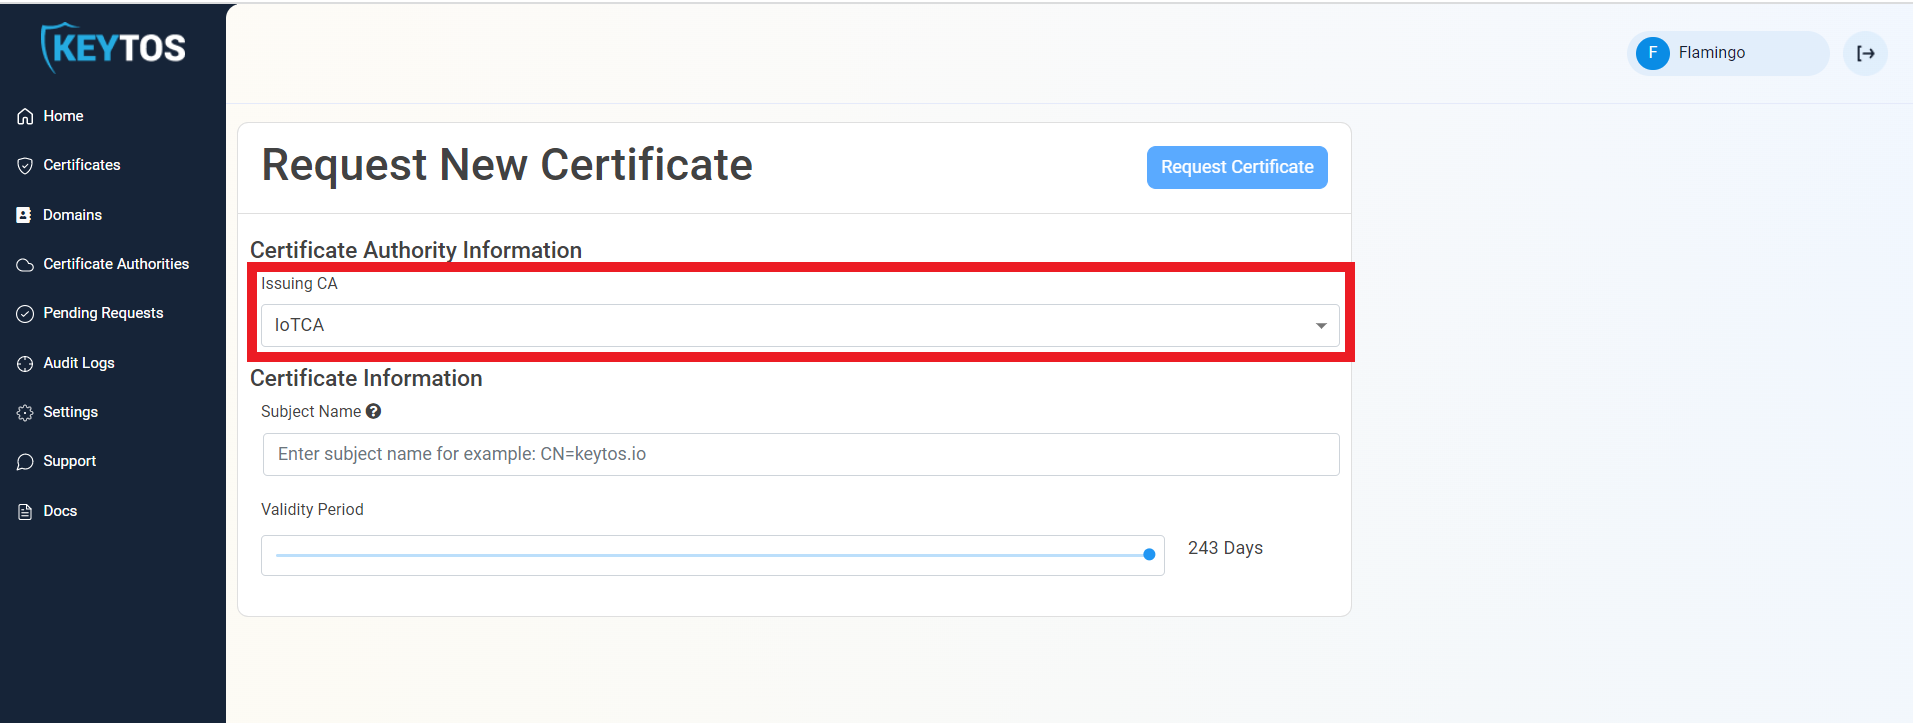
 1 Select the Azure IoT Edge Subordinate CA we created in the previous section.
- Enter your Device ID as the certificate subject name following this format:
CN=DEVICEIDwhere device id is the device ID of your IoT edge.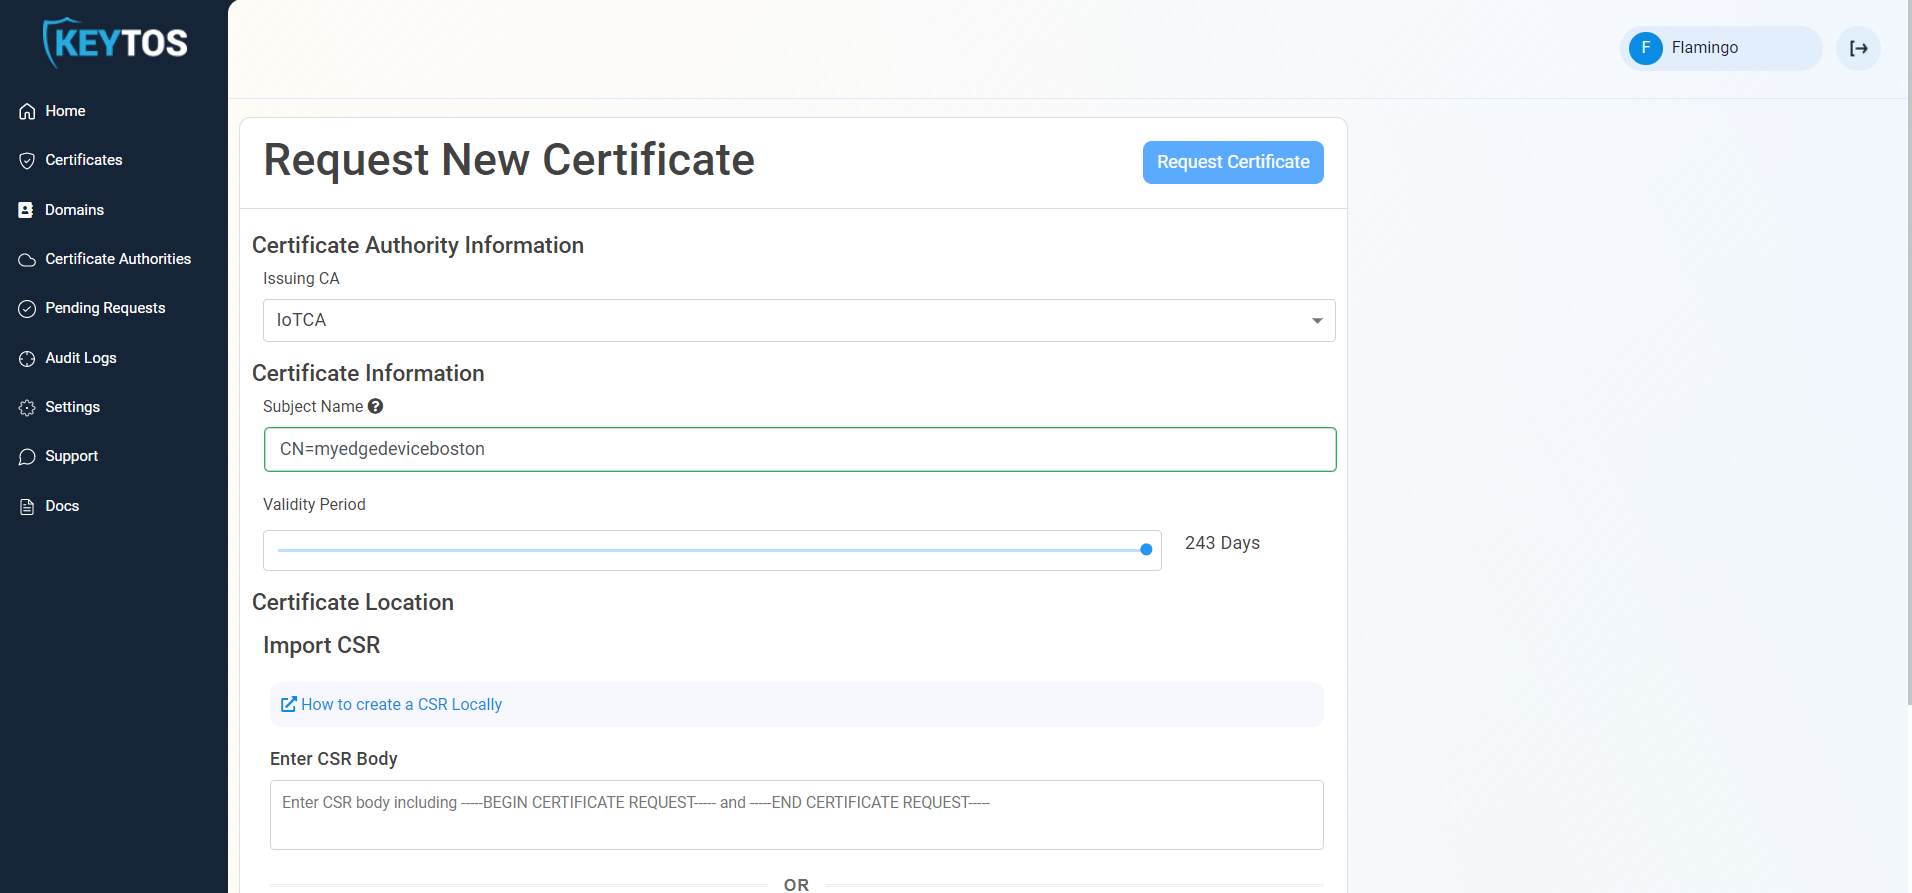
- Copy the CSR we created in the IoT edge.
- Paste it in the CSR area.
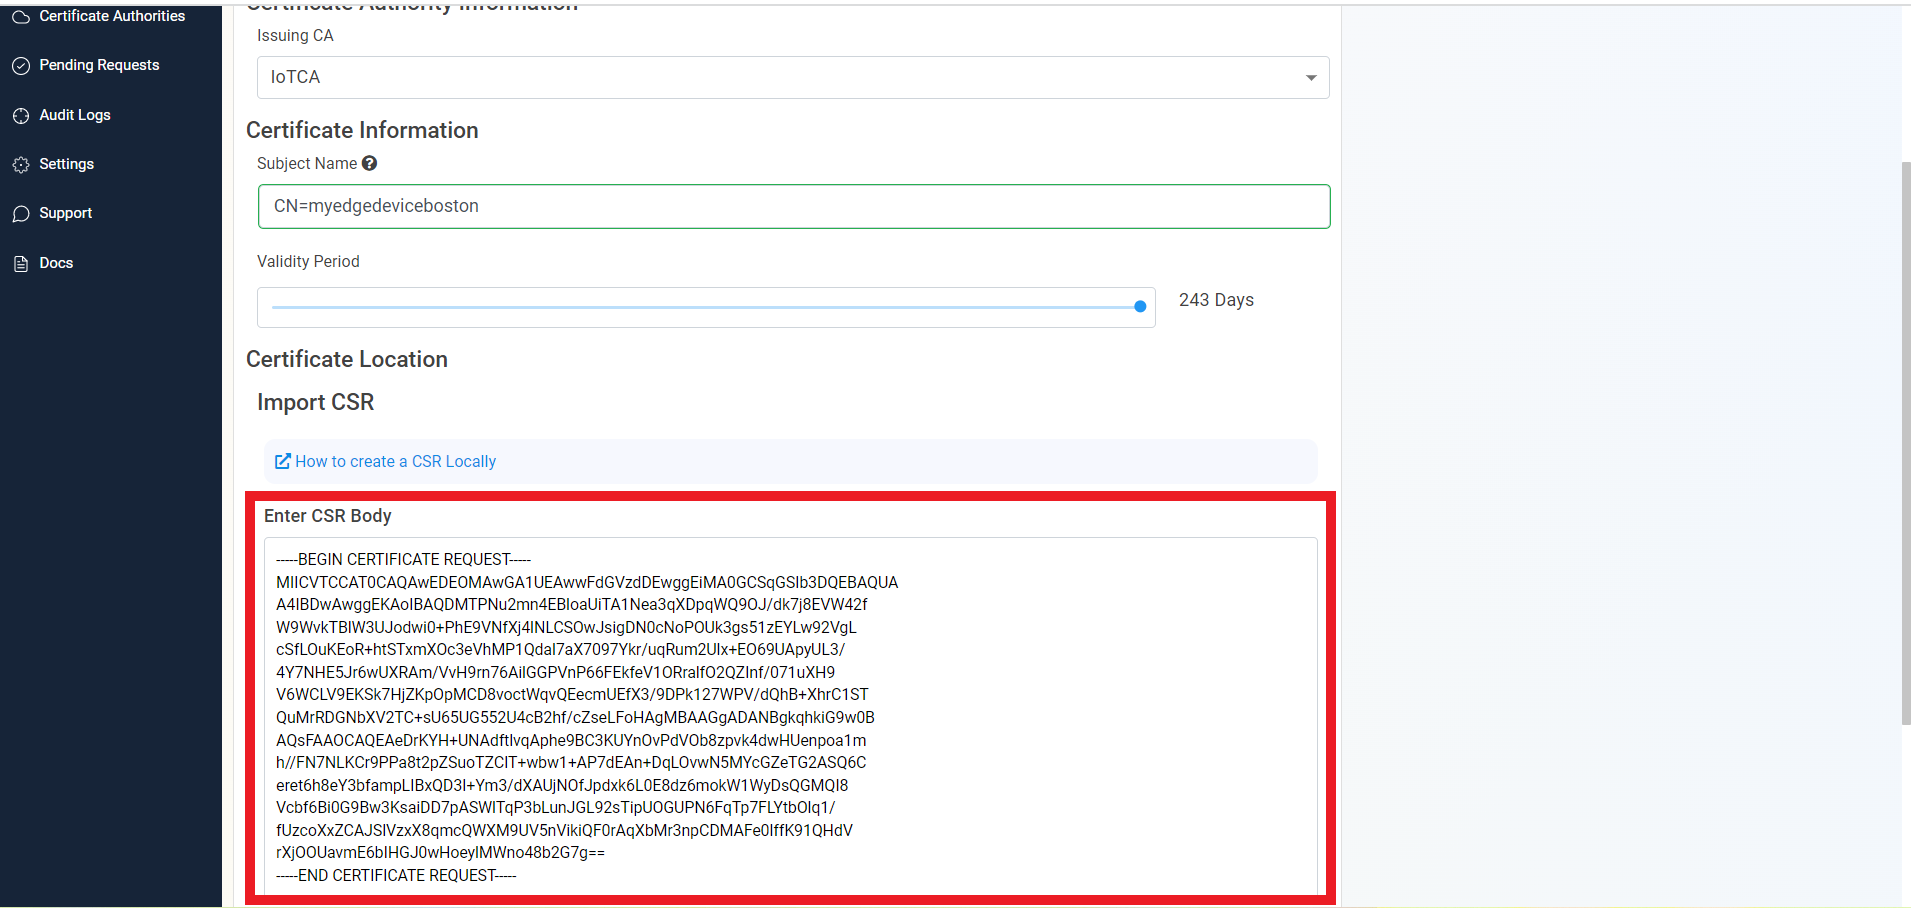
- Click the “Request Certificate” button
- Once the certificate is created, Download the file and save it in the IoT edge device in the same path as the
PRIVATEKEY.keywith a.pemfile ending.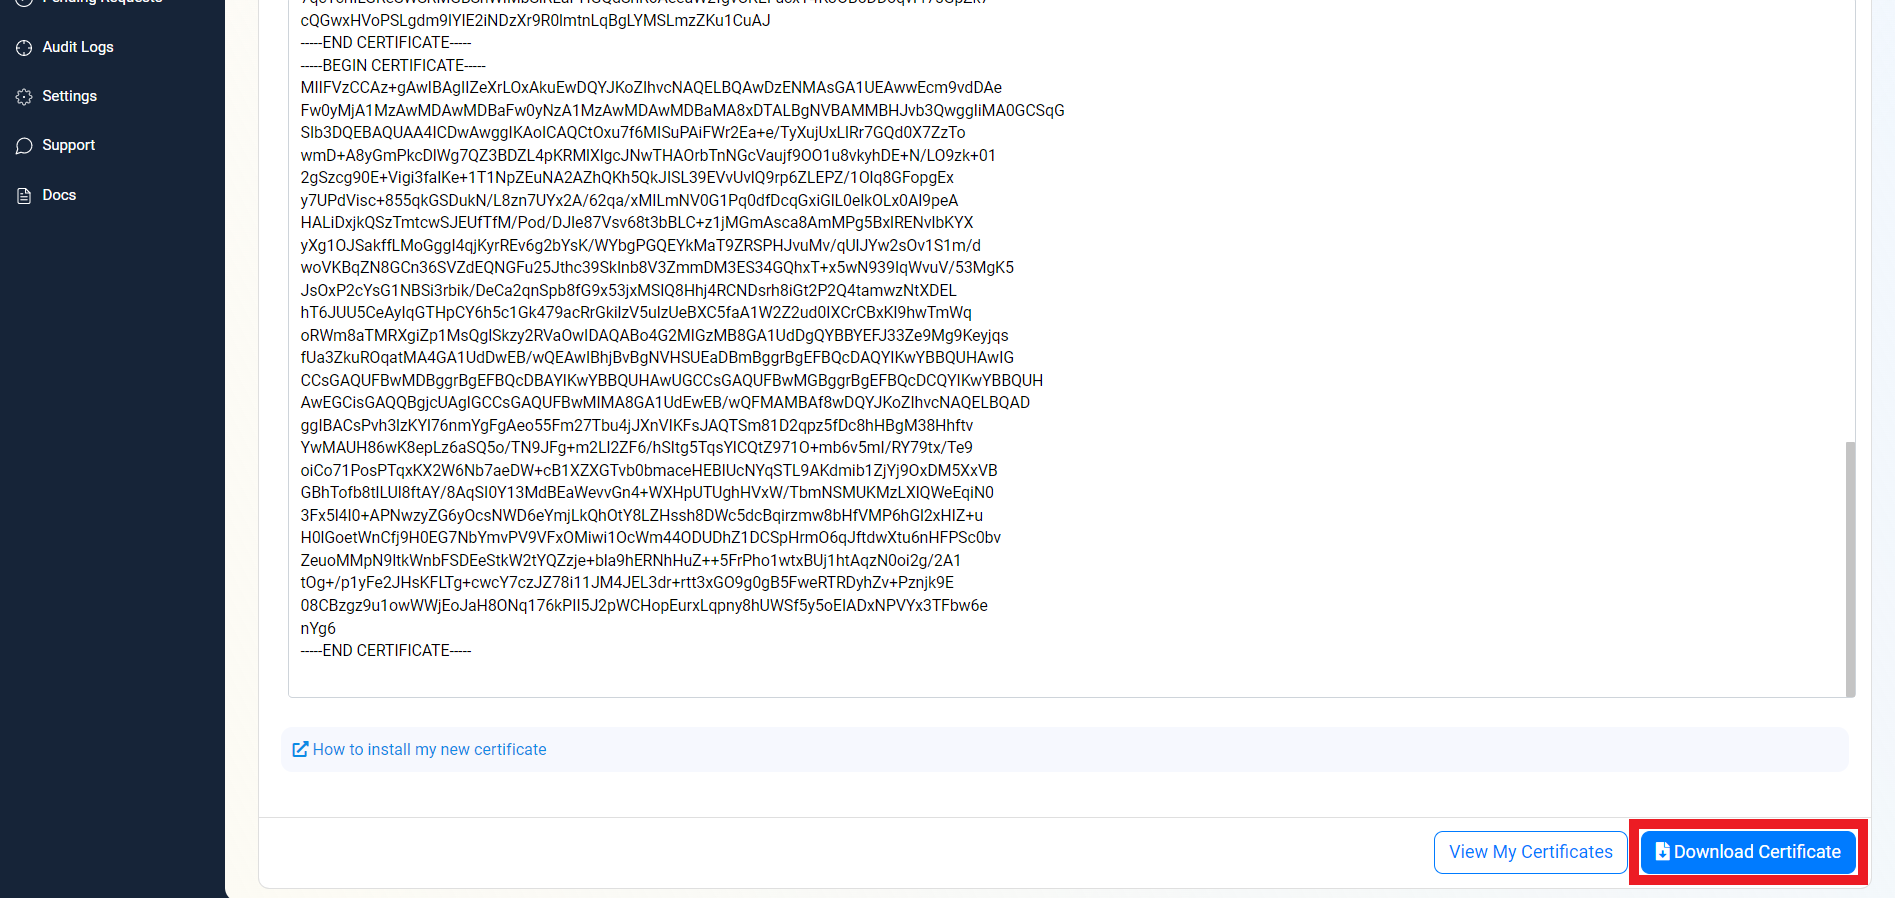
Next Steps
- Now you are ready to Configure certificates on the IoT Edge device