Keytos Documentation > Passwordless onboarding tool For Azure Unphishable Credentials > Administrator Actions > Register Domain > Create ADCS CA > Create CA Templates
Create CA Templates
Introduction
In this page we will walk you through how to set up your ADCS CA to have an enrollment agent certificate and use that enrollment certificate to issue certificates.
Creating Enrollment Certificate
EZSmartCard will use a certificate issued by your CA to sign the requests and authenticate that the request was issued by our EZSmartCard agent. In the following steps I will walk you through how to create the template for this certificate.
- Open The Certificate Authority management console.
- Right click the Certificate Templates Folder.

- Click Manage.
- Right click the Enrollment Agent Template
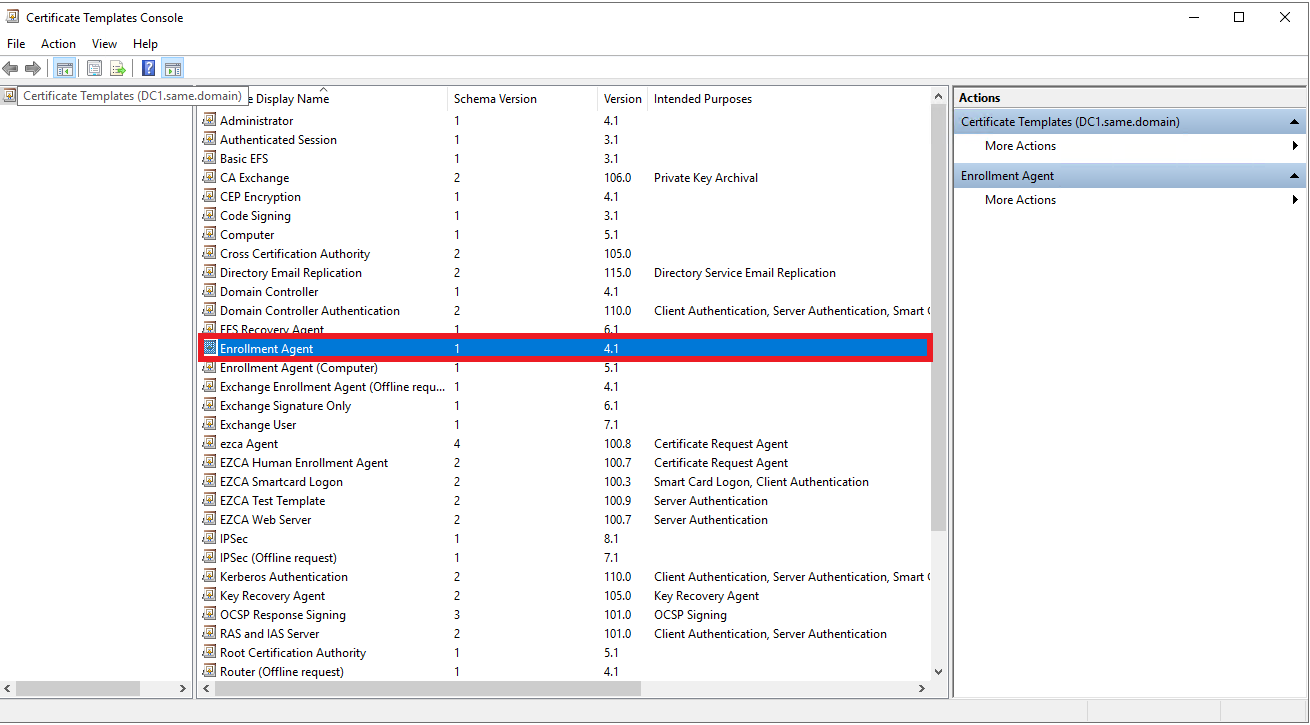
- Select the Duplicate option.
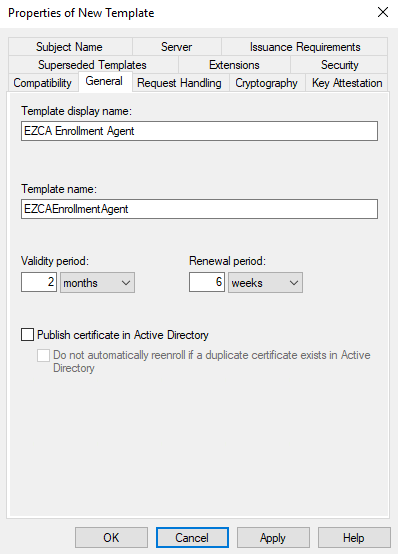
- Switch to the General tab.
- Change the Name to EZCA Enrollment Agent.
- Change validity period to 2 months.
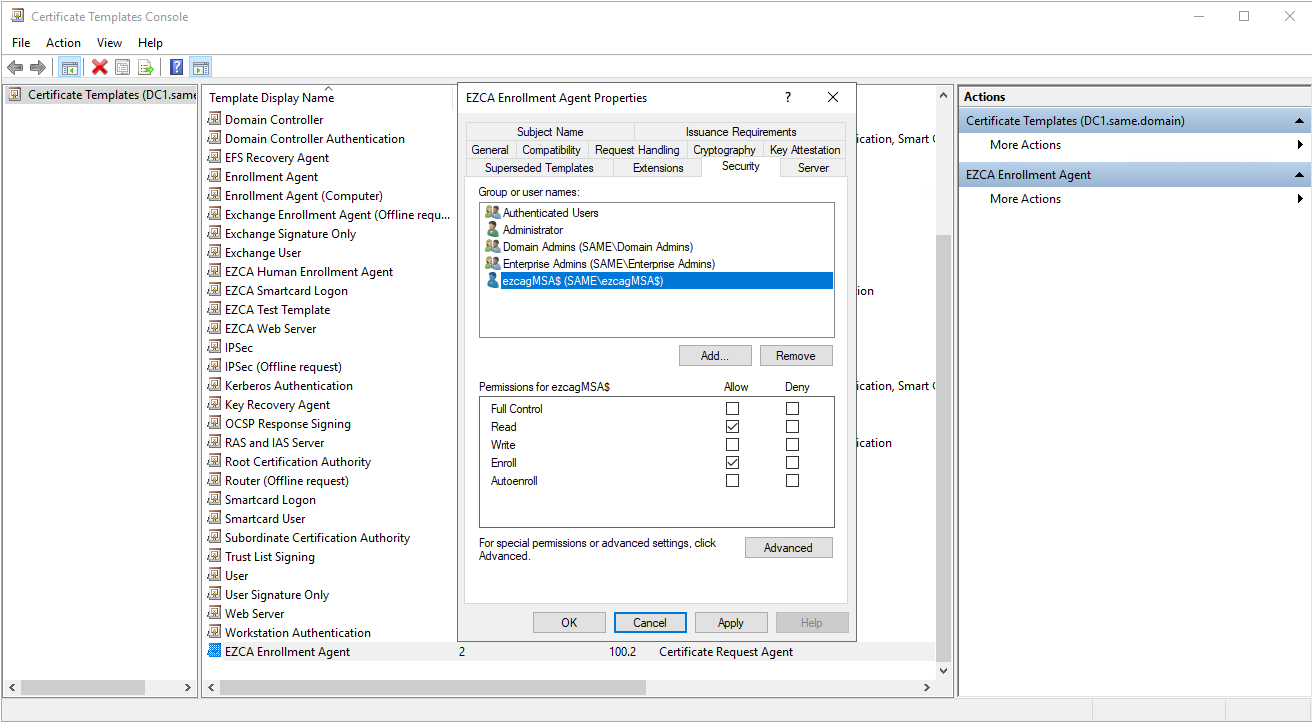
- Navigate to the Security tab.
- Click Add.
- Click Object Types.
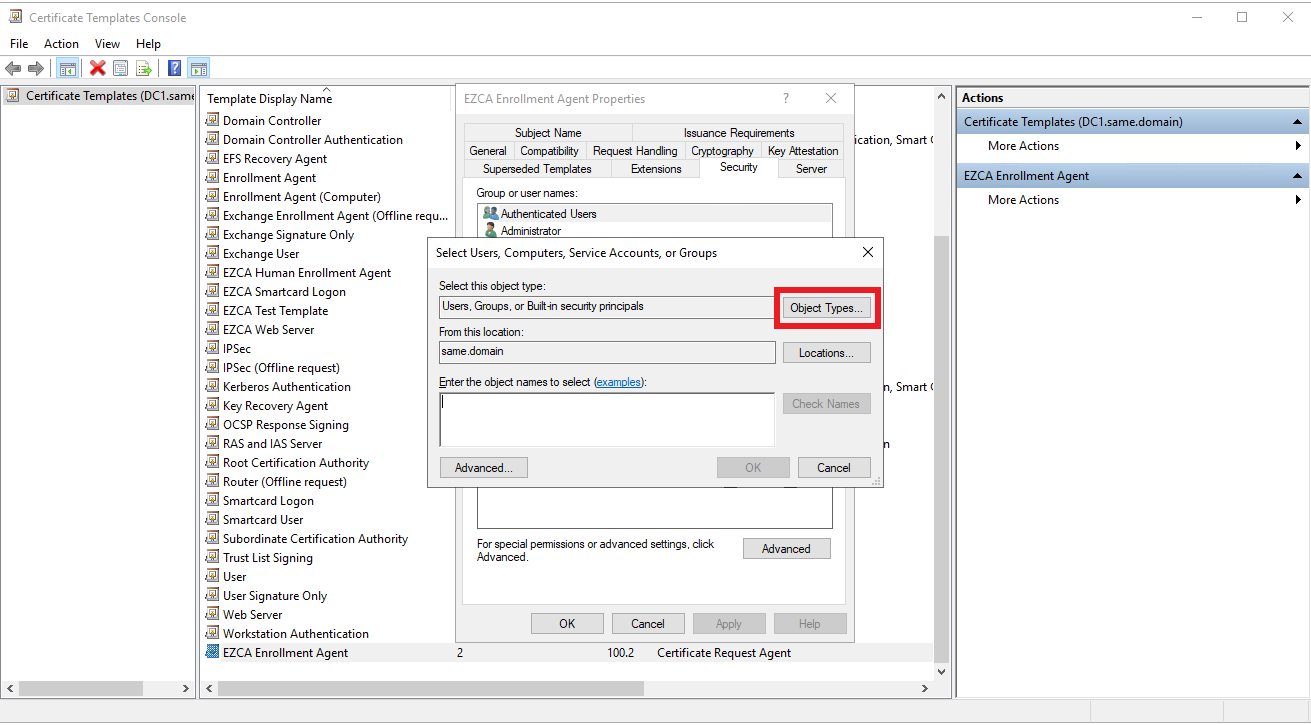
- Add Service Accounts.
- Click OK.
- Enter the name of your gMSA. Note: if you have not created your gMSA go to the create gMSA section of these docs
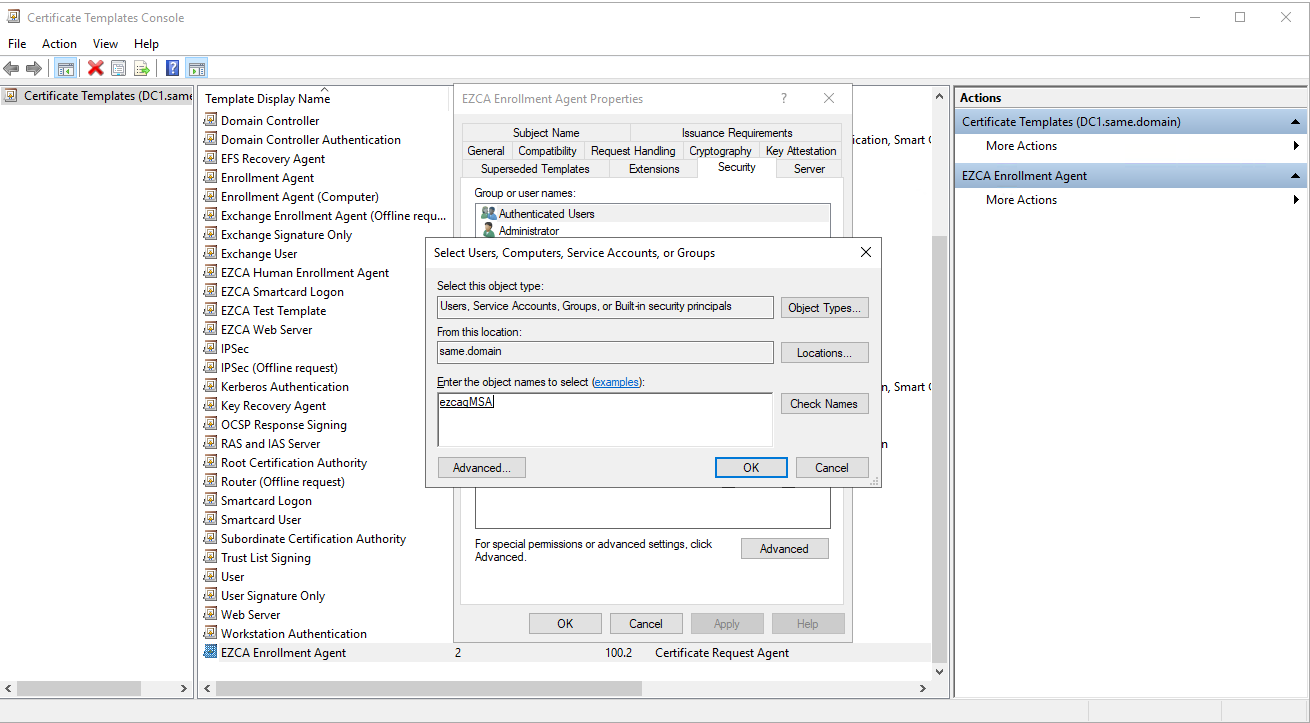
- Click OK.
- Back in the security tab, make sure the gMSA has read and enroll rights to this template.
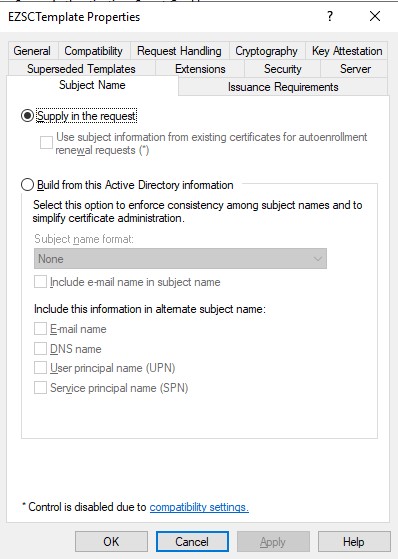
- Navigate to the Subject Name tab.
- Select the “Supply in the request” option.

- Save the changes and exit the dialog by Clicking the OK button.
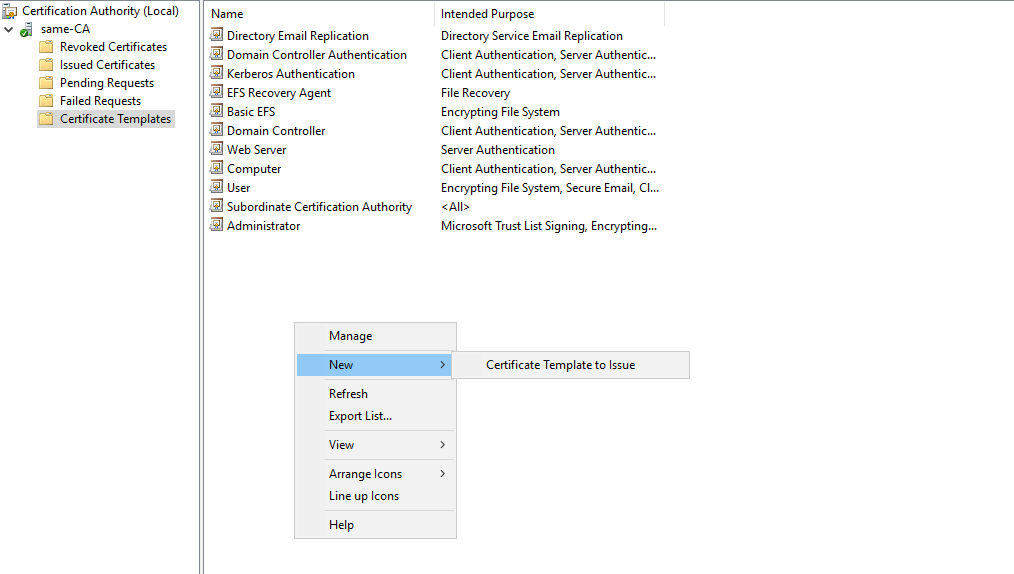
- Back in the Certificate Authority management console, click on Certificate Templates.
- Once in the Certificate Templates page, right click any whitespace and select New > Certificate Template to Issue.
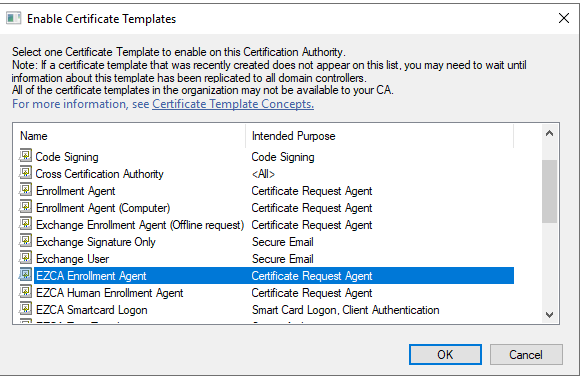
- Select the EZCA Enrollment Template that we just created.
- Your CA can now issue this certificate to the EZCA gMSA. Repeat the last 3 steps on each CA that you want to enable this template.
Create EZSmartCard Test Certificate Template
To ensure high uptime, EZSmartCard will create test certificates in each of the registered CAs every few minutes. To enable this, we will create a short lived template for EZSmartCard to Issue.
- Open The Certificate Authority management console.
- Right click the Certificate Templates Folder.
- Click Manage.
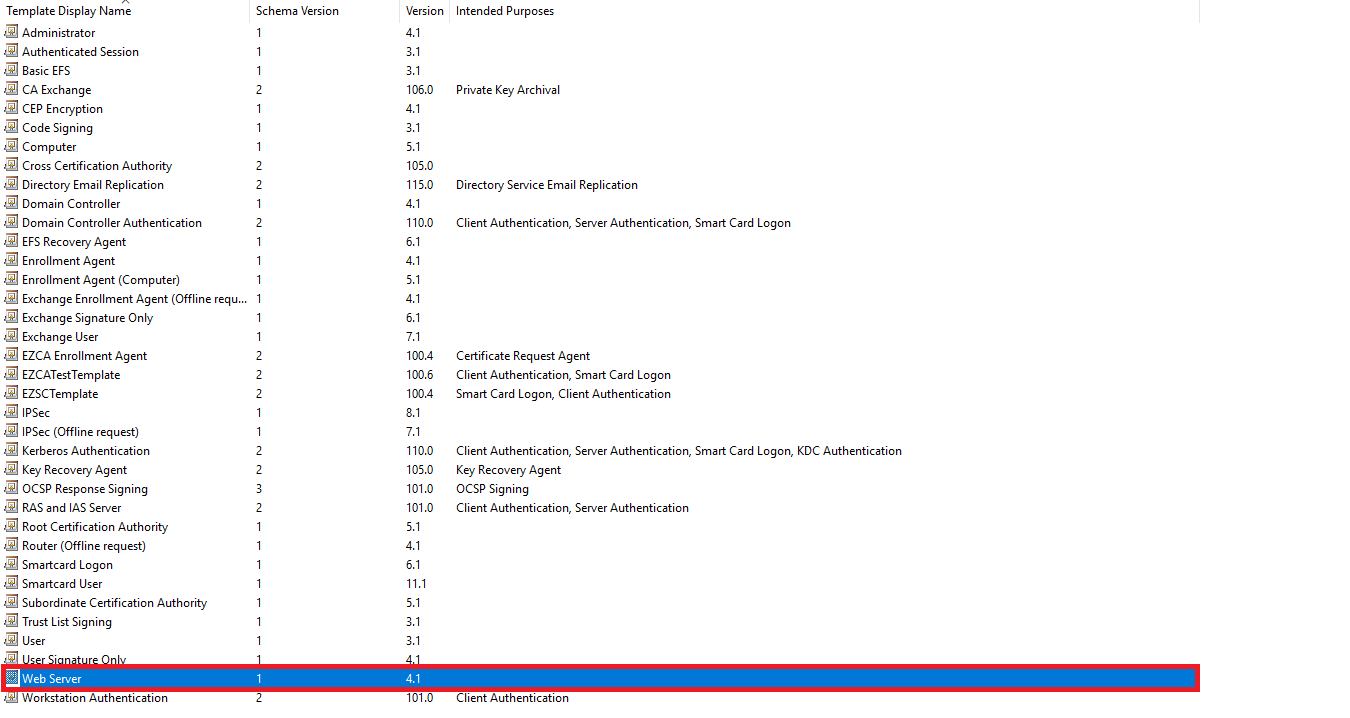
- Right click the Web Server Template
- Select the Duplicate option.
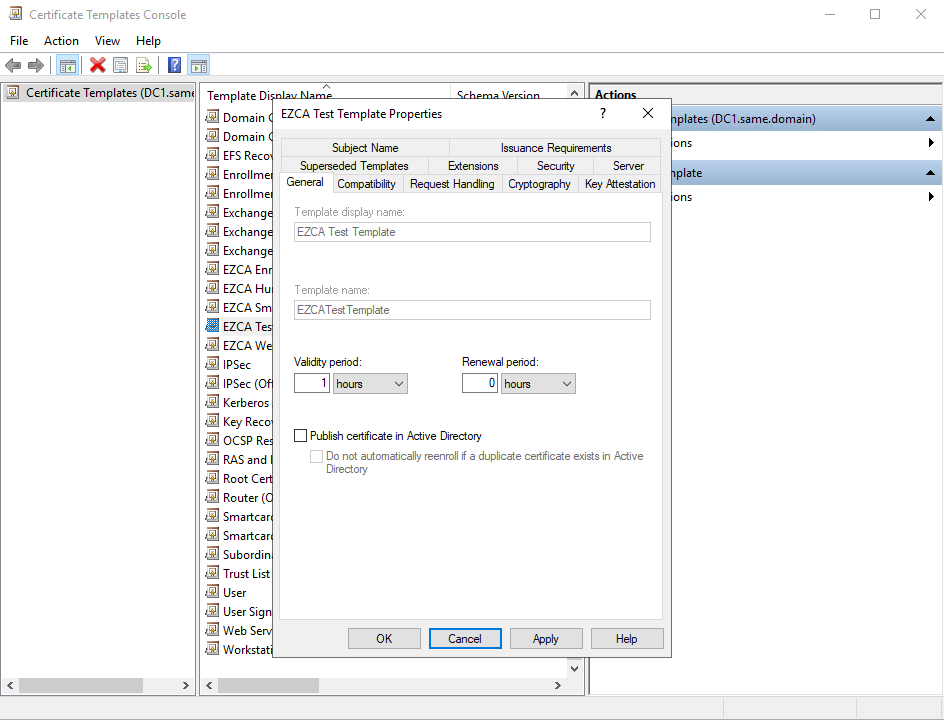
- Switch to the General tab.
- Change the Name to EZCA Test Template.
- Change validity period to 1 hour.
- Navigate to the Security tab.
- Click Add.
- Click Object Types.
- Add Service Accounts.
- Click OK.
- Enter the name of your gMSA. Note: if you have not created your gMSA go to the create gMSA section of these docs
- Click OK.
- Back in the security tab, make sure the gMSA has read and enroll rights to this template.
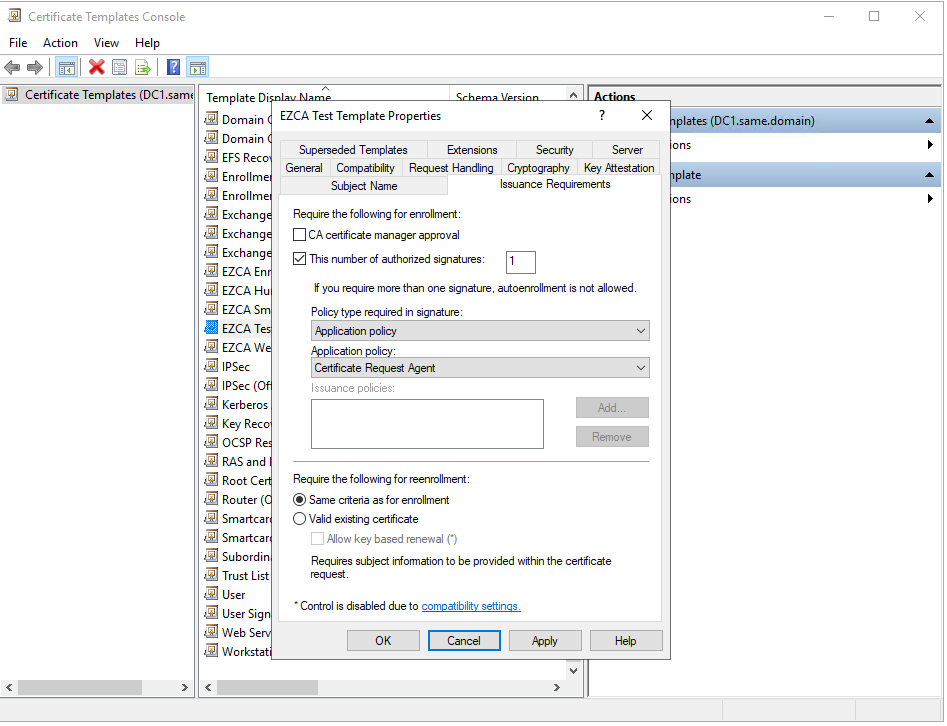
- Navigate to the Issuance Requirements tab
- Select the option of “This number of authorized signatures” and make sure the number is one.
- Change the application policy to the “Certificate Request Agent”
- Save the changes and exit the dialog by Clicking the OK button.
- Back in the Certificate Authority management console, click on Certificate Templates.
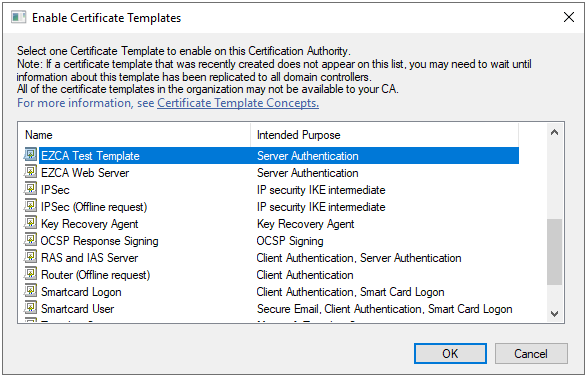
- Once in the Certificate Templates page, right click any whitespace and select New > Certificate Template to Issue.
- Select the EZCATestTemplate that we just created.
- Your CA can now issue this certificate to the EZCA gMSA if it signs the request with its enrollment agent certificate. Repeat the last 3 steps on each CA that you want to enable this template.
Creating the Smart Card Template
The last template we have to create is the smart card template you want EZSmartCard to issue.
- Open The Certificate Authority management console.
- Right click the Certificate Templates Folder.
- Click Manage.
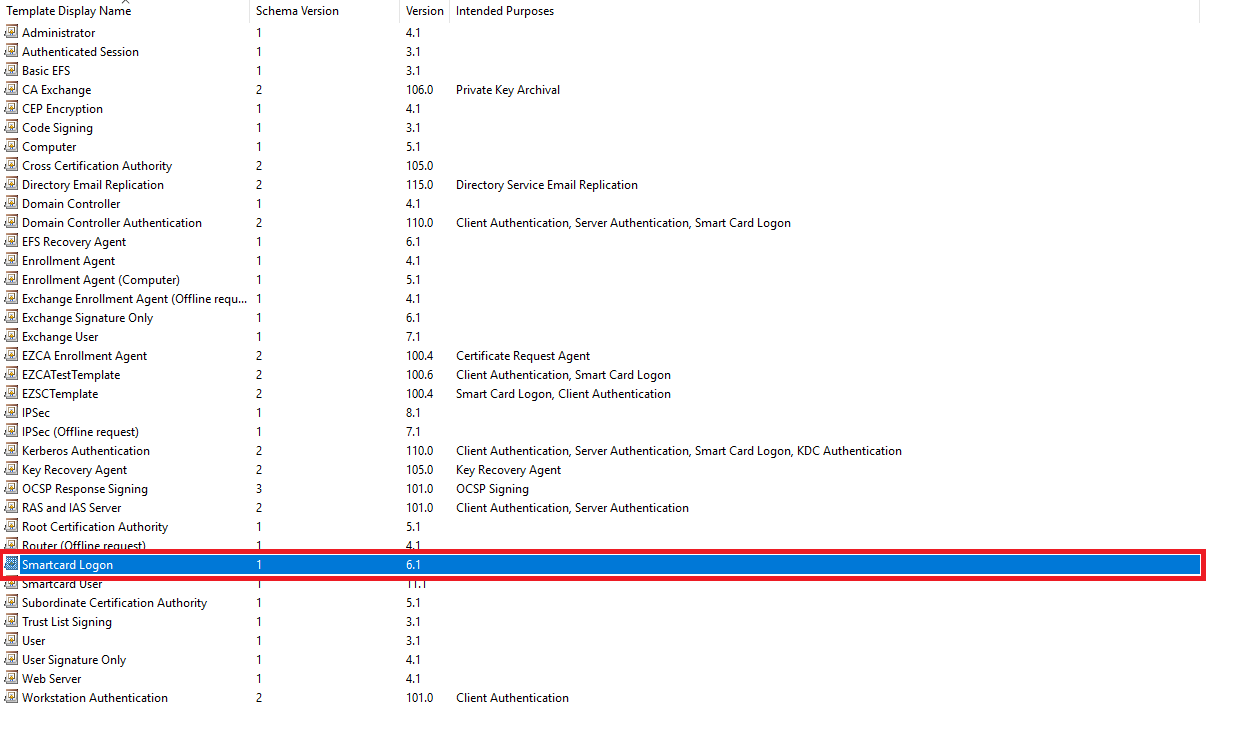
- Right click the Smartcard Logon template.
- Select the Duplicate option.
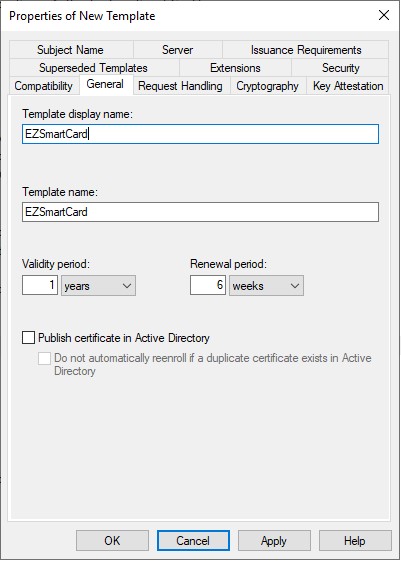
- Change the Name to EZSmartCard.
- Set the validity period to your desired SmartCard validity period.
- Navigate to the Security tab.
- Click Add.
- Click Object Types.
- Add Service Accounts.
- Click OK.
- Enter the name of your gMSA. Note: if you have not created your gMSA go to the create gMSA section of these docs
- Click OK.
- Back in the security tab, make sure the gMSA has read and enroll rights to this template.
- Navigate to the Issuance Requirements tab
- Select the option of “This number of authorized signatures” and make sure the number is one.
- Change the application policy to the “Certificate Request Agent”
- Navigate to the Subject Name tab.
- Select “Supply in the request”
- Save the changes and exit the dialog by clicking the OK button.
- Now EZSmartCard will be able to issue certificates for this template.