Create EZCA CA
Prerequisites
Overview
Having certificate based authentication requires you to have a Certificate Authority that will issue certificates for your smart cards. We recommend using a PKI as a service CA such as our EZCA tool to have a compliant, HSM backed CA without all the management overhead.
Getting Started
- Go to https://portal.ezca.io/
- Login with an account that is registered as a PKI Admin in EZCA.
- Navigate to Certificate Authorities.
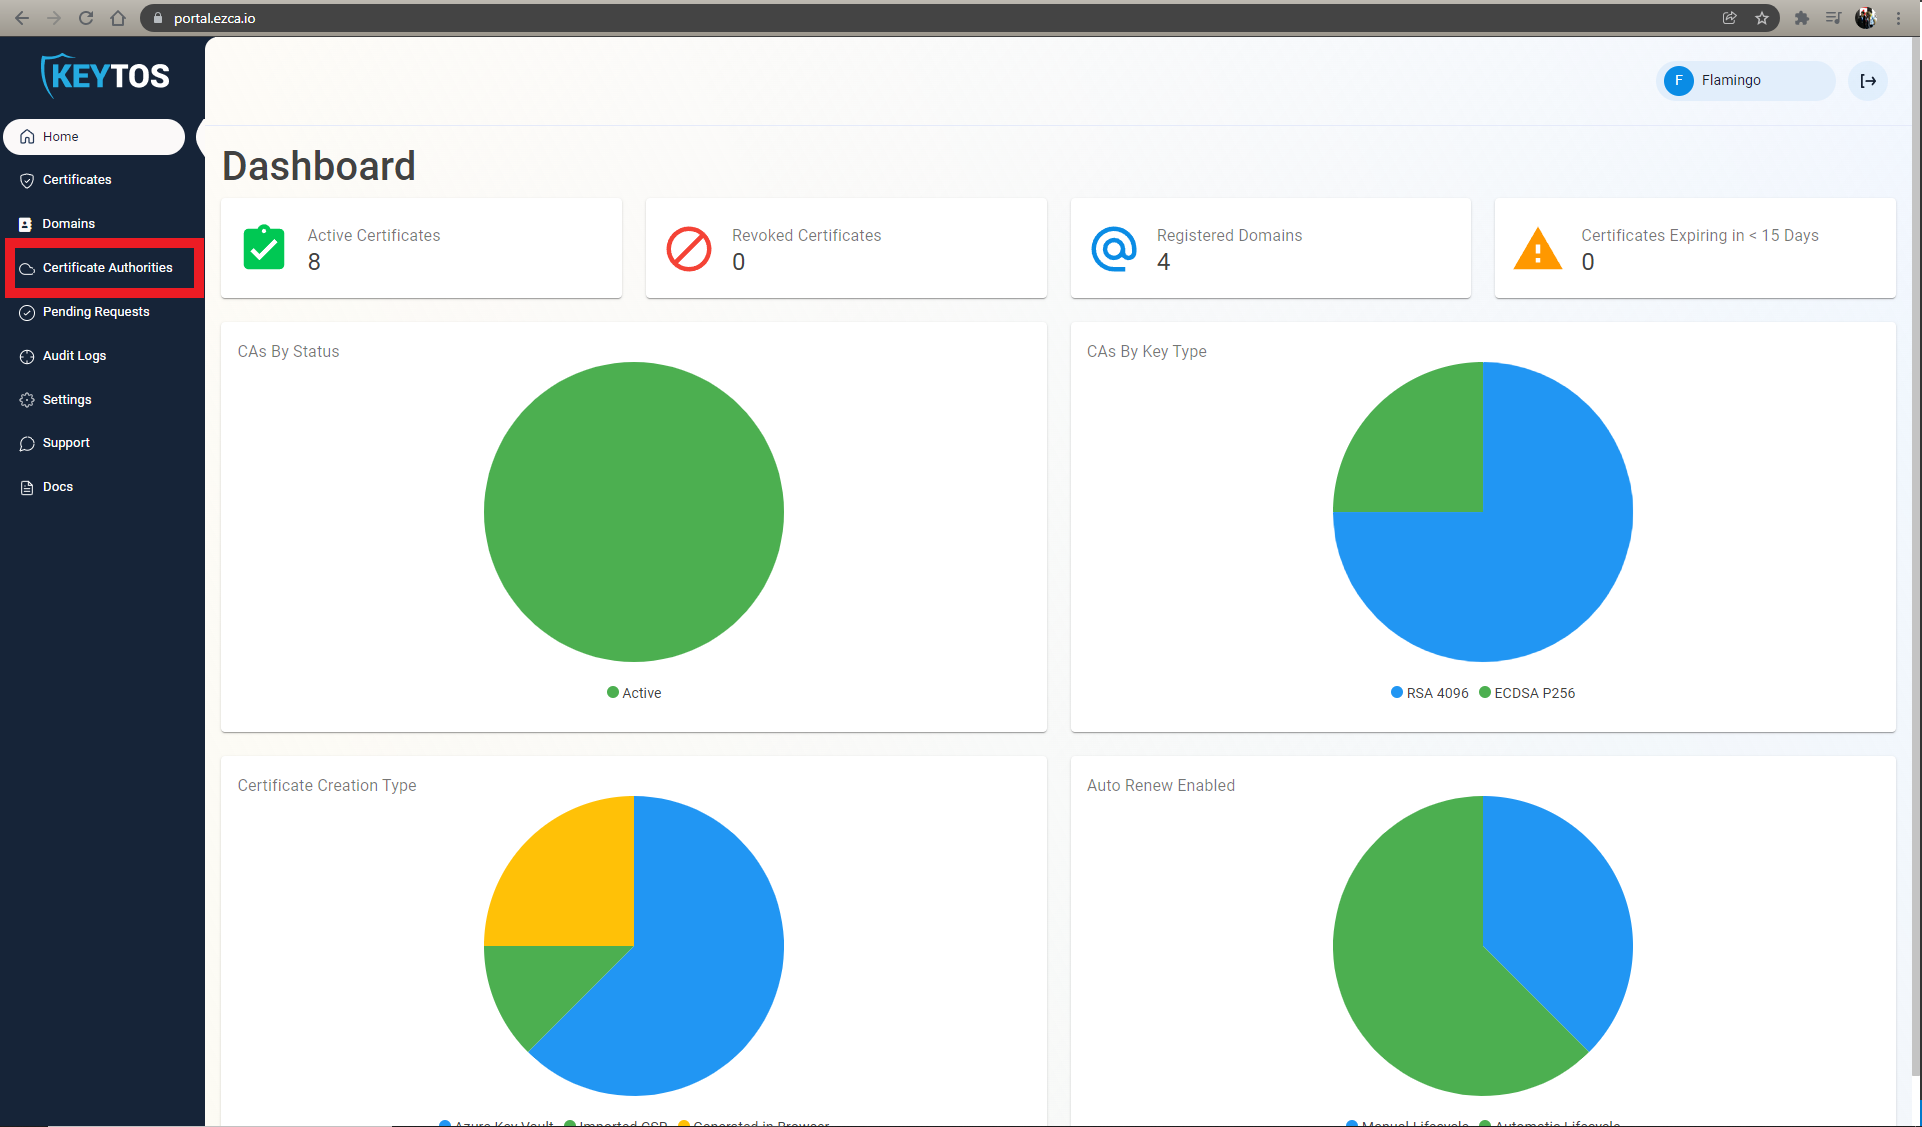
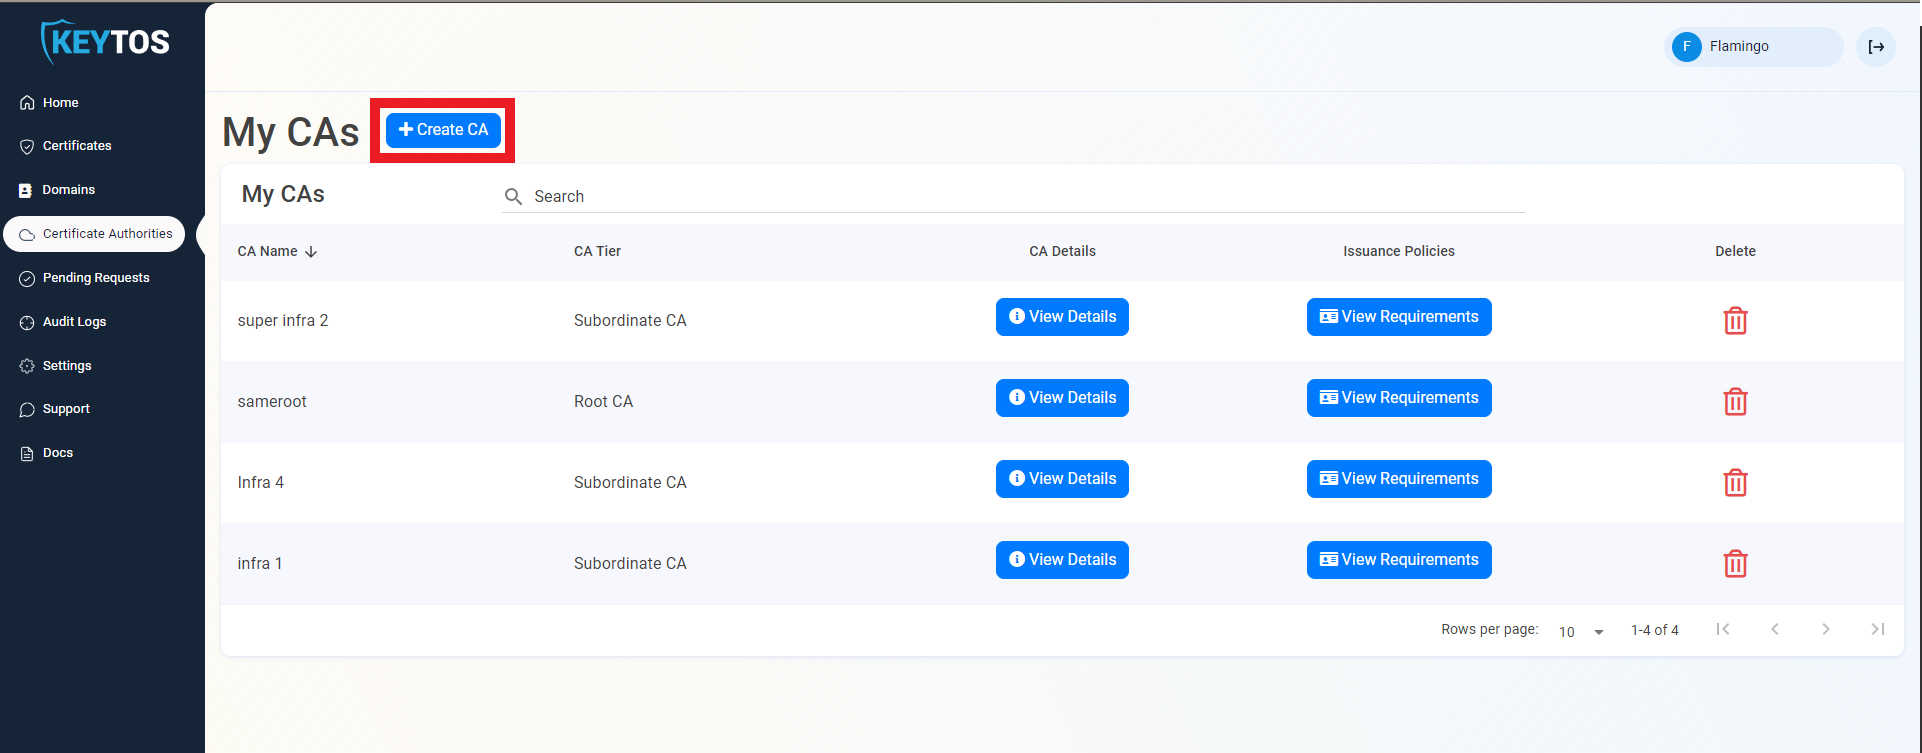
- Click on the “Create CA”
- Select Subordinate/Intermediate CA.
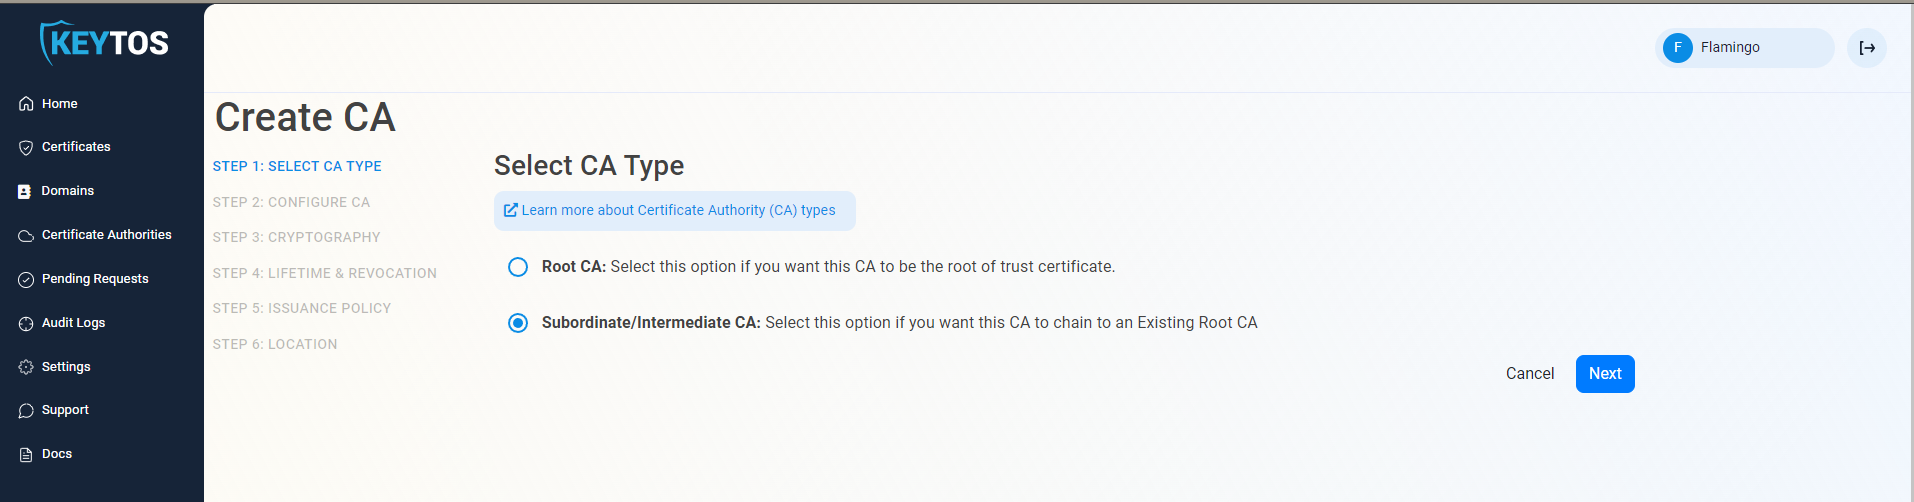
- Click Next
Entering CA Information
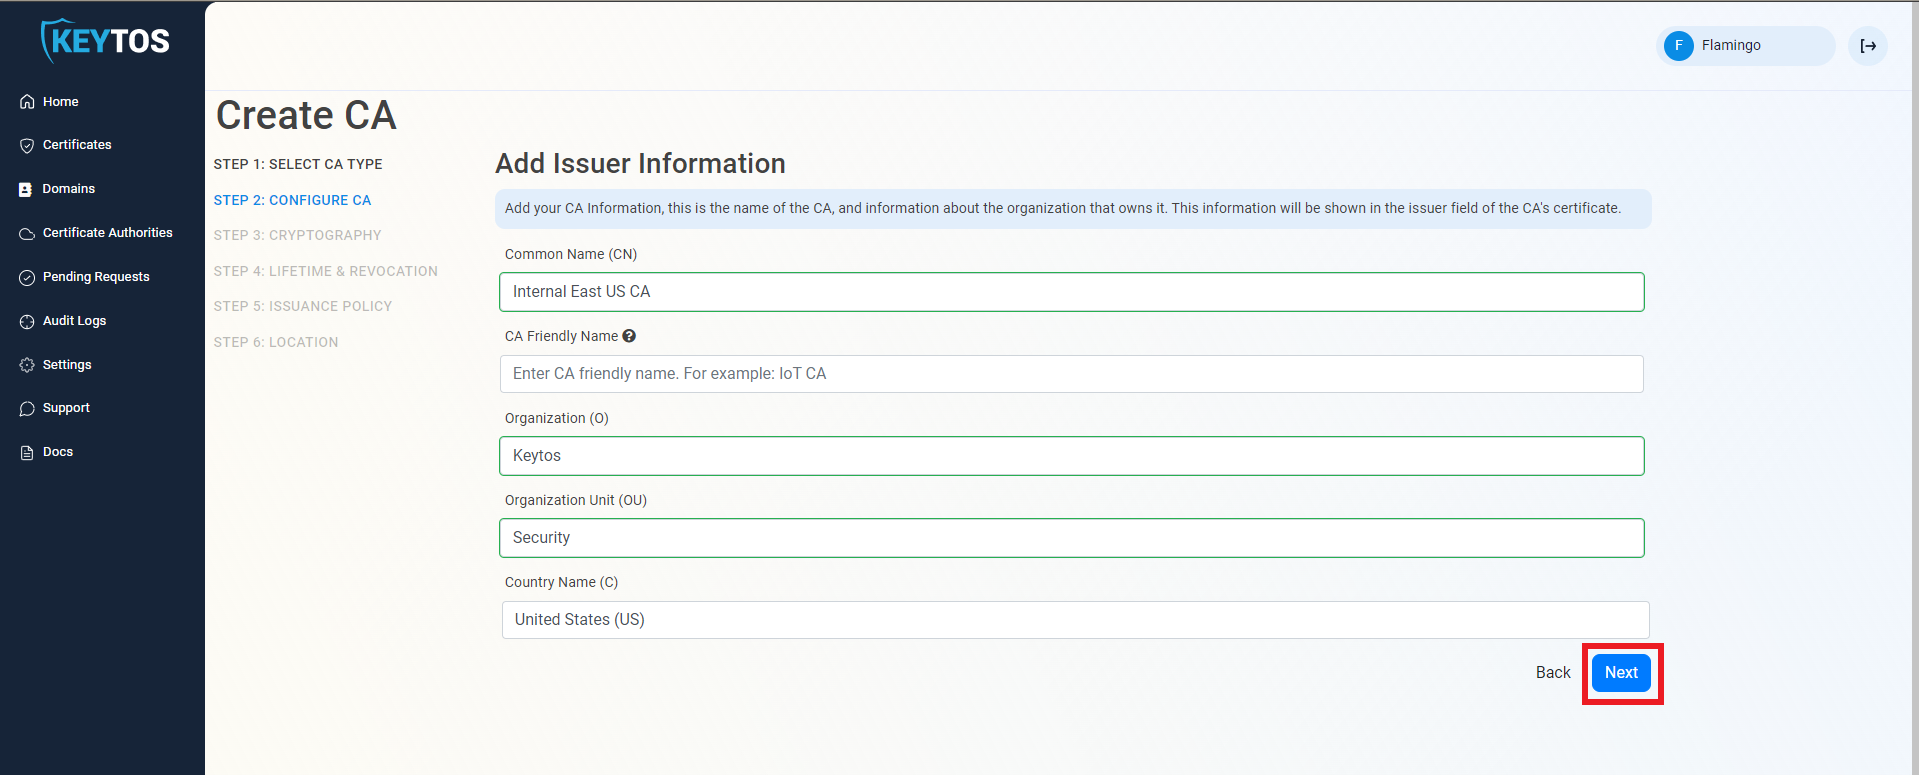
- Enter Common Name: This is the name of the CA how it will appear in the certificate.
- (Optional) Enter CA Friendly Name This is the name that will appear in the EZCA portal, by default we will use the Common Name
- (Optional) Enter the Organization The Organization field is an optional certificate field that usually has the company name.
- (Optional) Enter the Organization Unit The Organization Unit field is an optional certificate field that usually contains the unit that runs this CA (For example: IT or HR).
- (Optional) Enter the Country Code The Country Code field is an optional certificate field that identifies the country where this CA is located.
- Click Next.
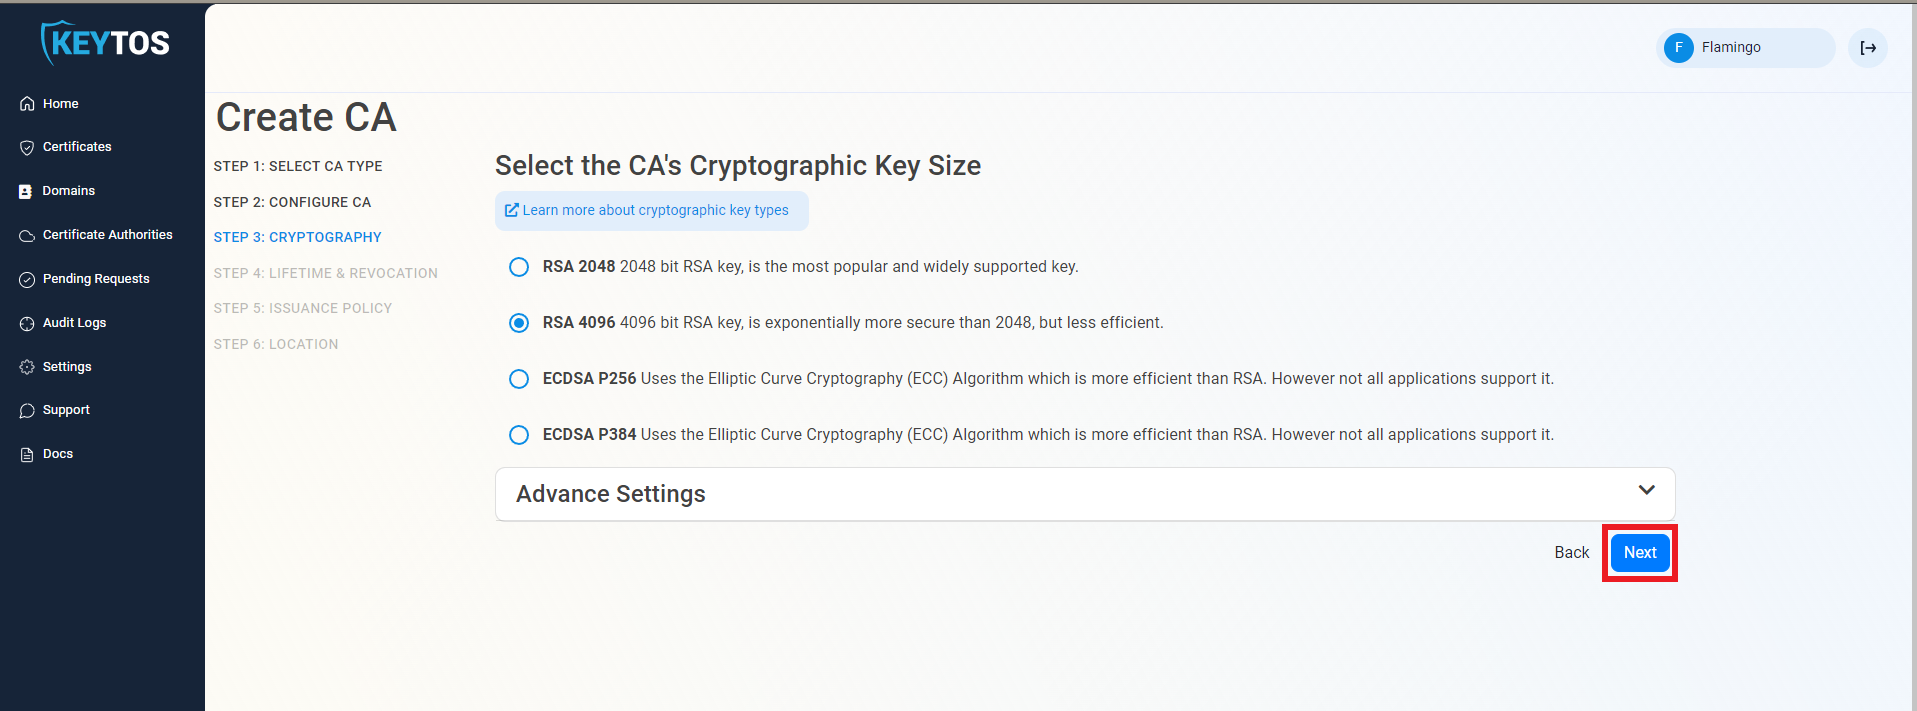
Cryptographic Requirements
- Unless you have specific compliance or security requirements, leave the default cryptographic values for best security and compatibility.
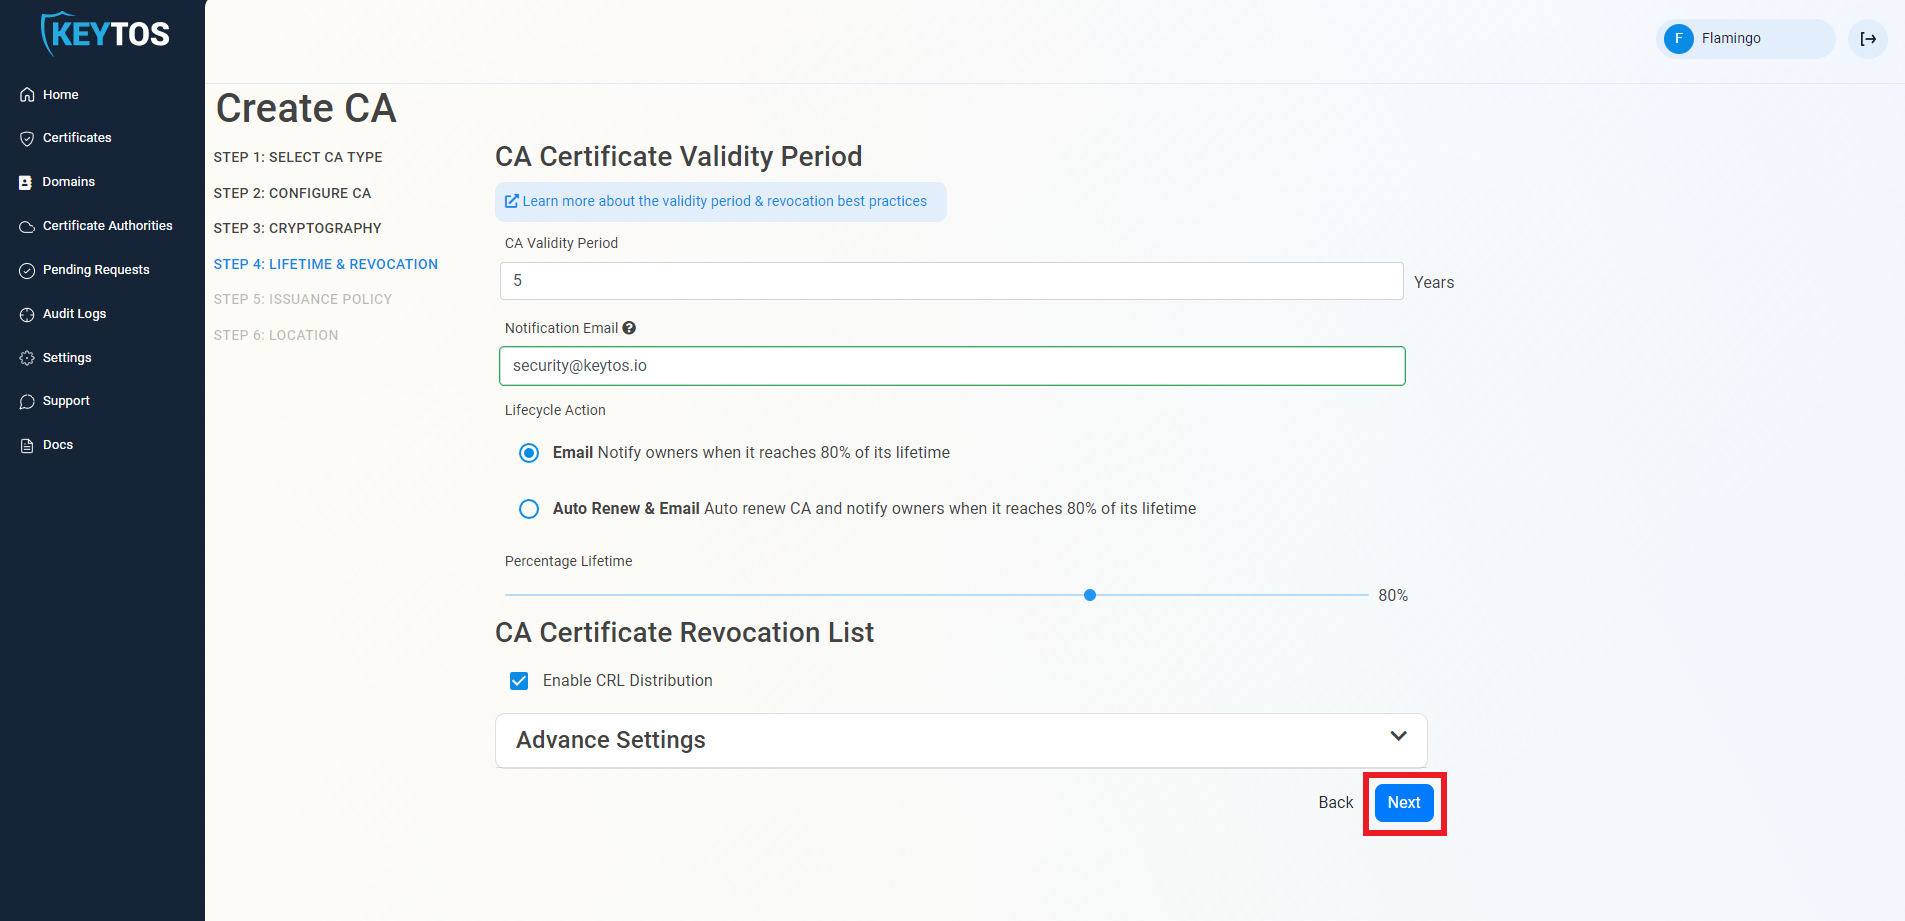
Validity Period
- Select your Validity Period Learn more about Validity Period best practices
- Enter a Notification Email this email address (as well as the PKI Administrators) will get all the notifications for the lifecycle of the CA.
- Select the lifecycle action you want EZCA to take when expiry of the CA is approaching
- Select the percentage of lifetime of the certificate when you want EZCA to start taking Lifecycle actions.
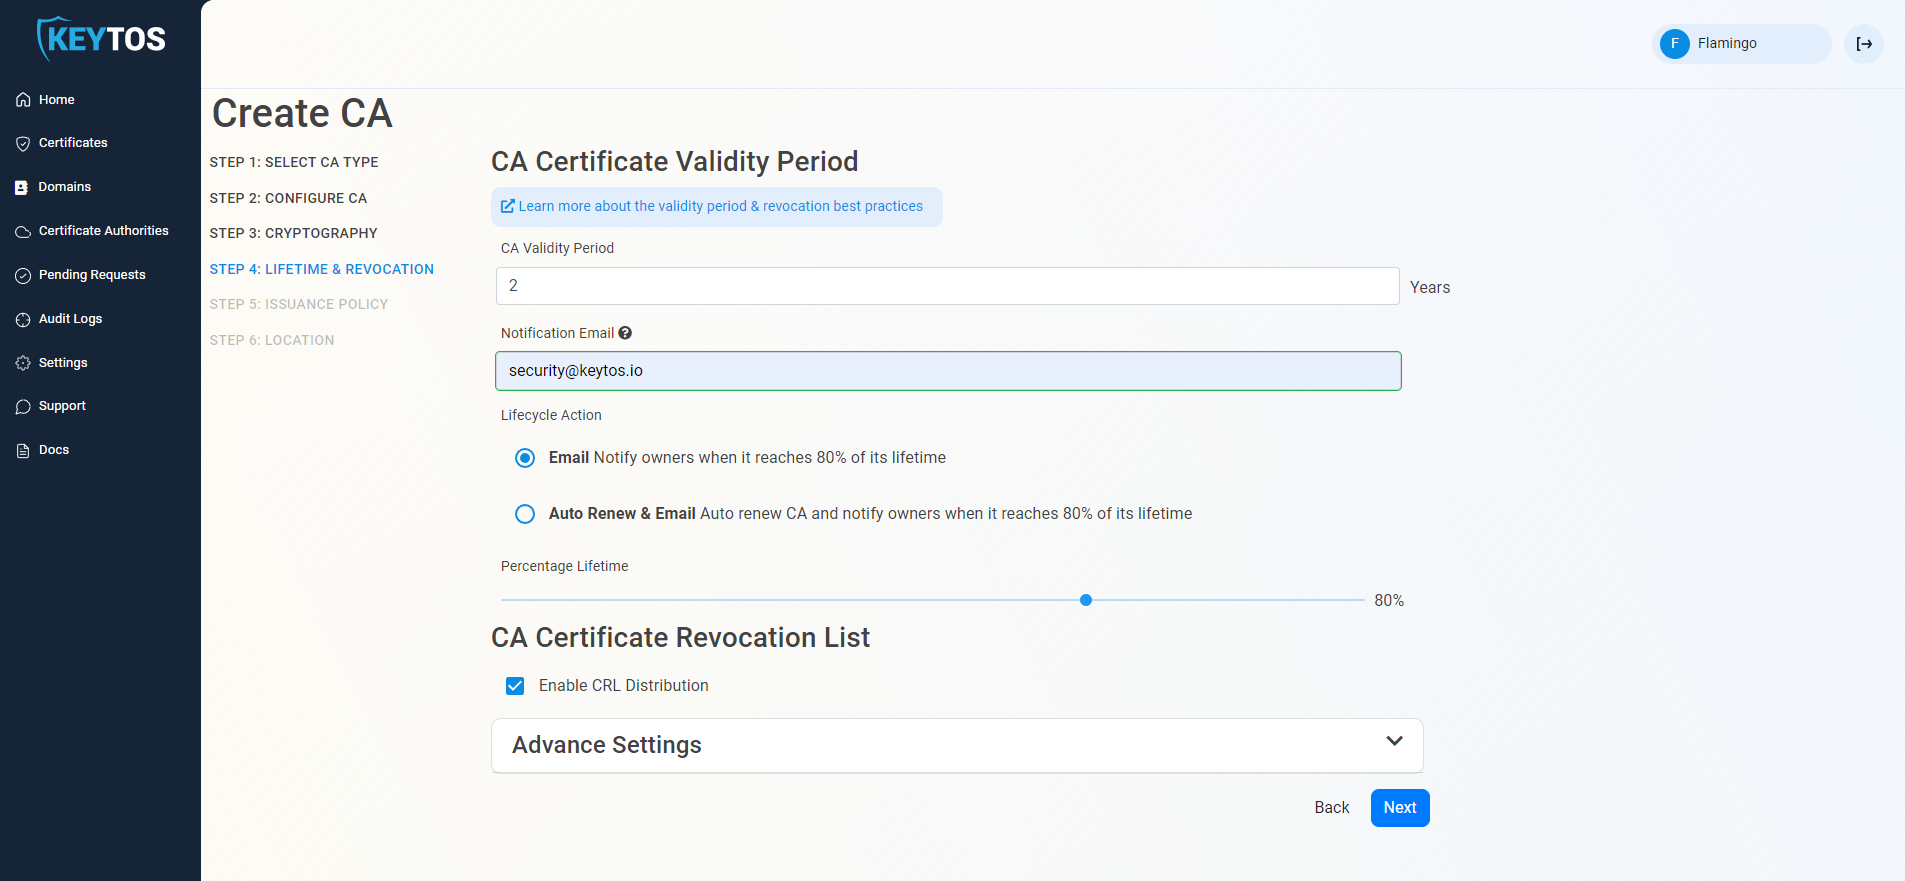
CA Certificate Revocation List
- Select if you want this CA should issue a CRL (Highly recommended)
- Click Next.
CA Certificate Revocation List Advance Settings
Changes to this section are only recommended for PKI experts with specific requirements.
- Click the expand button
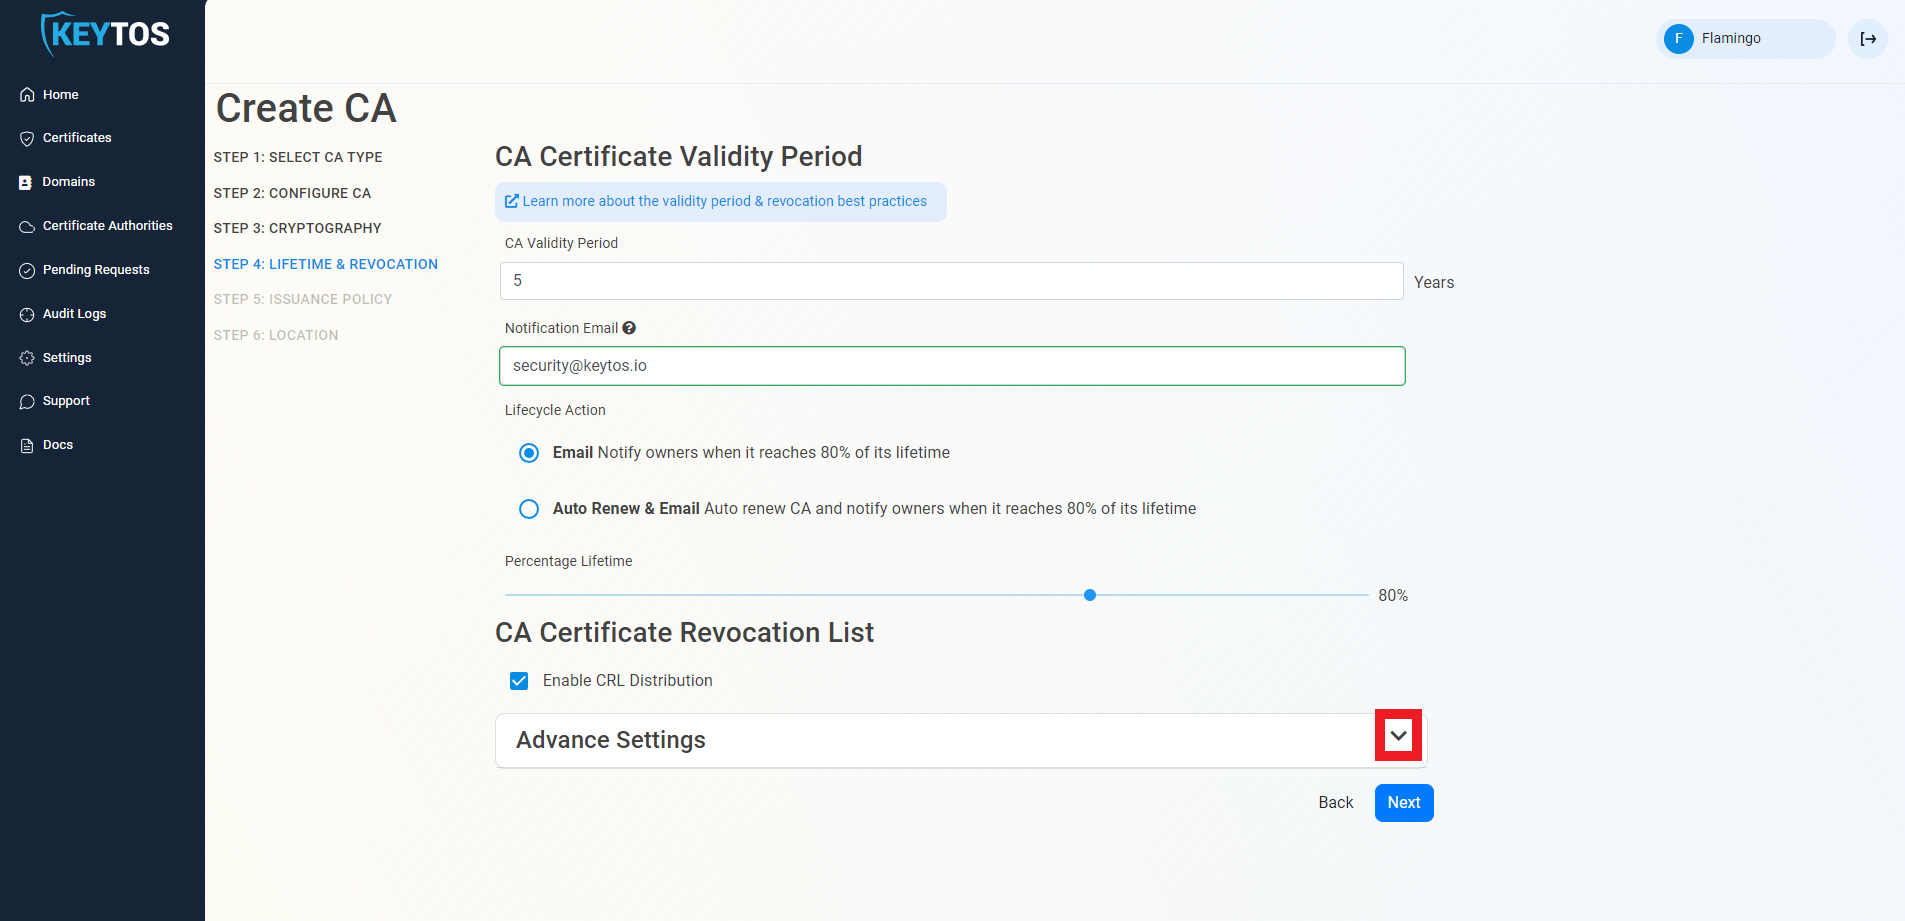
- Enter the desired CRL Validity Period in days
- Enter the desired CRL Overlap Period in hours
- (Optional) Enter the CRL endpoint where you will publish your CRLs
Custom CRL endpoints are supported by EZCA by adding the CRL endpoint as the CRL endpoint in the certificate. However, your PKI admins are responsible from getting the CRL from EZCA and posting it in that specific endpoint.
- Click Next.
- Change the issuing template to “Smart Card Template”.
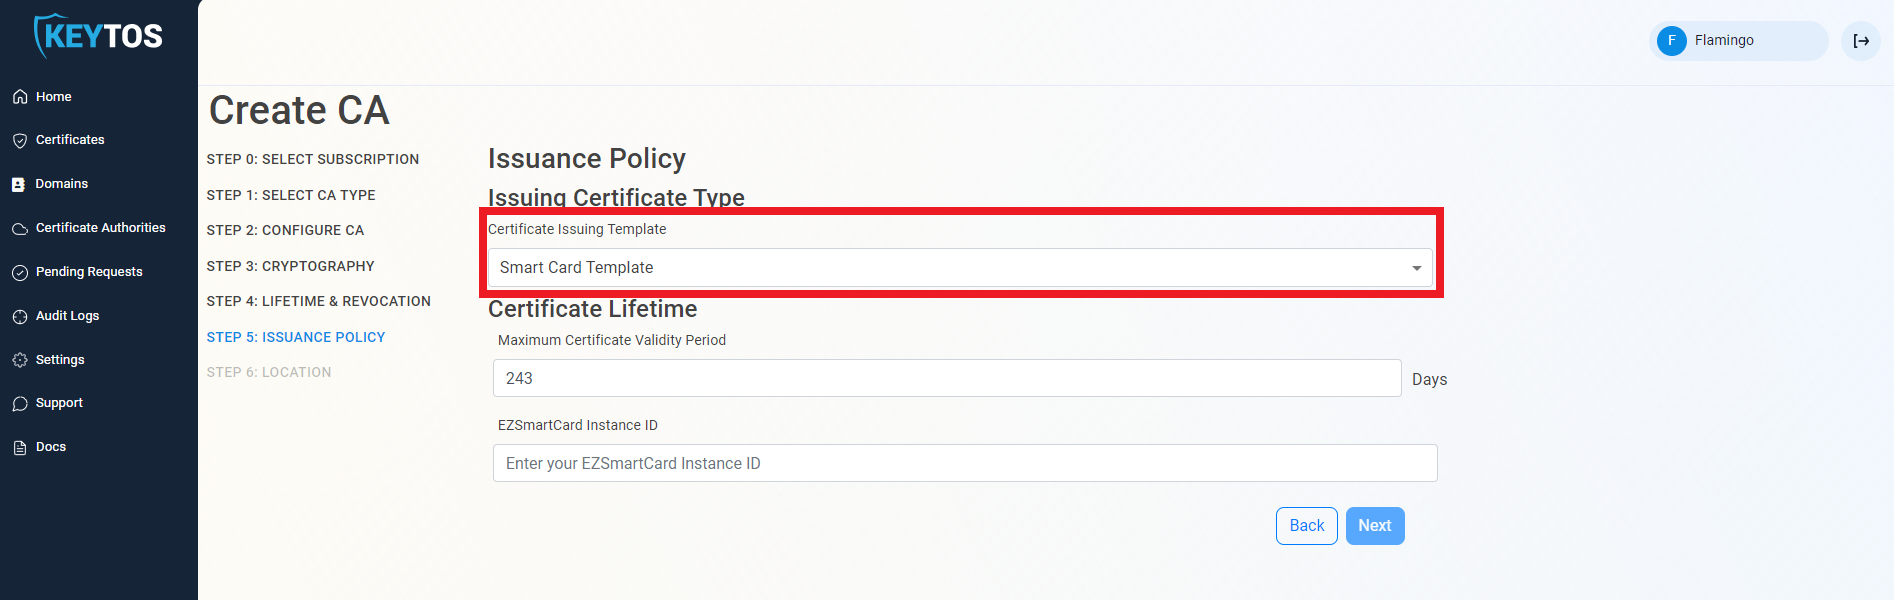
- Set the desired smart card certificate lifetime.
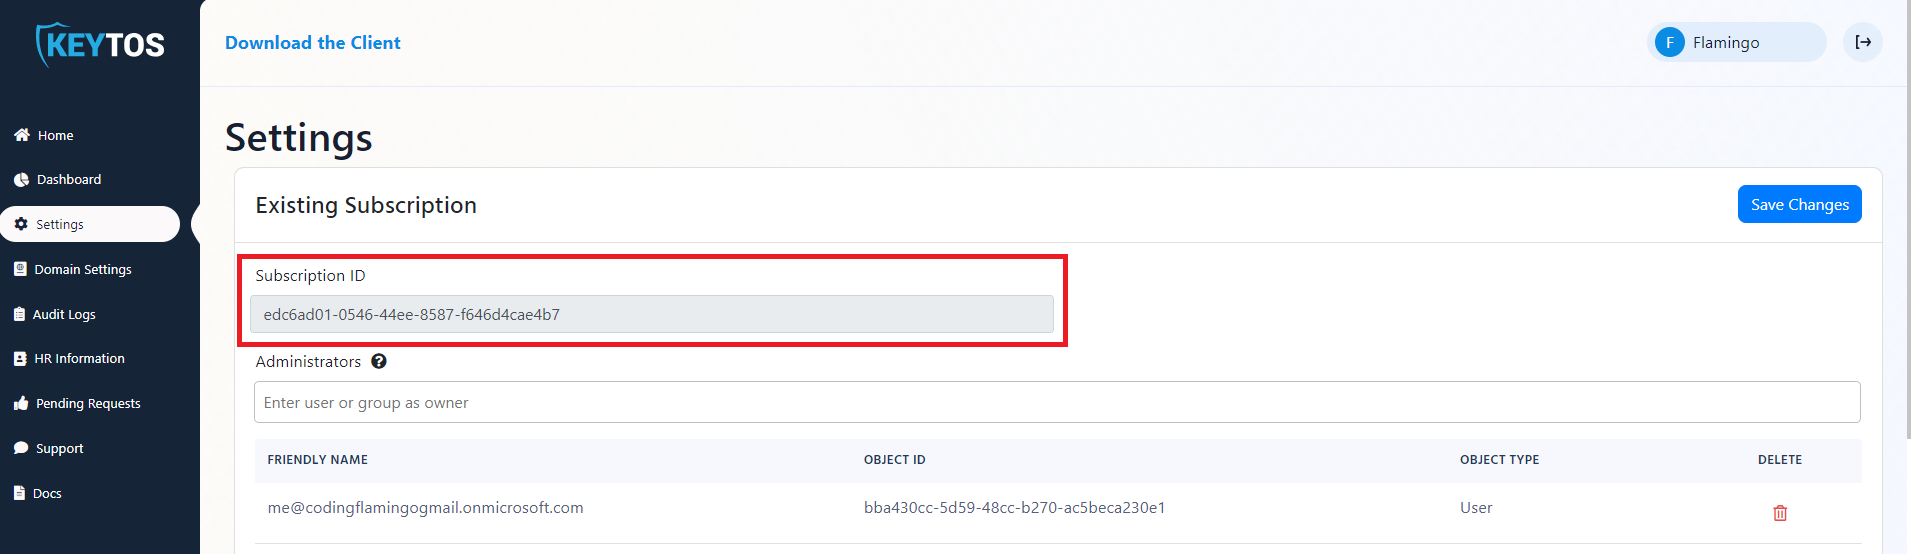
- In another tab, open your EZSmartCard instance and in the settings page copy the Subscription ID.
- Paste the subscription ID into the “EZSmartCard Instance ID” field.
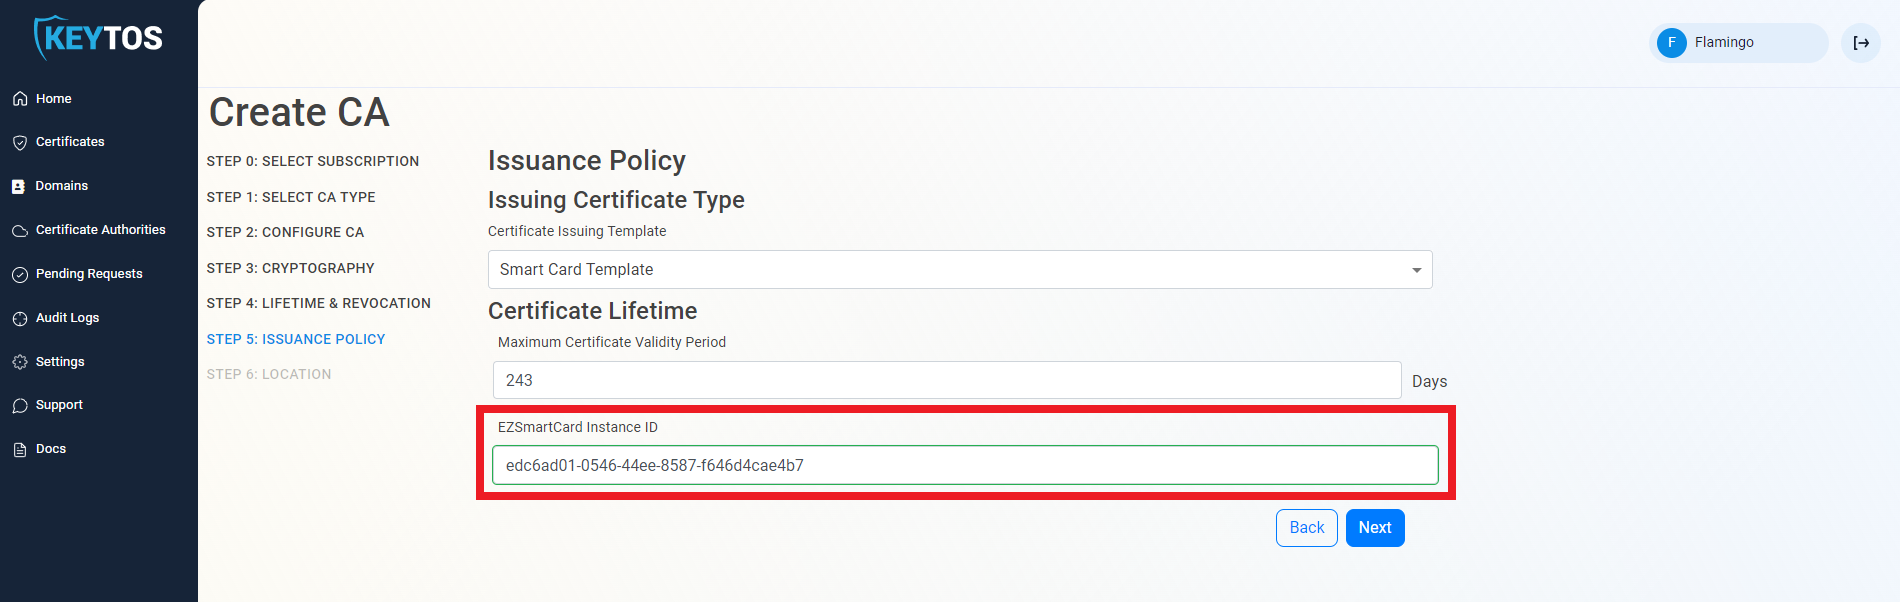
- Click Next.
Select Location
- Select the location where you want your CA to be created.
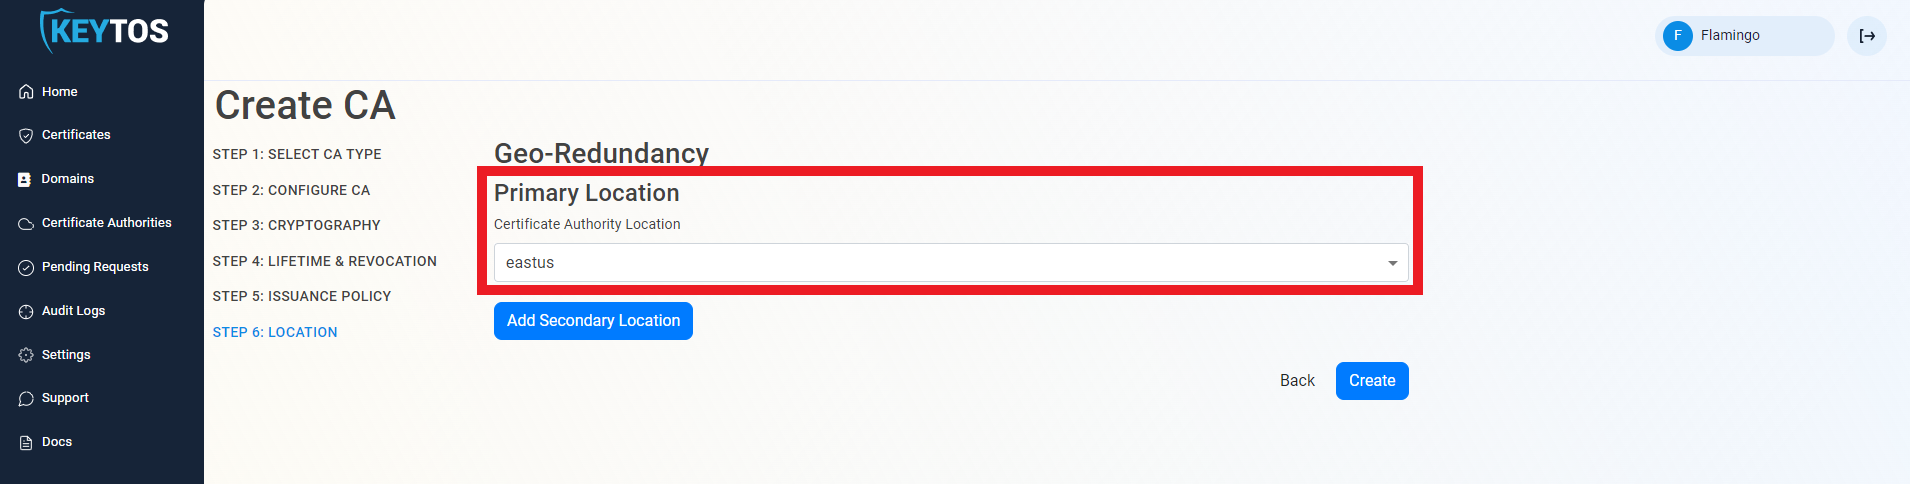
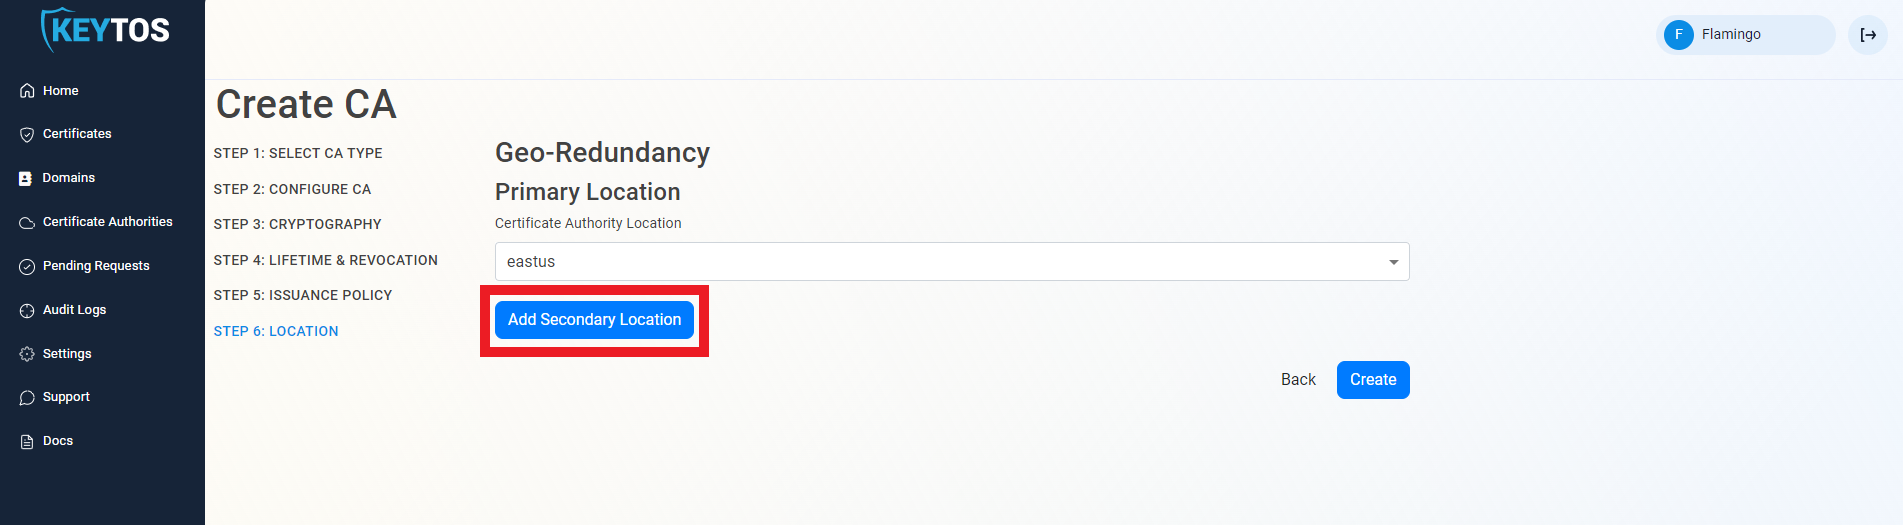
Add Geo-Redundancy
EZCA Allows you to create multiple CAs across many regions to create Geo-Redundancy.
Each location will be charged as an extra Certificate Authority.
- Click the “Add Secondary Location” Button.
- Enter the Location information.
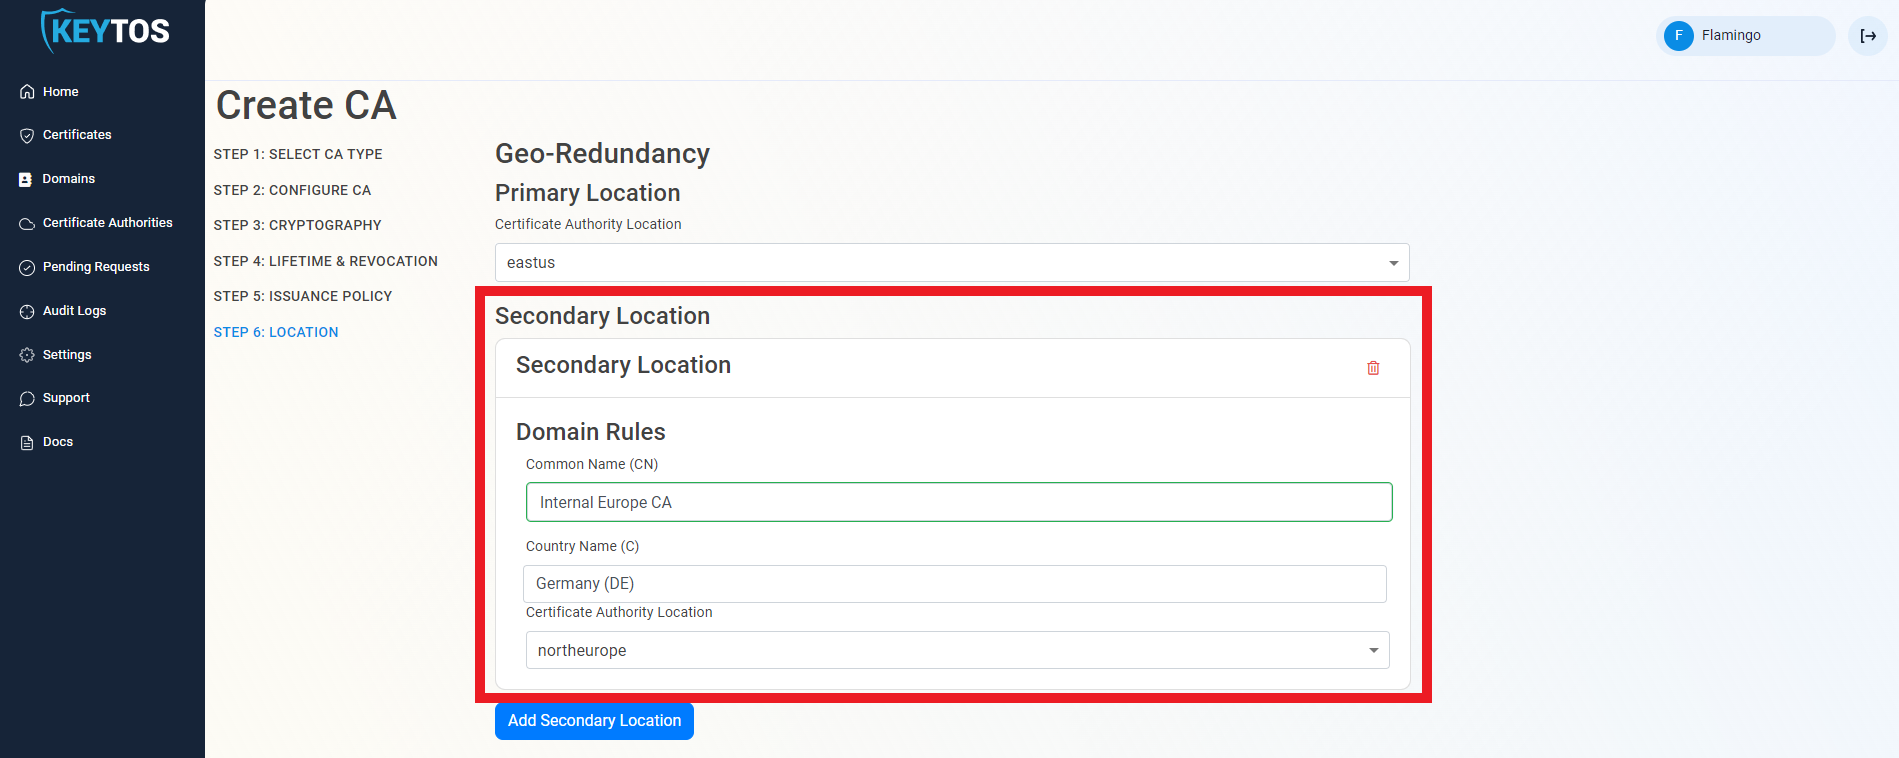
- Add as many locations as needed.
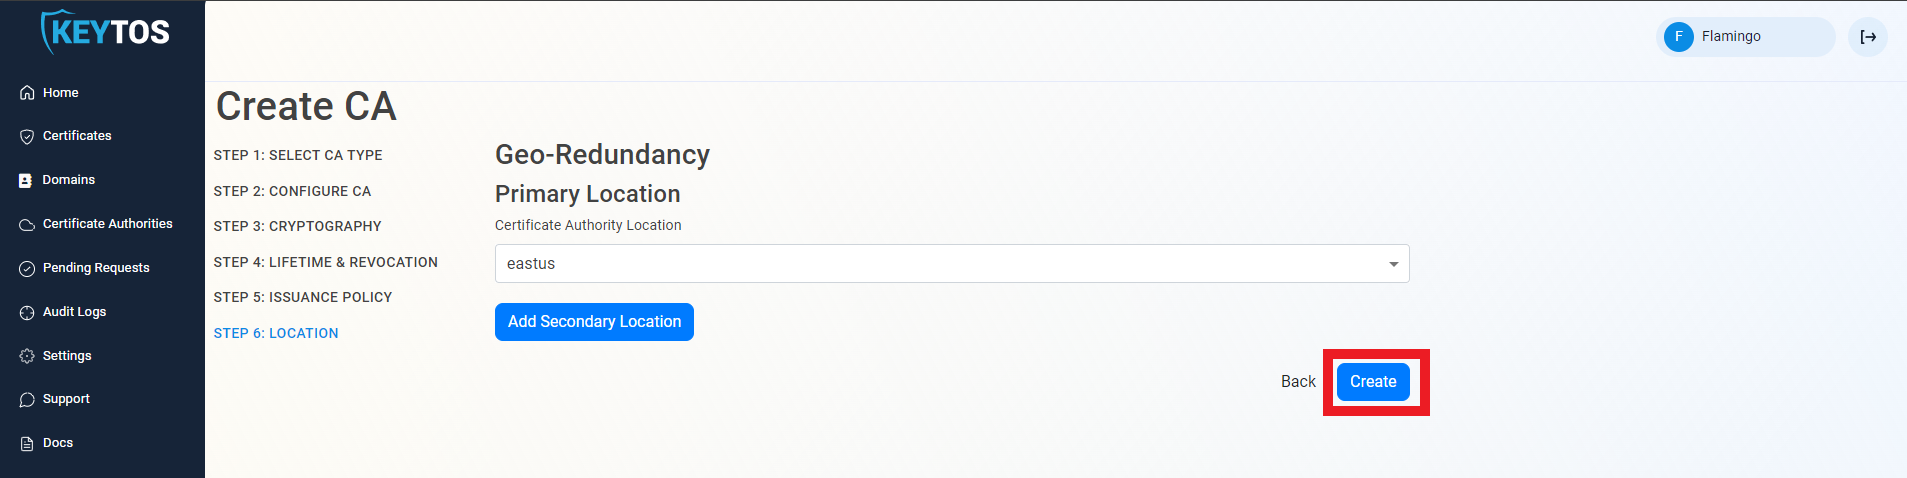
Create CA
- Click Create.
Chaining to EZCA Root CA
- Once the CA is requested, a Certificate Signing Request (CSR) will be created for each location.
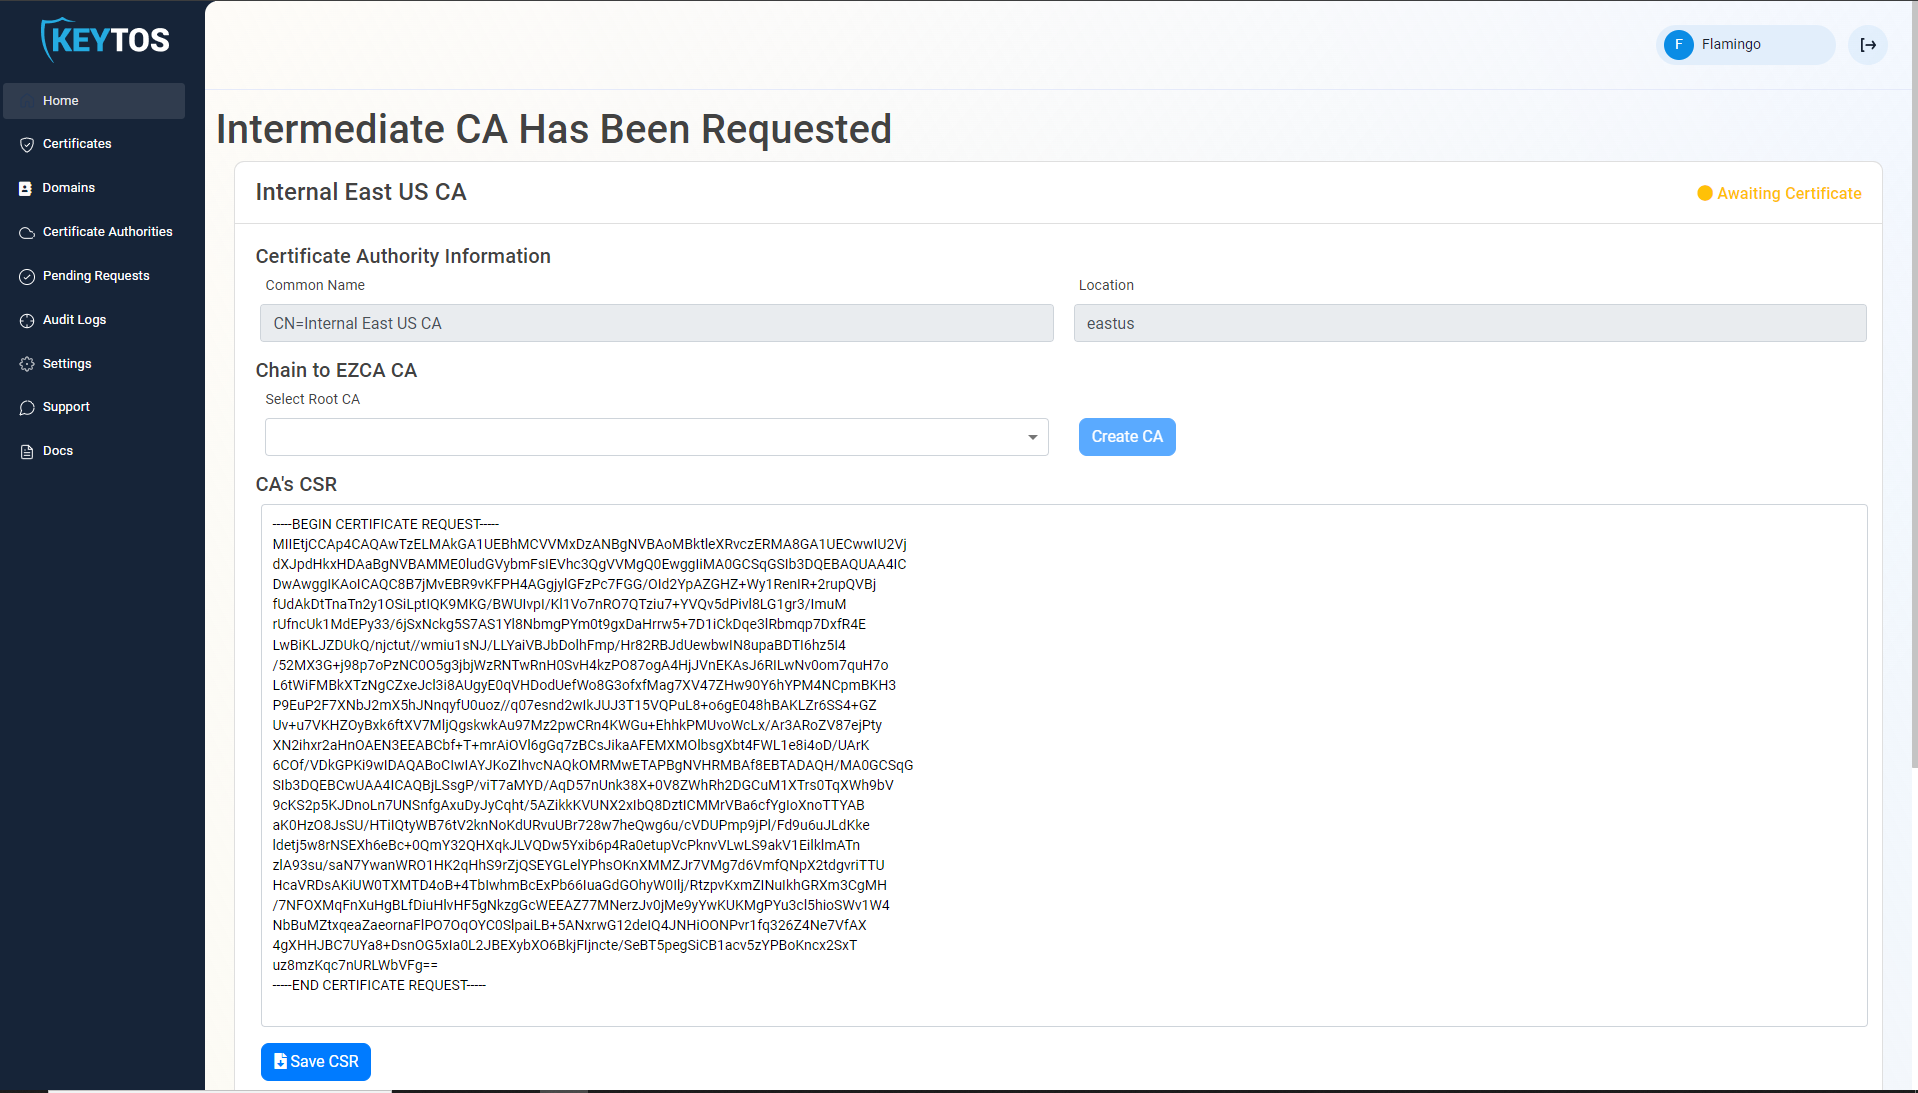
- If your desired Root CA is an EZCA CA, Select it from the dropdown and click create CA.

- Repeat these steps for each location.
- Your CA is ready to be used!
Chaining to Offline Root CA
- Once the CA is requested, a Certificate Signing Request (CSR) will be created for each location.
- Click the “Save CSR” Button.
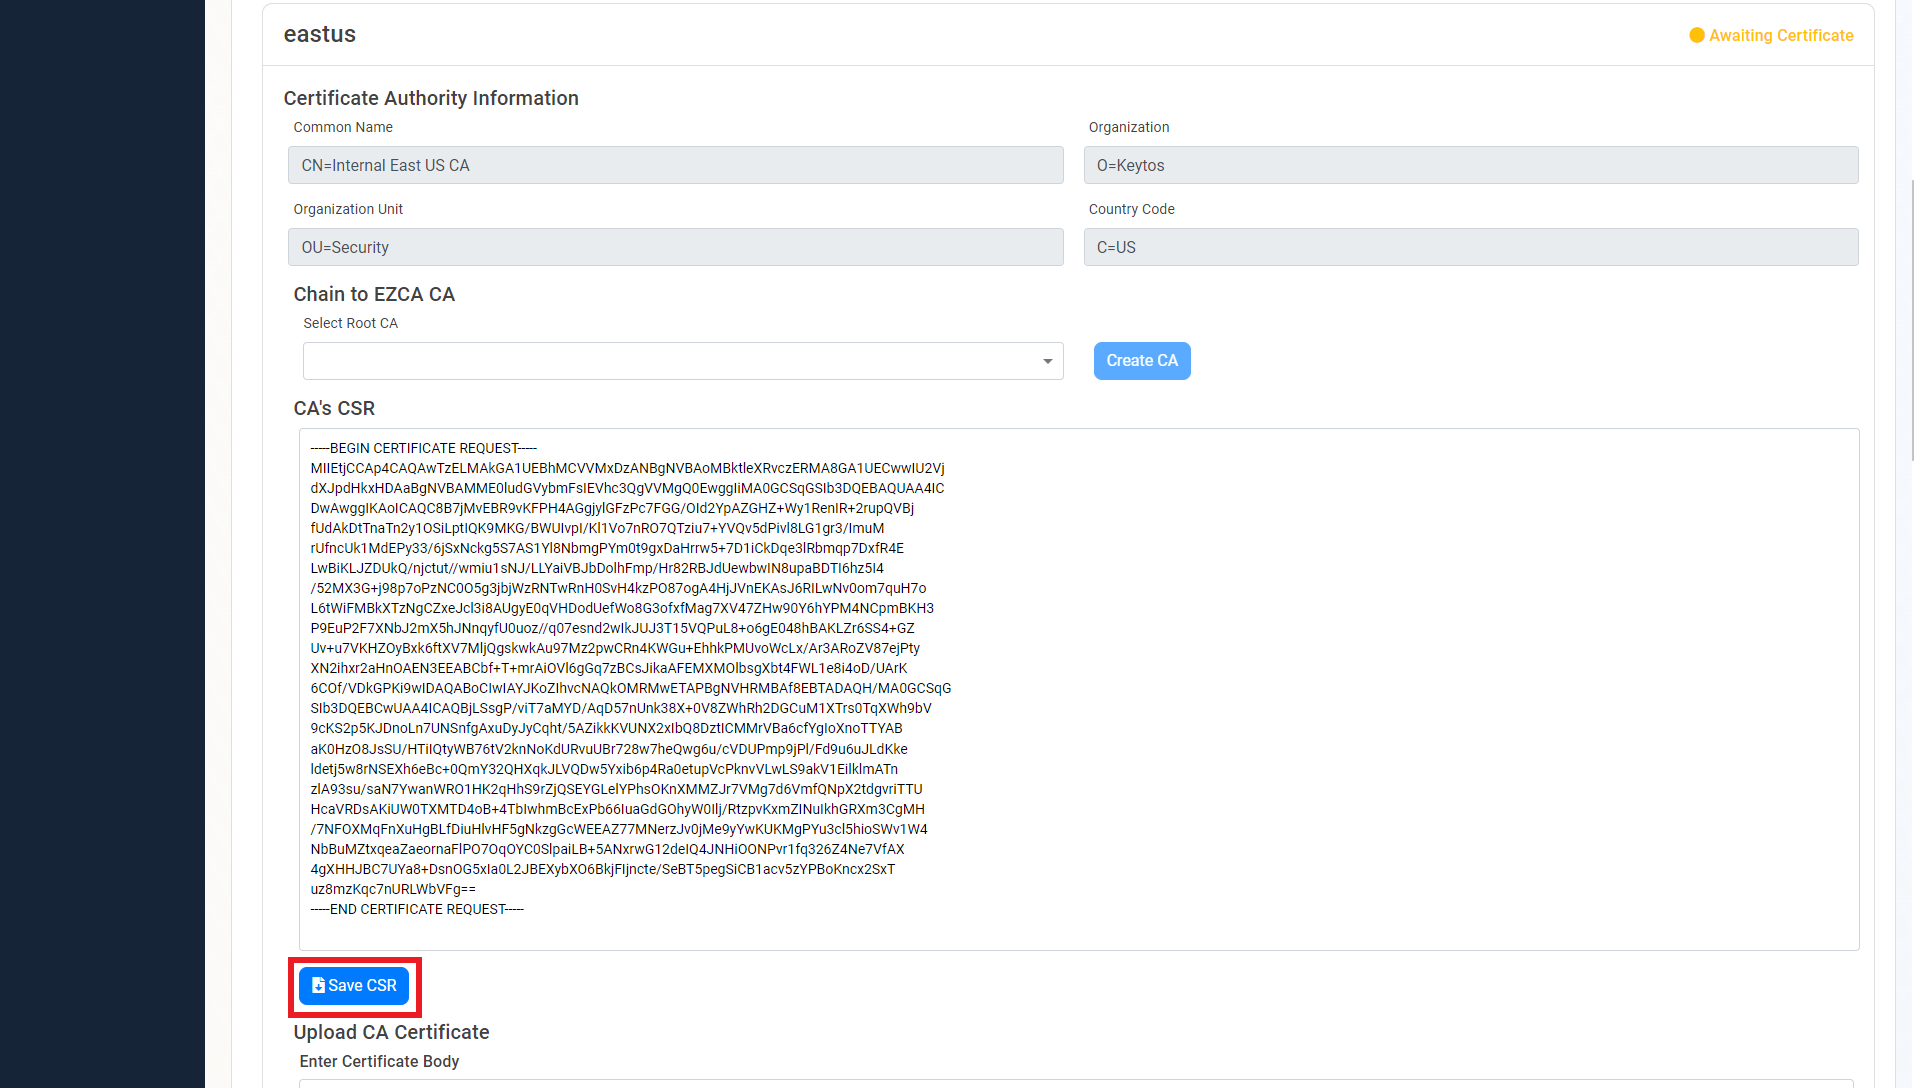
- Once the CSR is download, follow your internal guidance to transfer that CSR to your offline Root CA.
- Open “Certificate Authority”.
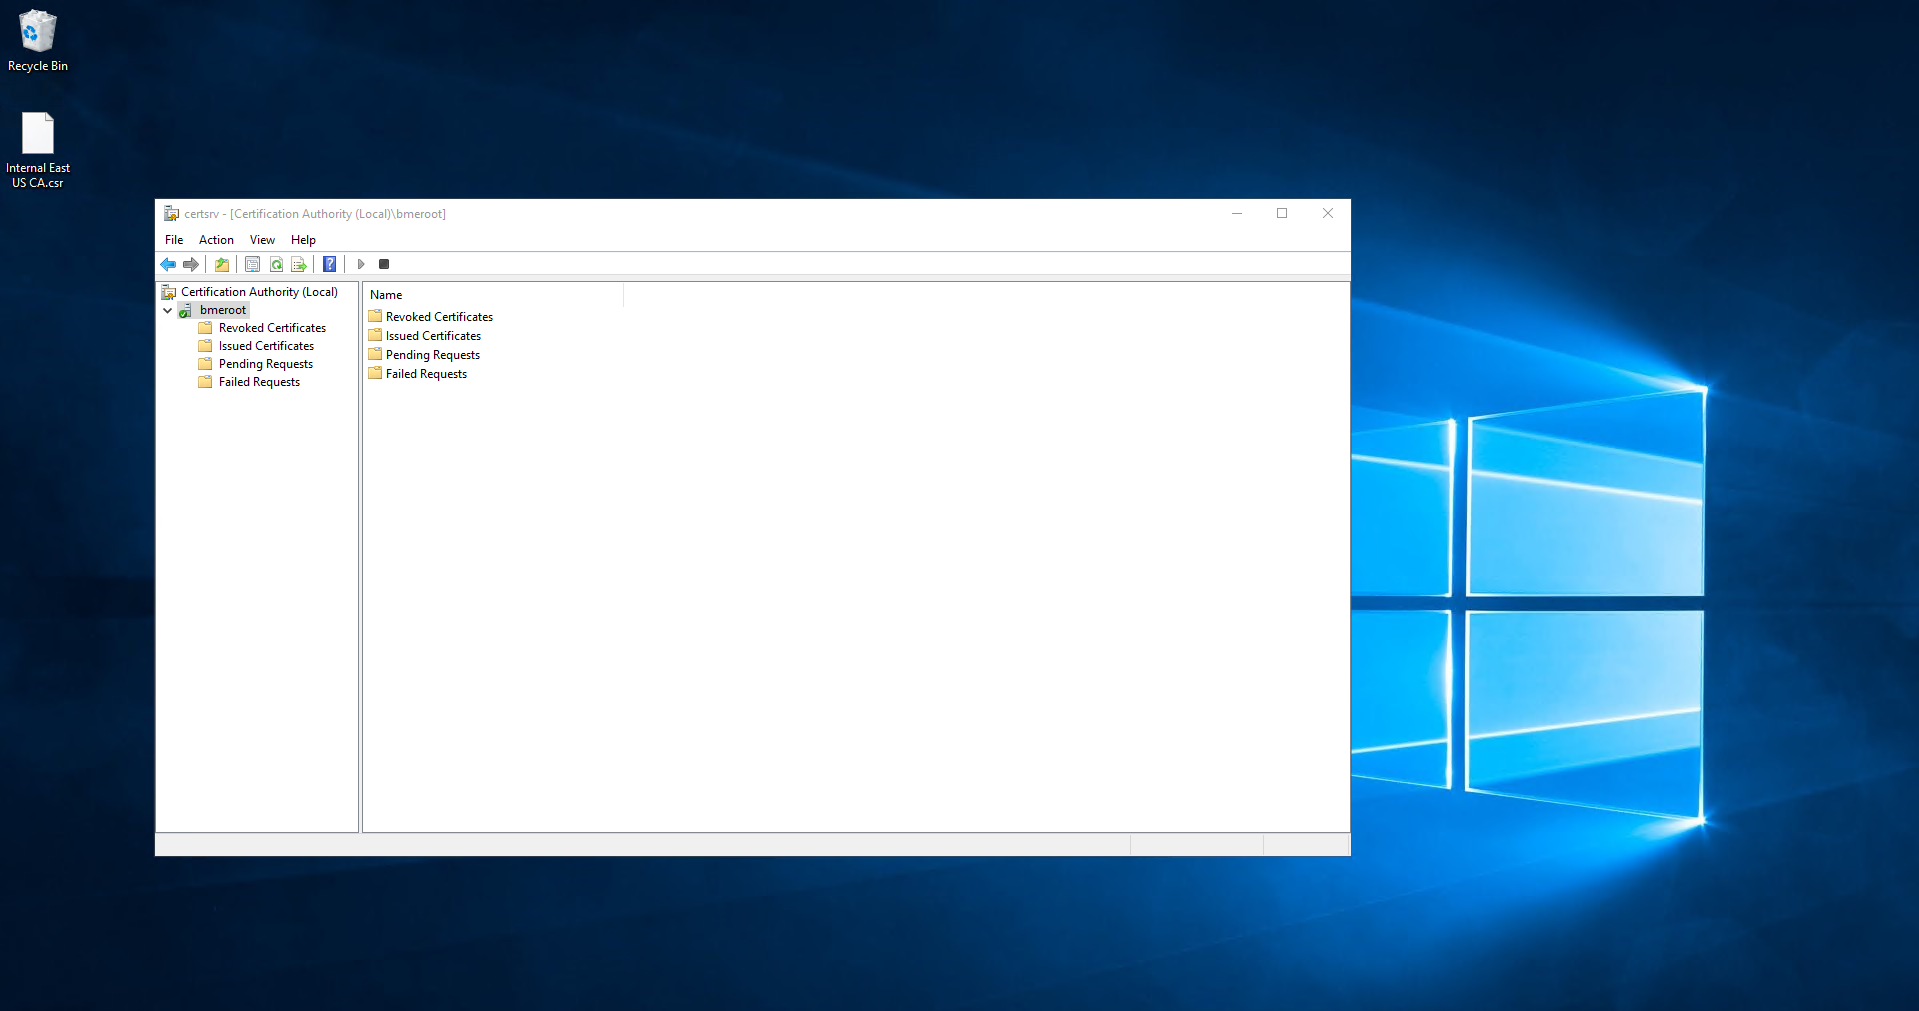
- Right click the CA.
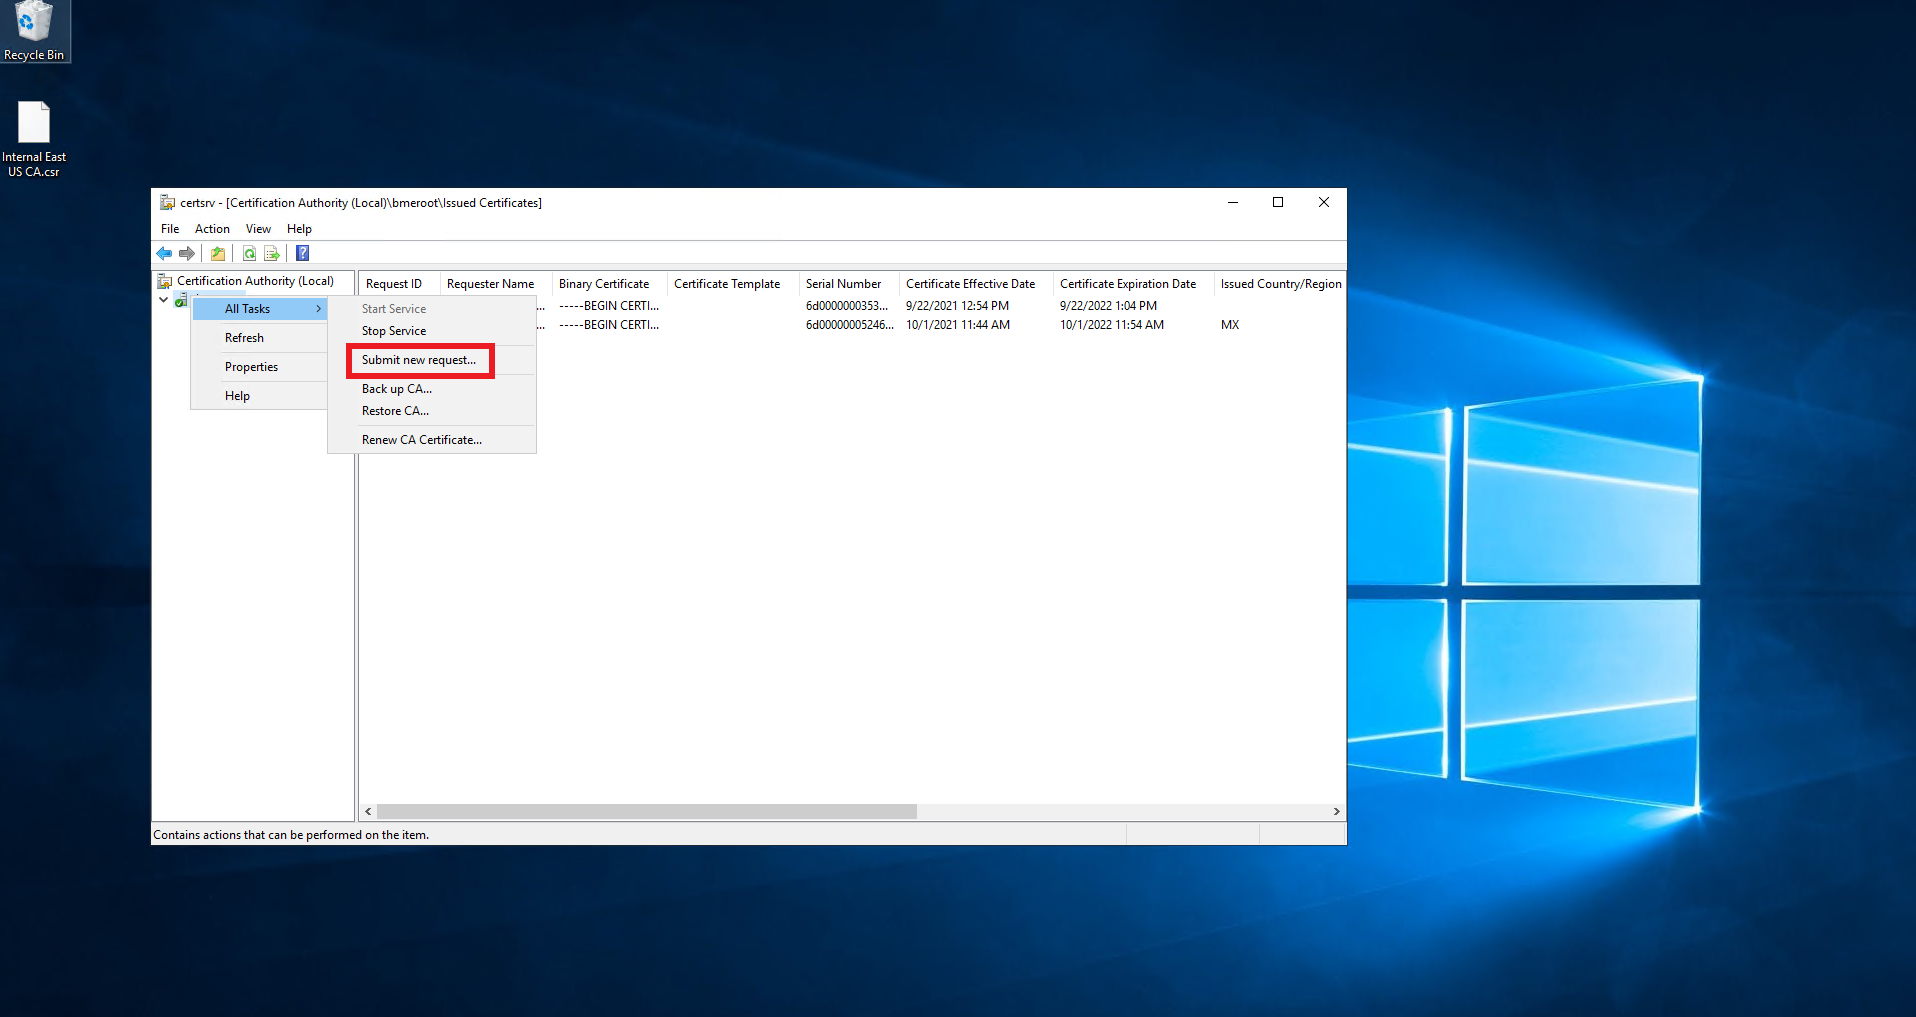
- Select All Tasks -> Submit new Request.
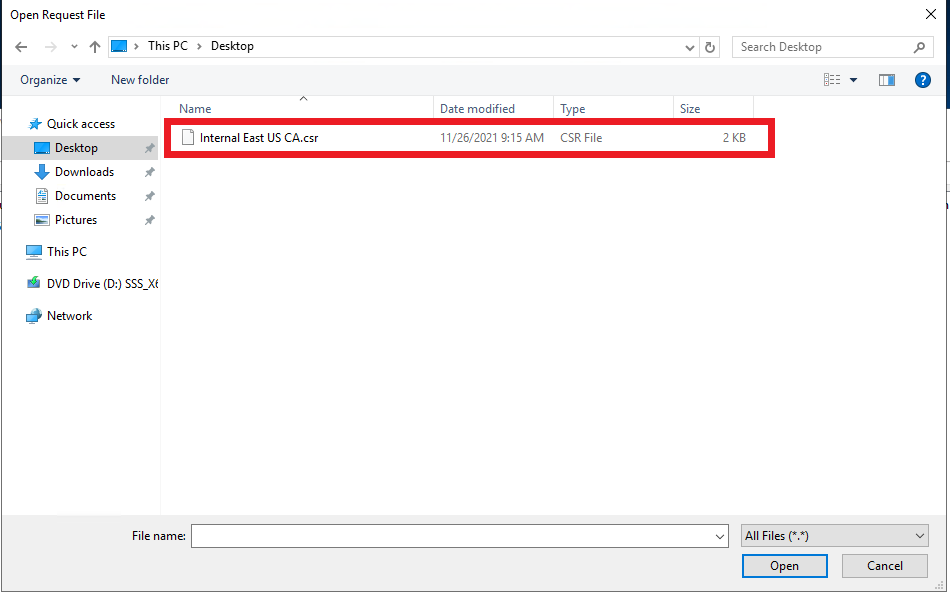
- Select the downloaded CSR.
- Click on pending requests.
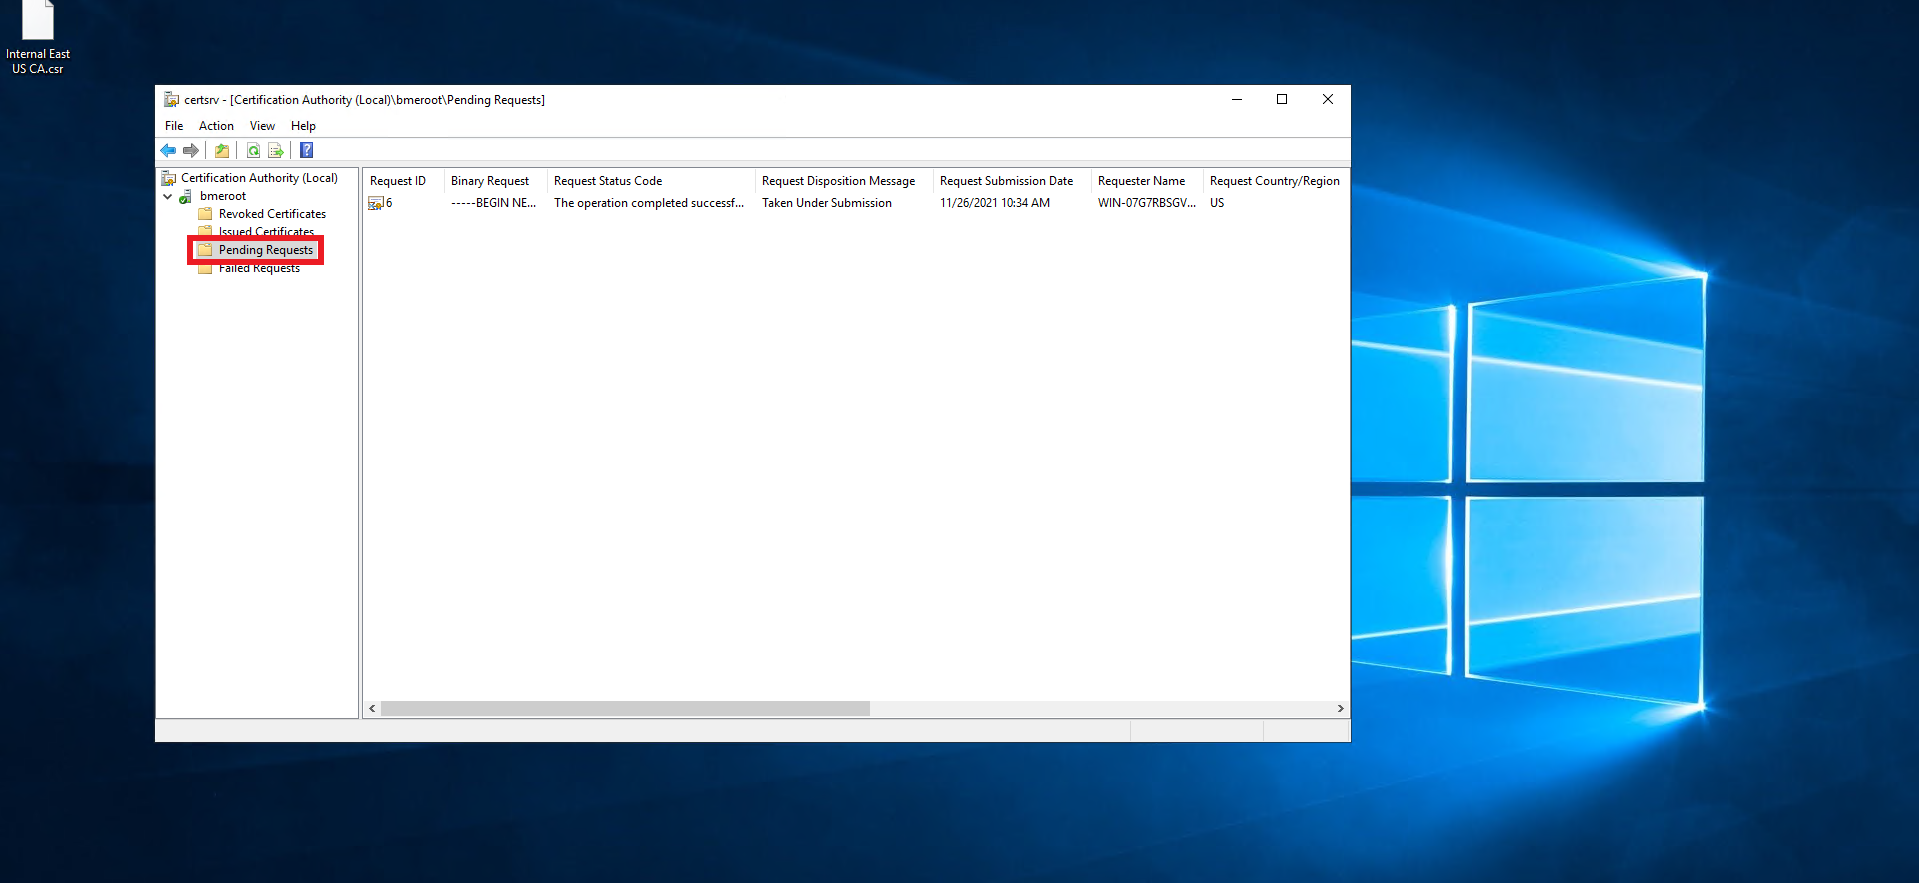
- Right click on the newly created request.
- Select All Tasks -> Issue.
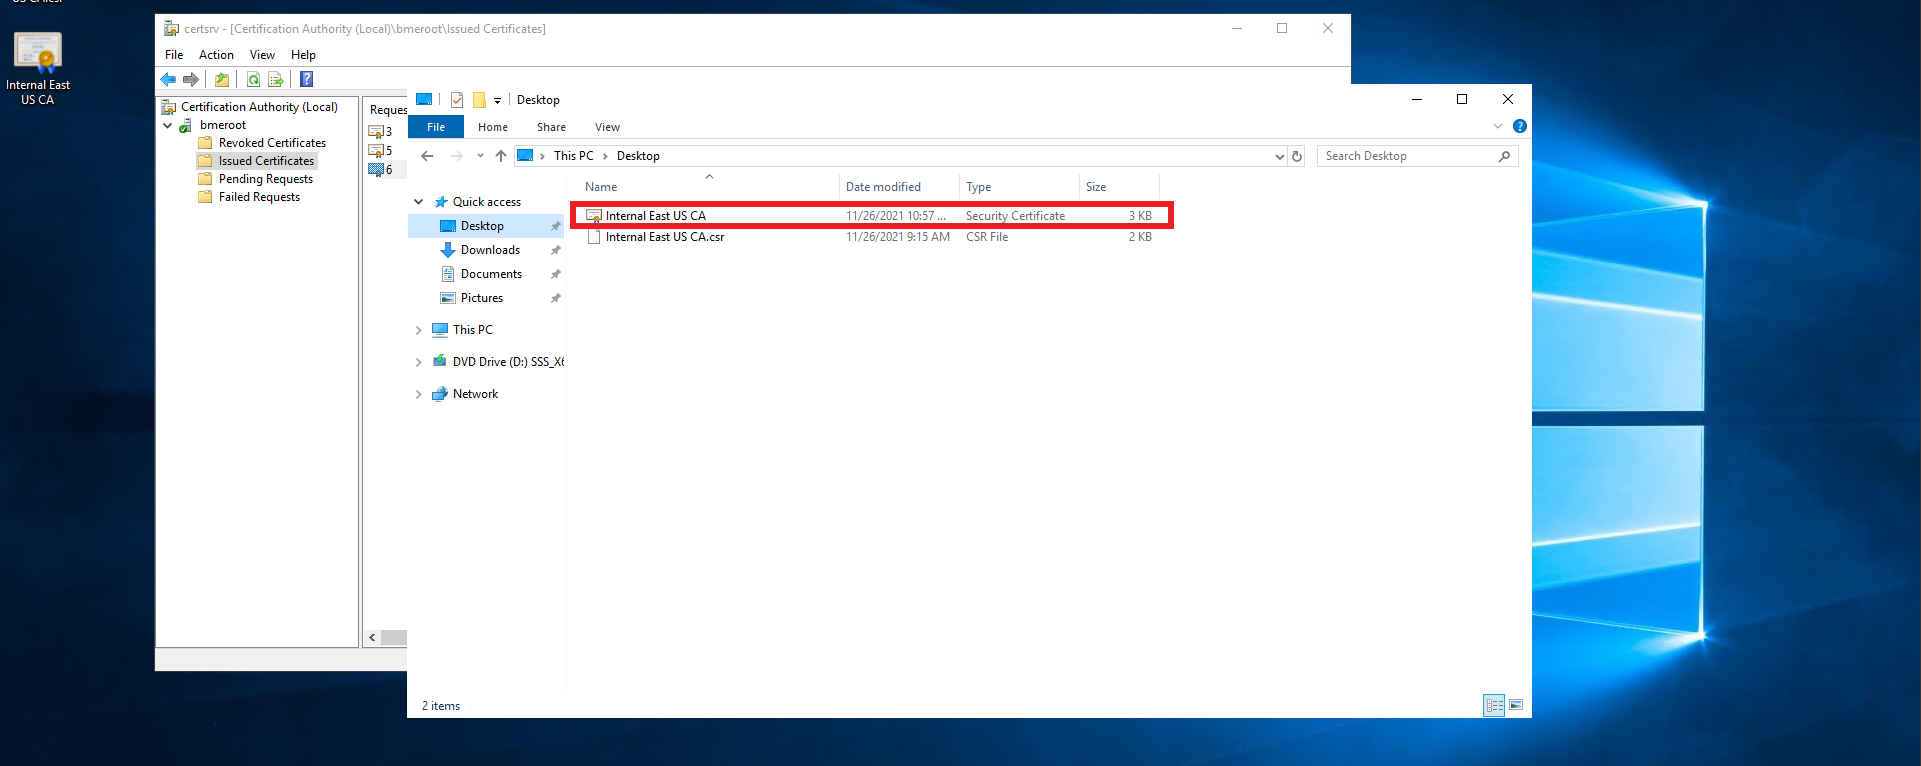
- Click on Issued Certificates.
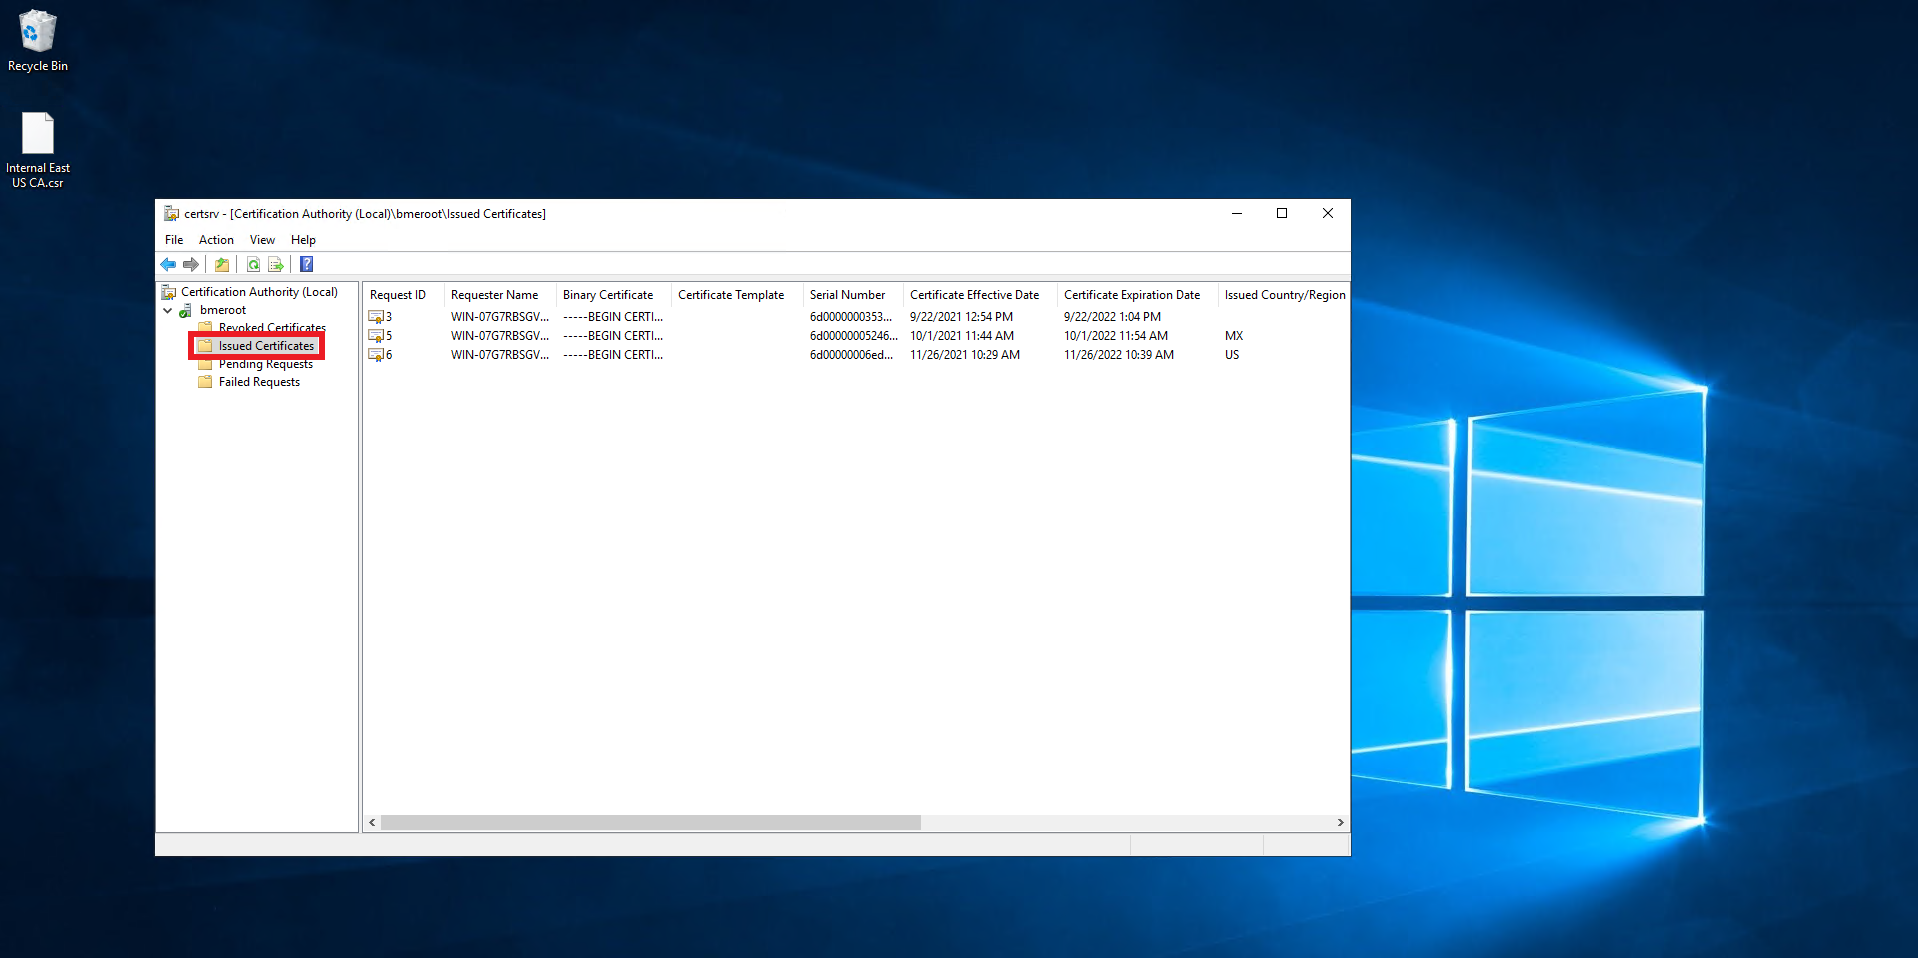
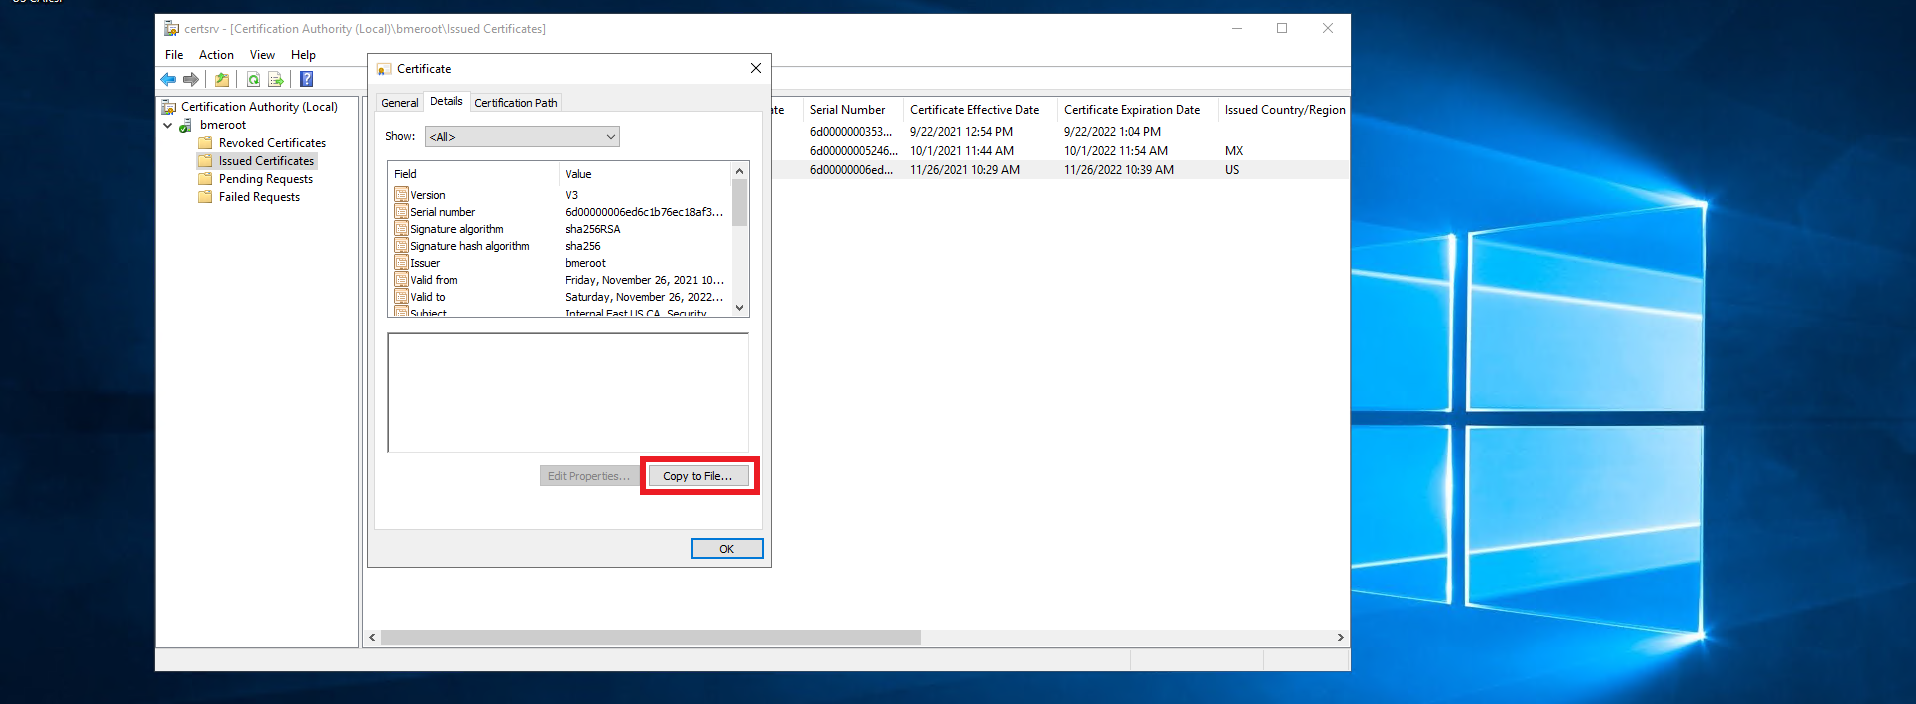
- Double click on the newly created certificate.
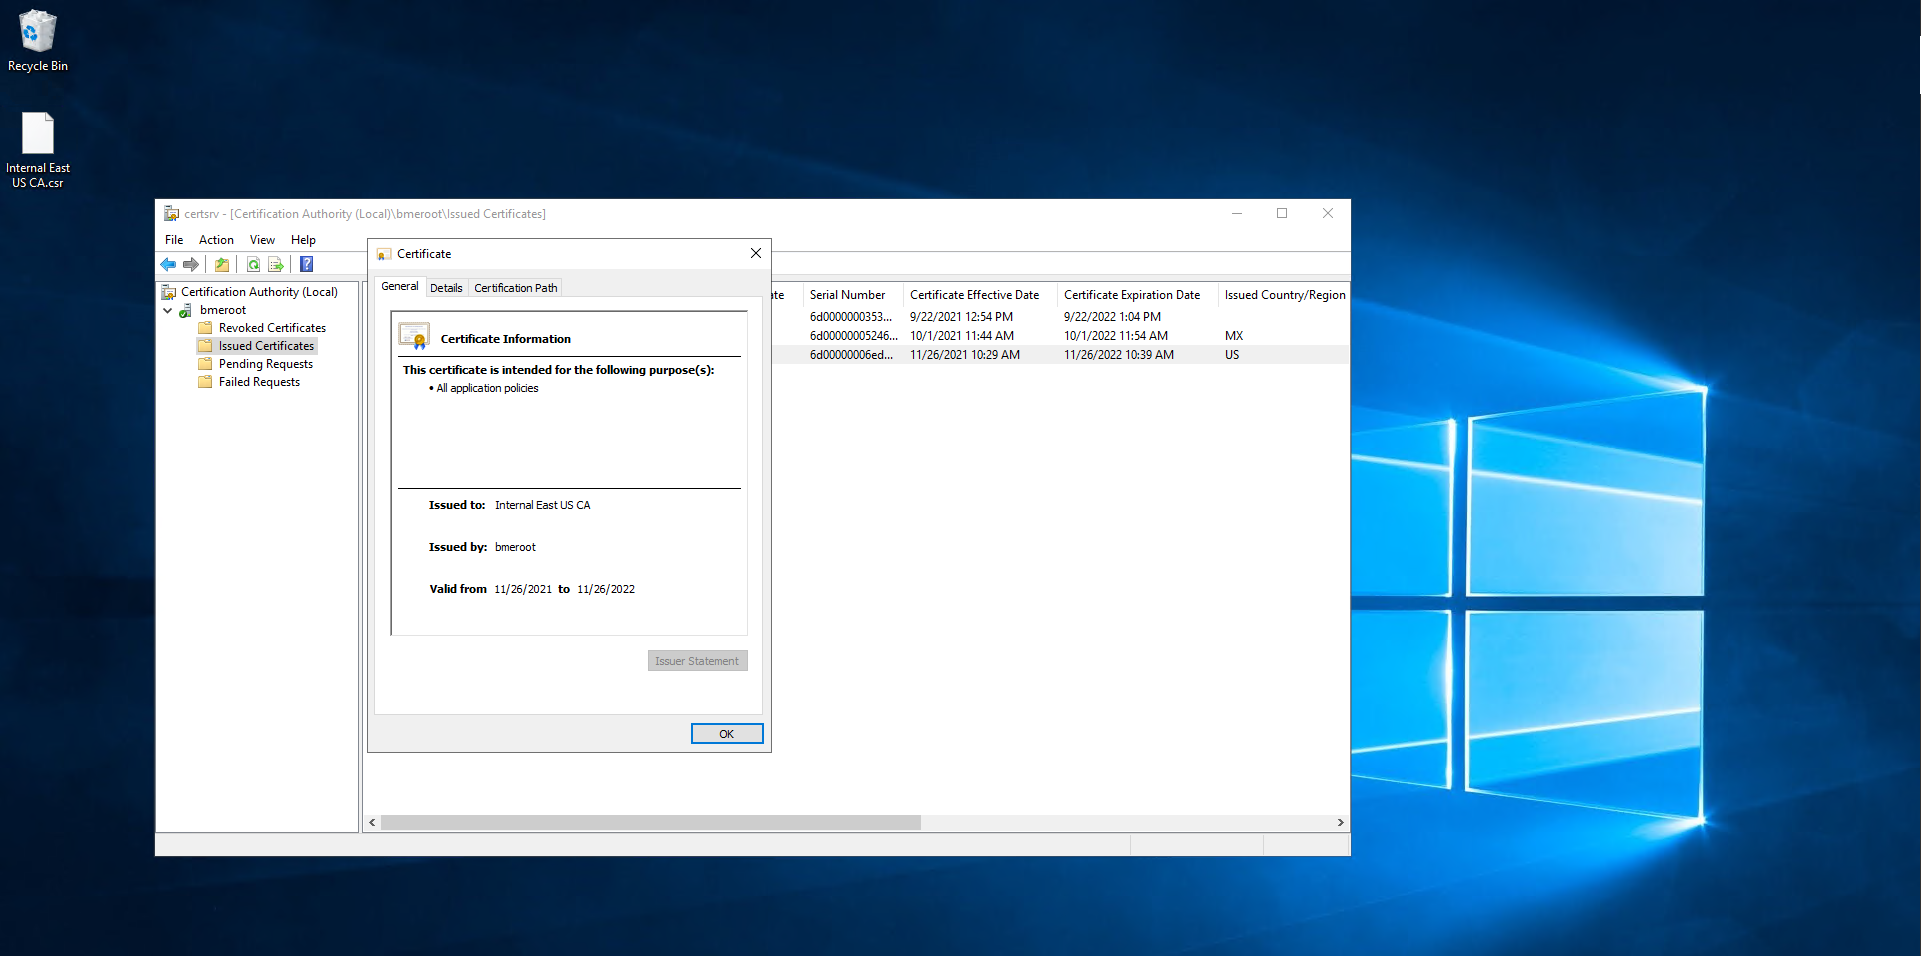
- Click on Details.
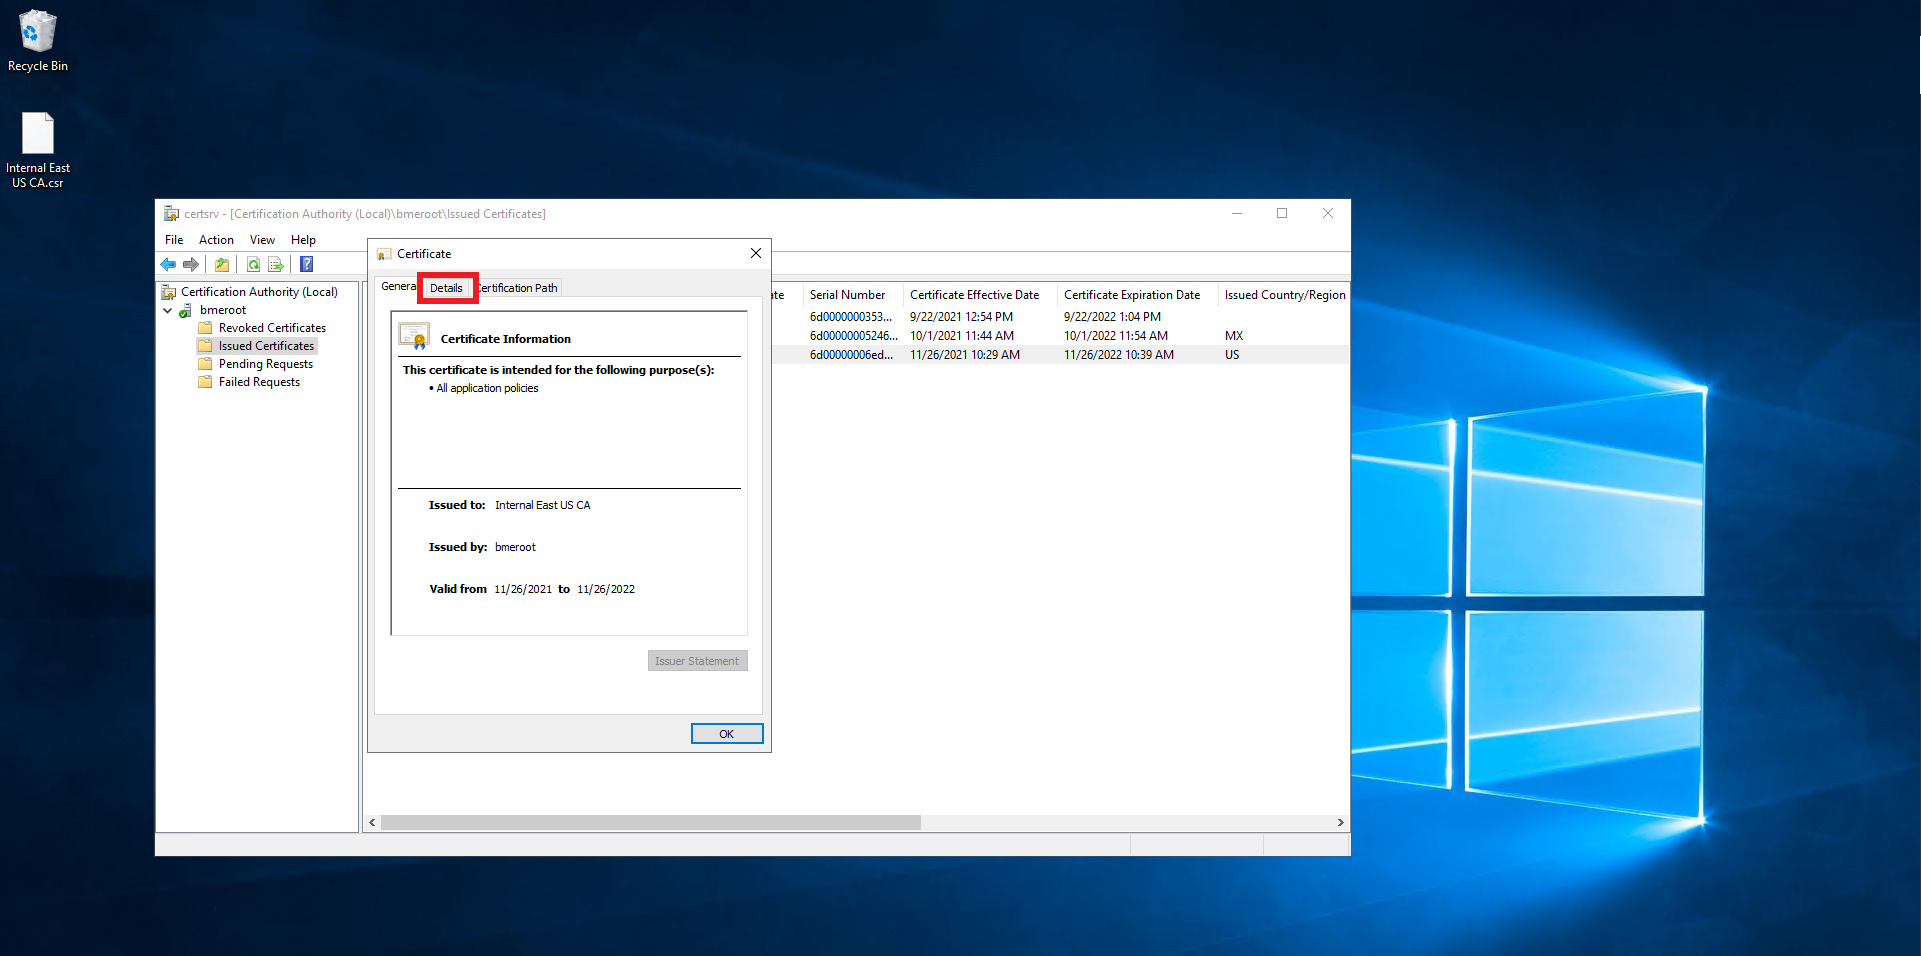
- Click on the “Copy ti File…” Button.
- Click next
- Select the “Base-64 encoded X.509 (.CER) option.
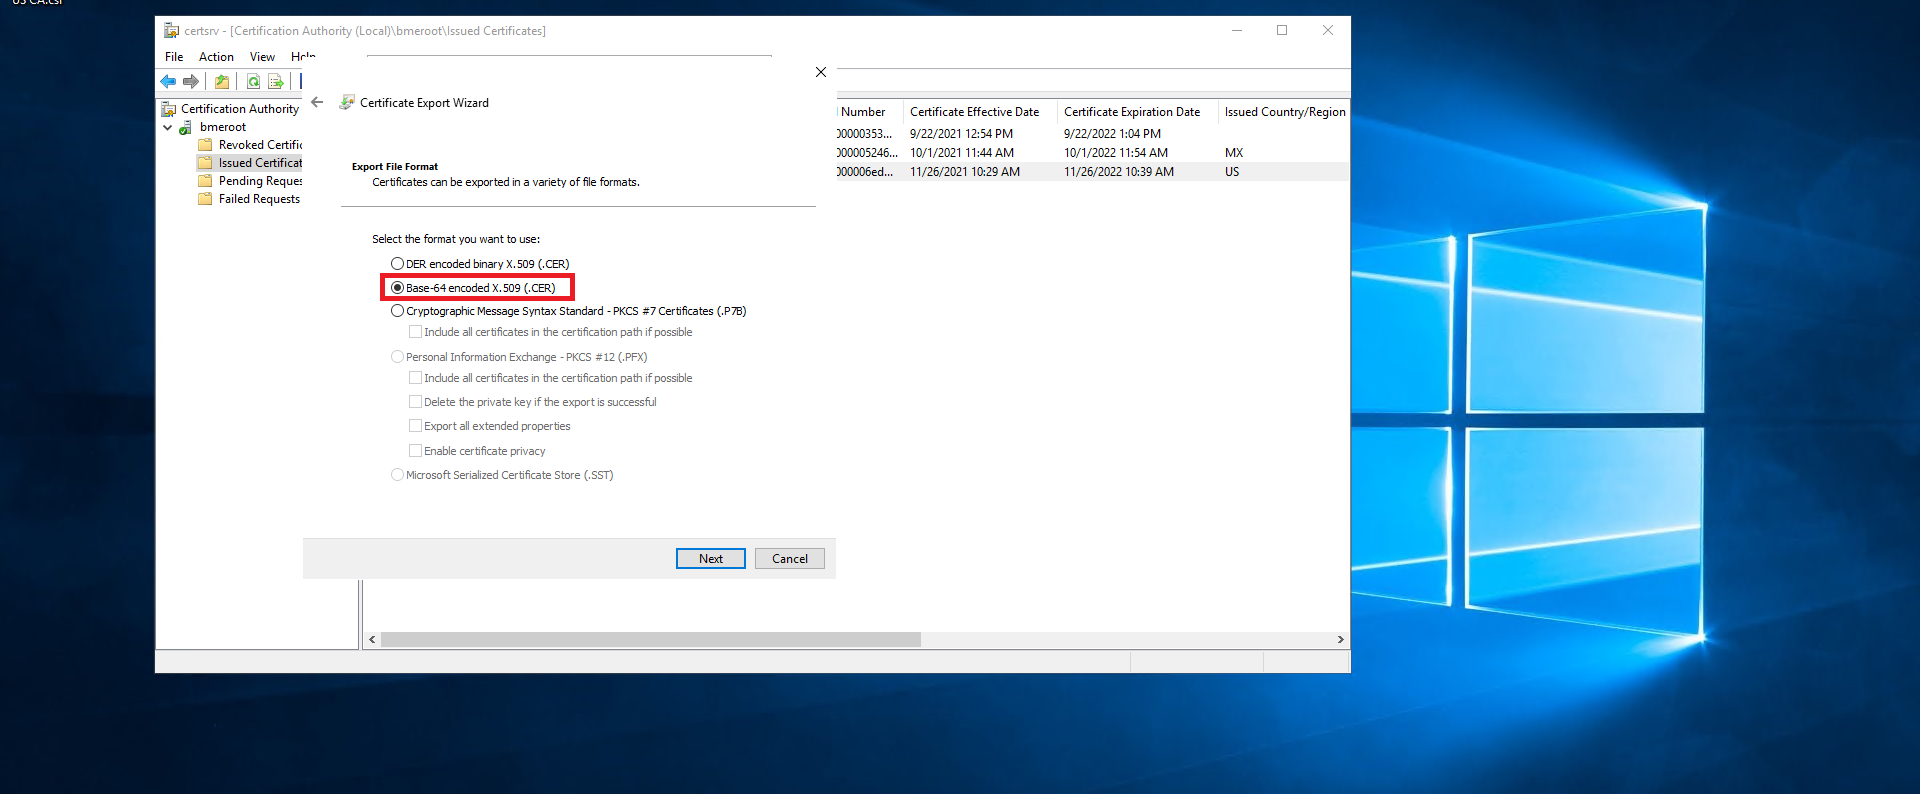
- Click next.
- Select where you want to save the newly created certificate.
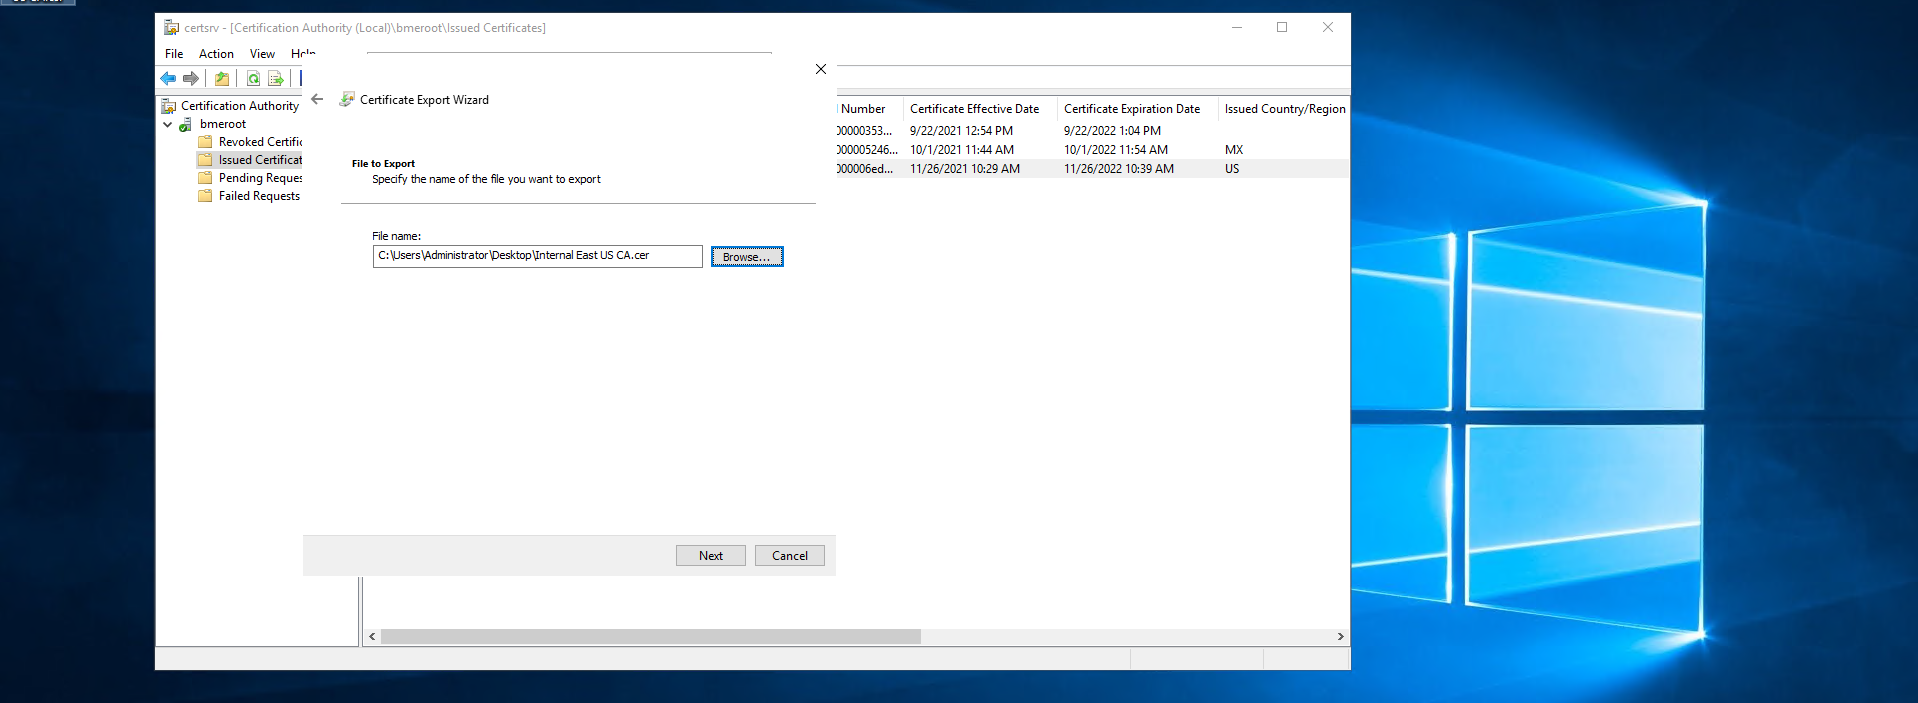
- Click next.
- Click Finish.
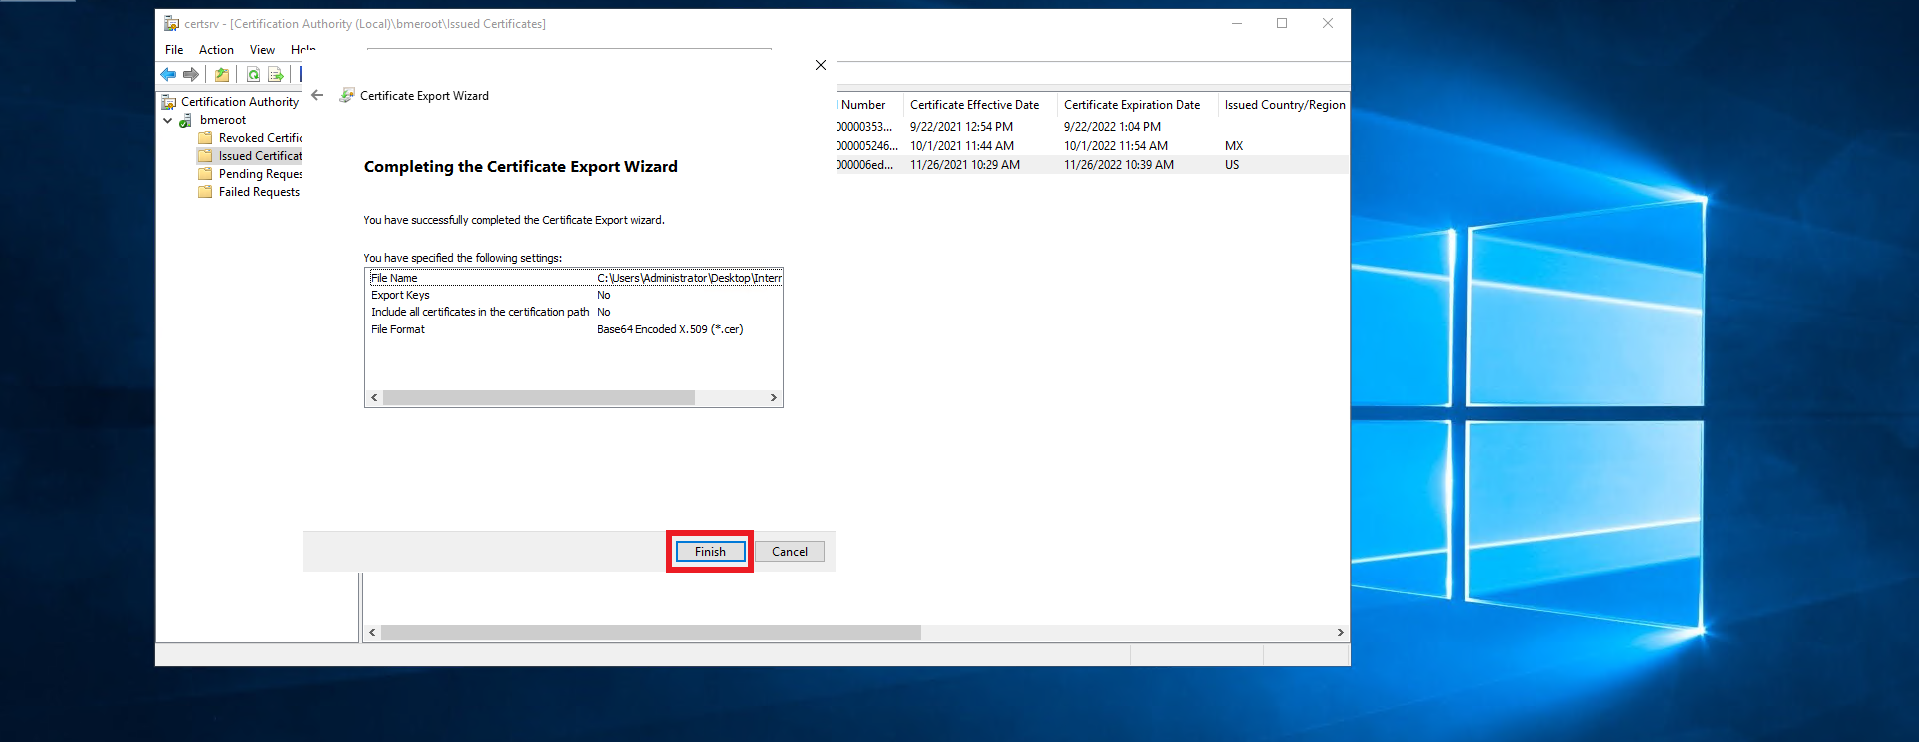
- This should create a .cer file in the location you selected.
- Follow you PKI team’s guidance on transferring the certificate file out of the offline CA into an internet connected computer.
- Once you have the certificate in an internet connected computer, go to https://portal.ezca.io/
- Login with an account that is registered as a PKI Admin in EZCA.
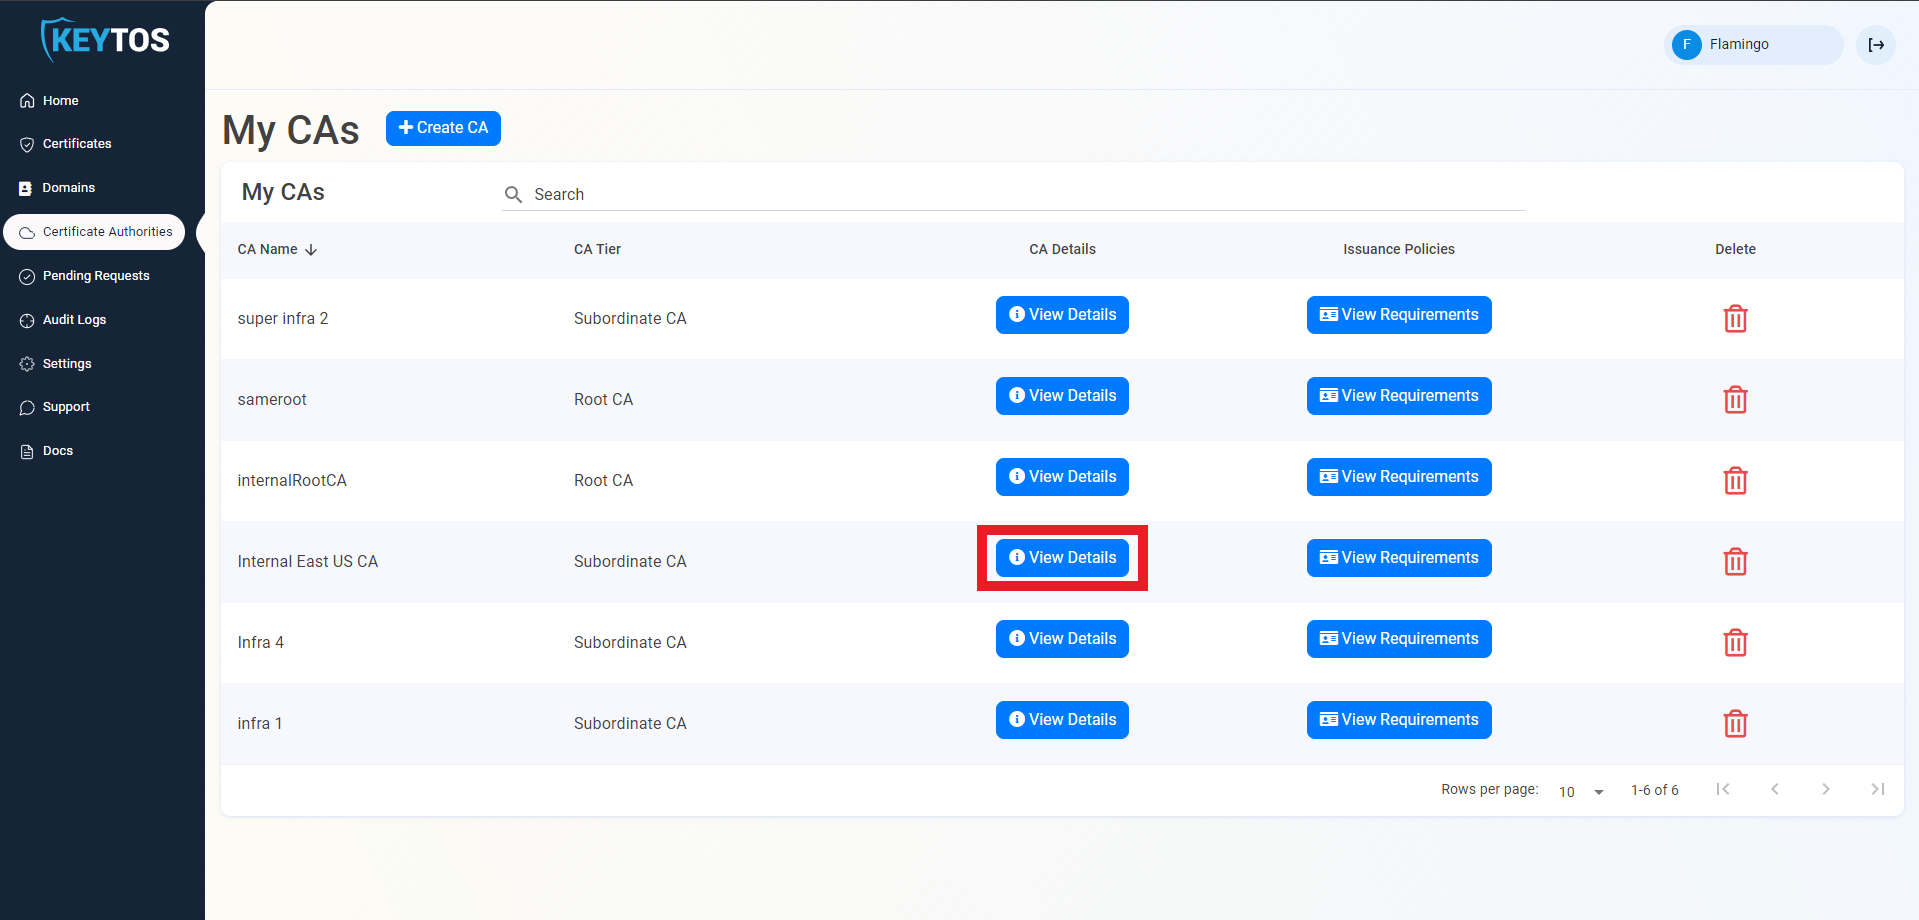
- Navigate to Certificate Authorities.
- Click View details of the CA you want to import the certificate for.
- Scroll down to the location you want to import, and click the “Upload CA Certificate” button.
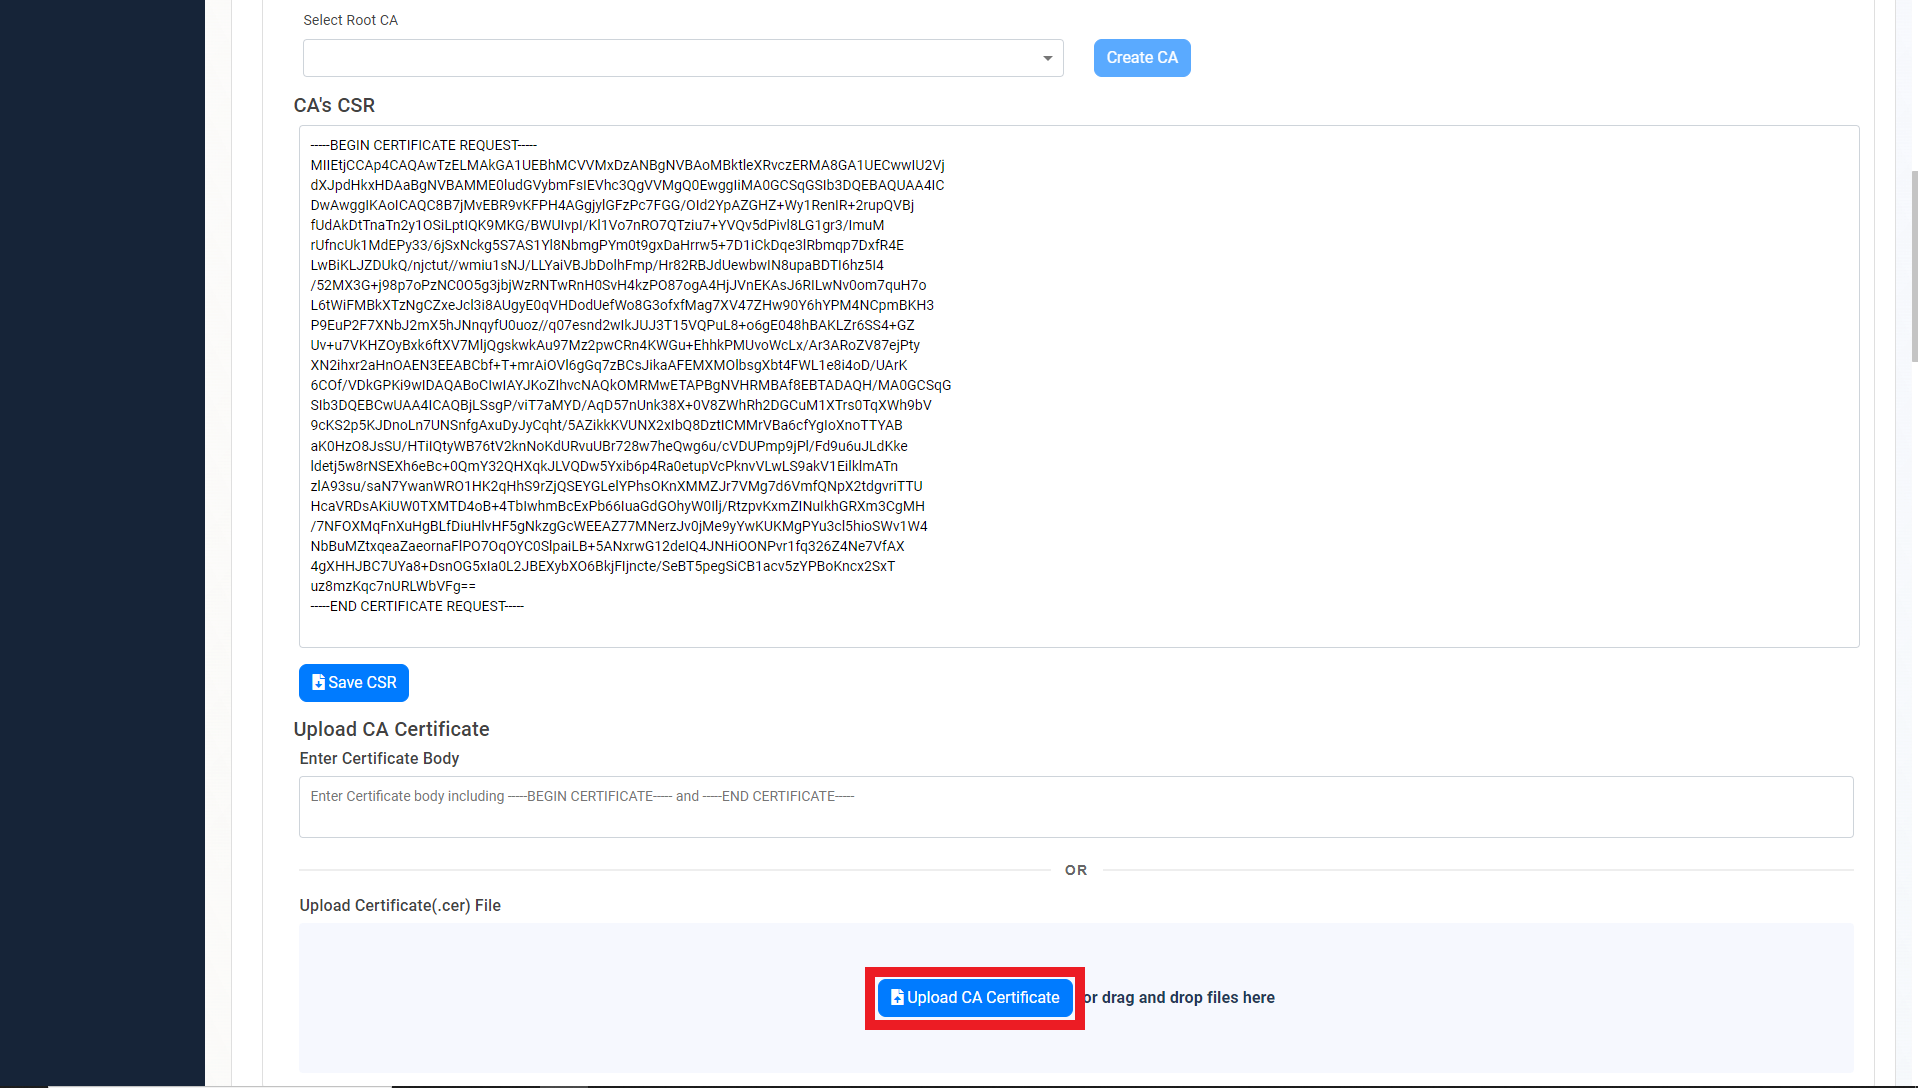
- Select the newly created certificate file.

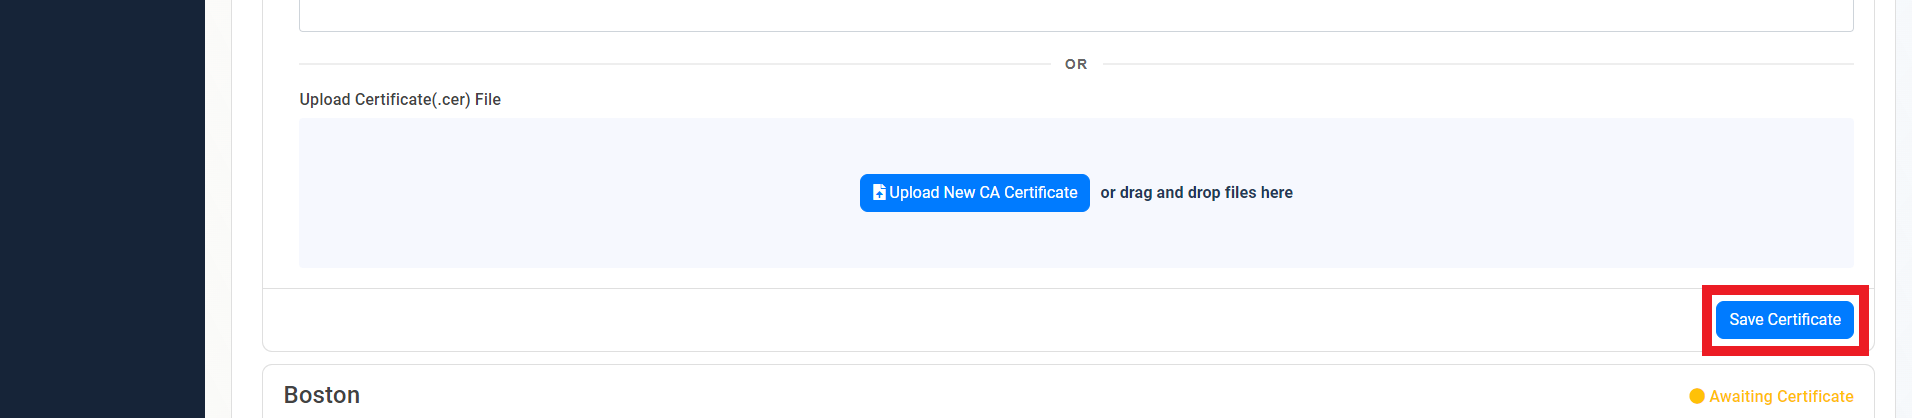
- Click on the “Save Certificate” button
- Repeat these steps for each location.
- Your CA is ready to be used!