Keytos Documentation > EZSSH > Getting Started with EZSSH > Using EZSSH Client > How to Connect to Multiple Endpoints at Once
How to Connect to Multiple Endpoints at Once
Prerequisites
Tenant Prerequisites
The following prerequisites have to be done only once per tenant.
Video Version
Getting the CSV
The easiest way to get a CSV of your endpoints is using EZSSH Interactive Mode.
- First run the following command in your favorite terminal:
ezssh i
- This command will start ezssh in interactive mode.
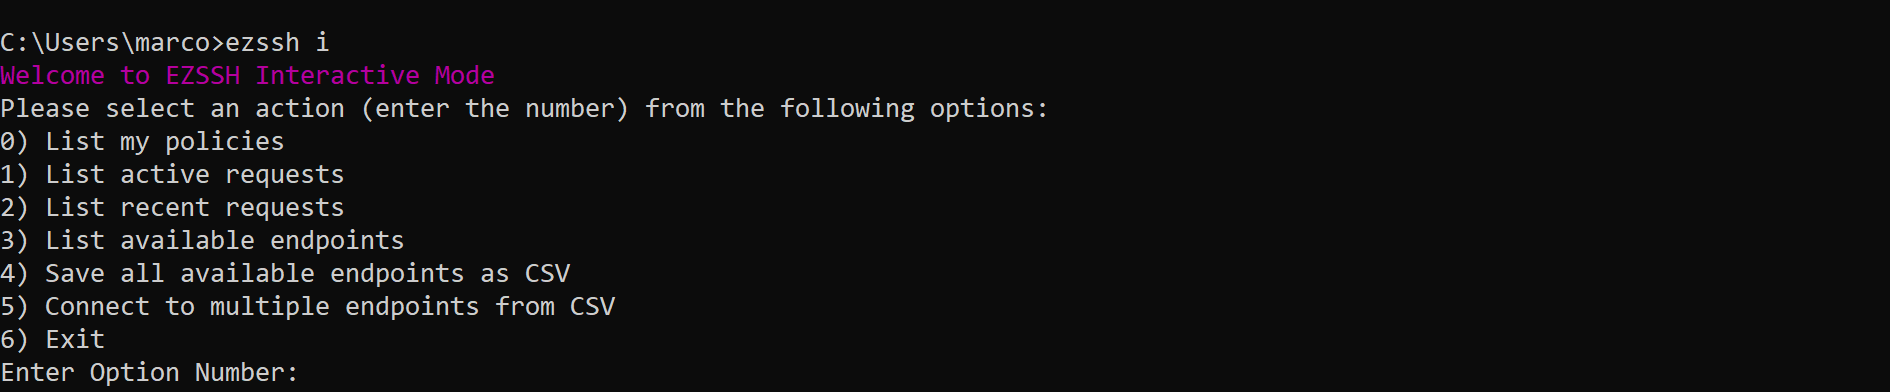
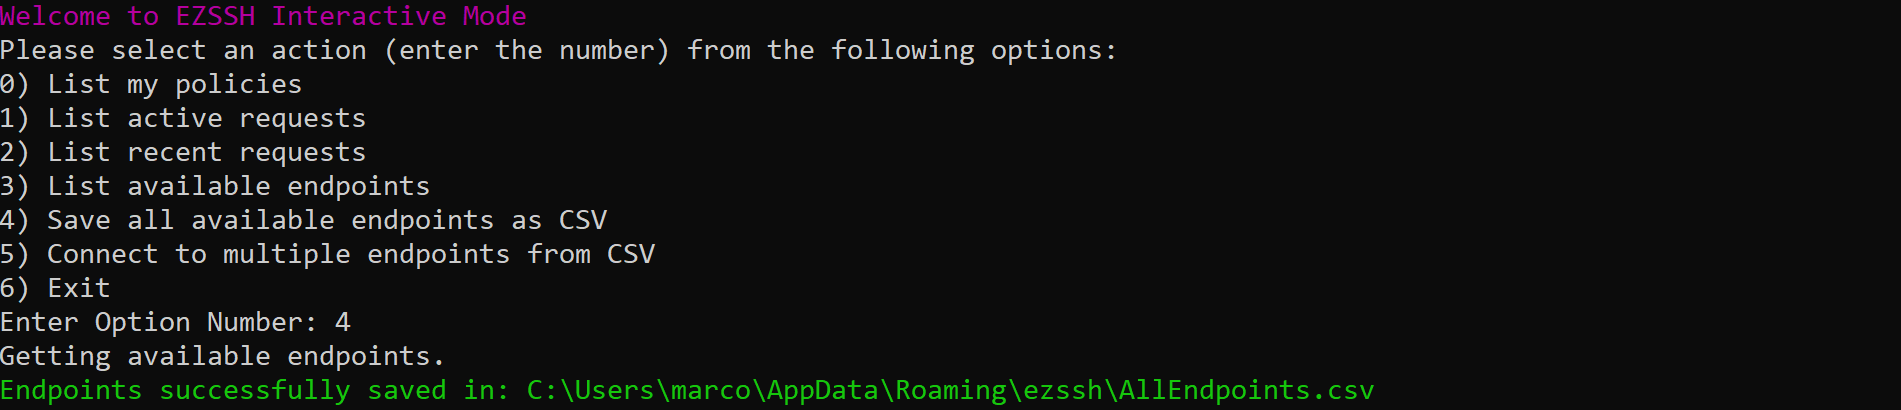
- The fastest option is to press 4 and save all your available endpoints to a CSV.
- If you only want the endpoints of a specific policy, press 0 to list your policies.
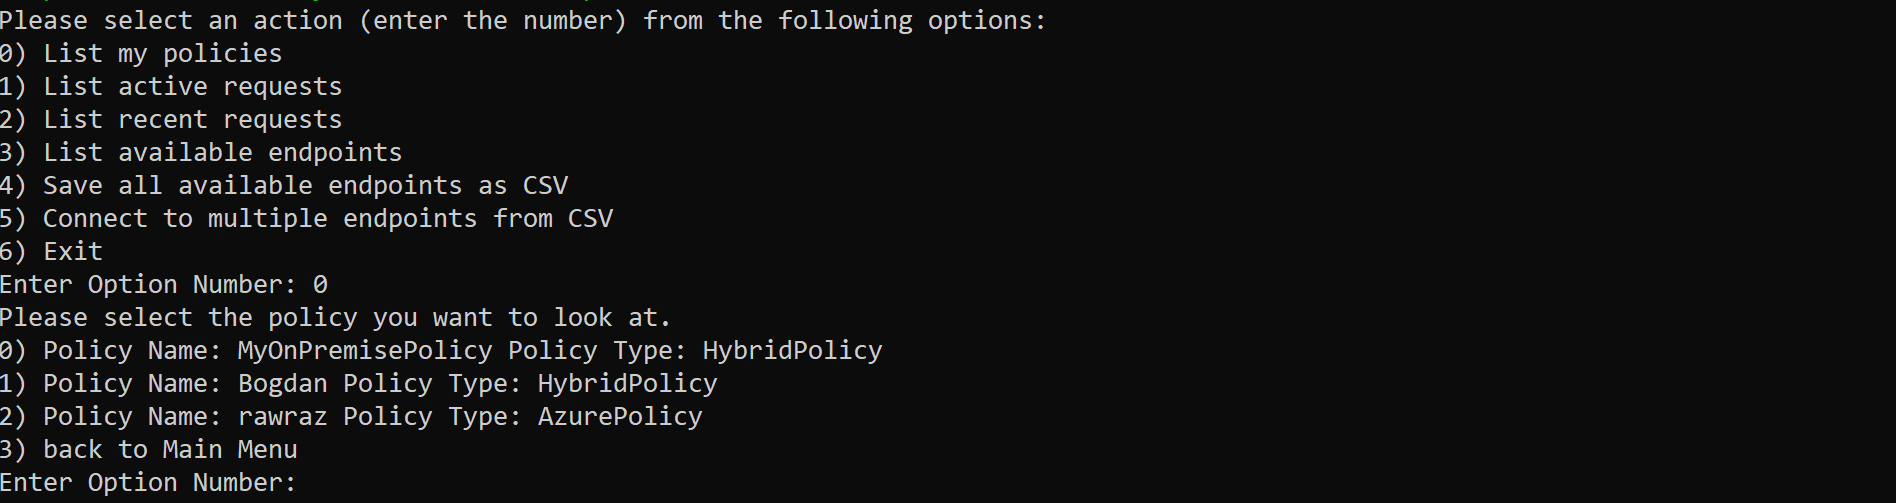
- Select the policy you want to save.
- Select the “Download policy endpoints”

- Once you have created the file with either of the two options exit interactive mode by going back to the main menu and selecting the exit option. Or by pressing CTRL + C
Editing the CSV
- The Create CSV command showed the location where the CSV was saved. Open that CSV.

- The CSV will have 8 columns
- UserName: The Linux User Principal that will be used to login to the endpoint.
- Endpoint: The IP address or FQDN of the endpoint you will connect to.
- CertificateLength: The length of the certificate (how long will you have access to the endpoint). Defaults to the max allowed.
- PolicyID: Can be ignored, just makes it easier for EZSSH to process the request.
- PolicyType: Tells you if this is an Azure Policy or a Hybrid Policy.
- PortNumber: The port that EZSSH will attempt to connect to on the endpoint to start the SSH Session. Defaults to 22.
- JIT If you use Azure Networking JIT EZSSH can make the request to open it for you. Accepted values “TRUE” and “FALSE”. Defaults to FALSE.
- BastionForward If you use a jump box and require to use the same credential to authenticate to the second endpoint, EZSSH will ensure the that the certificate is forwarded (The private key never leaves your PC). Accepted values “TRUE” and “FALSE”. Defaults to FALSE
- Edit the CSV to the correct values and delete any rows of endpoints you do not want to connect to.
- Save the file changes.
Connecting to the CSV Endpoints
- Once the CSV has the values you want to use, run the following command.
ezssh batchssh -f <file path>
- EZSSH will get the needed certificates and open each SSH session in its own window.
Extra features
- If you want to send a command to all the servers in the CSV, add a -c and the command. For example:
ezssh batchssh -f "C:\Users\marco\AppData\Roaming\ezssh\AllEndpoints.csv" -c "echo EZSSH Rocks!"